EtherFast
®
Cable/DSL & Voice Router powered by Net2Phone
23
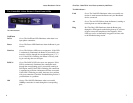
• Net2Phone Option This option enbles your Net2Phone account that came
with your Router. Click Enable if you wish to enable your account at this
time. Both the Account Number and PIN will appear on the
Net2Phone/Linksys Rechargeable Calling Card that came in your Router’s
box. If you have difficulty, click on the Help tab to connect to
Net2Phone’s website (once your Internet connection is established).
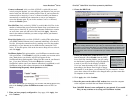
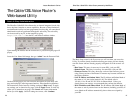
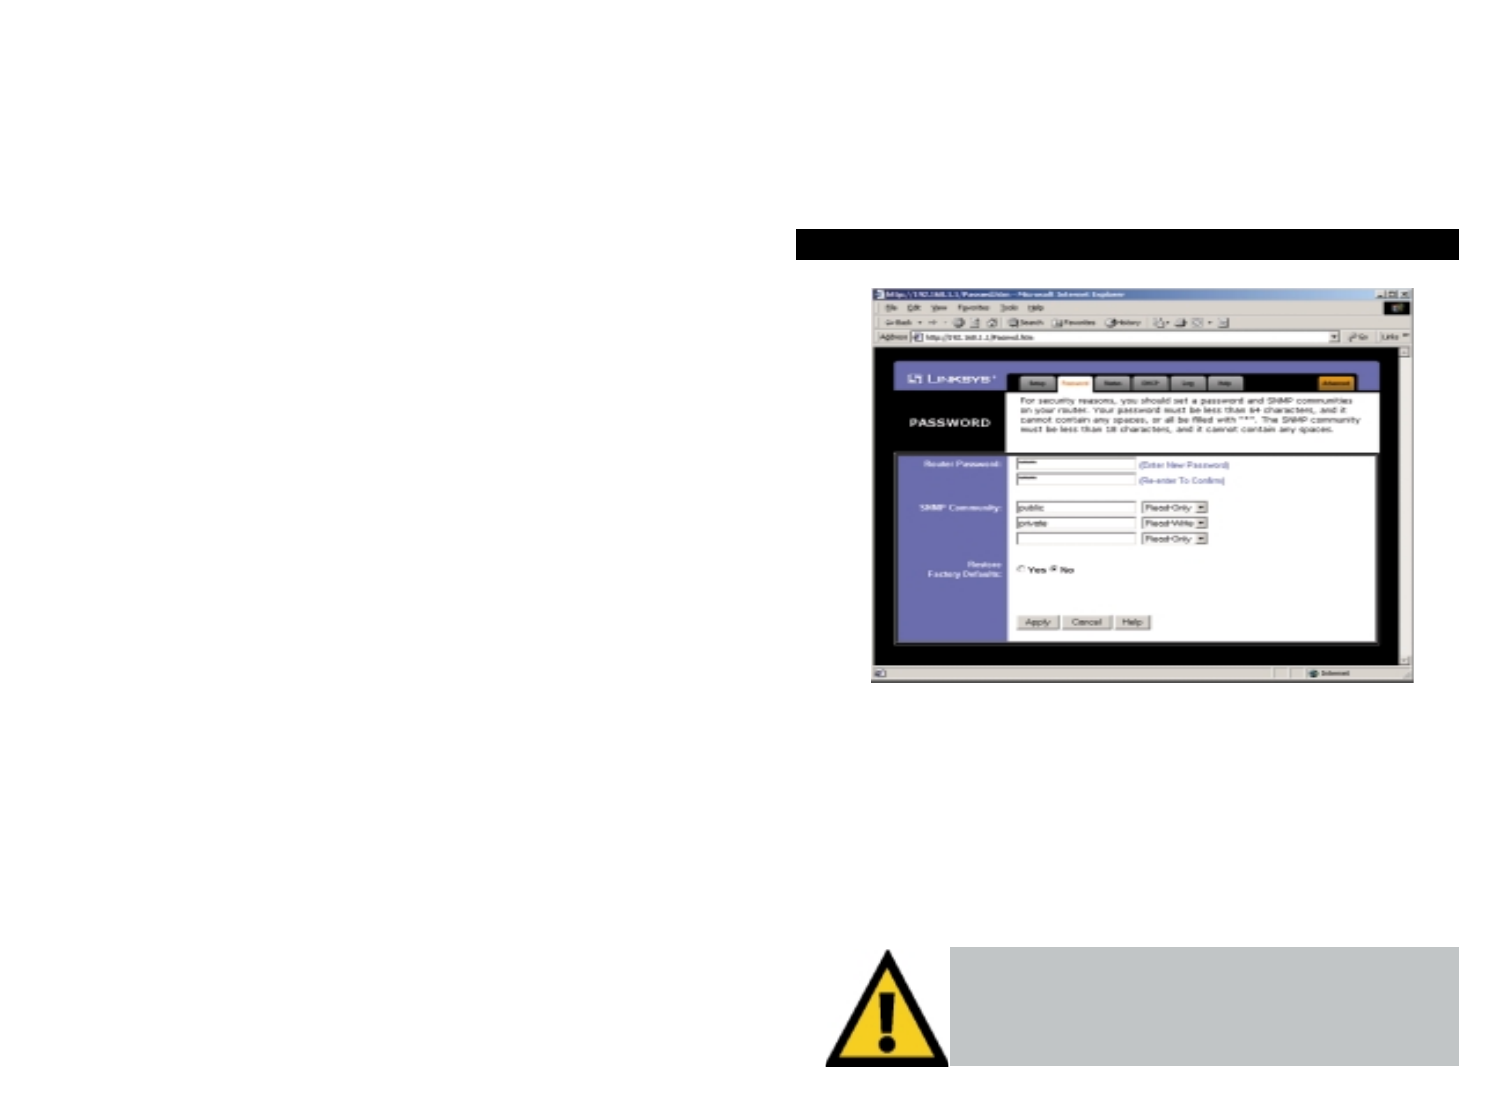
It is strongly recommended that you set a password for the router. When you
first power up the router, you will notice that the Password setting default is
“admin”. For security, we recommed that you change your password often.
SNMP Community allows a name to be assigned to any SNMP communities
that have been setup in the network. Four different communities can be
defined, including the two default communities - public and private. For
each SMNP Community name, you can configure each community's acces-
sibility, making it either Read-Only or Read-Write.
Password
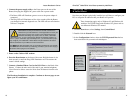
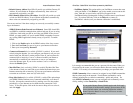
If you set the Restore Factory Default option and click Apply,
you will clear all of the router’s settings. Do not restore to the
factory defaults unless you are having difficulties with the
Router. Once the Router is reset, you will have to re-enter
your configuration.
• Default Gateway Address Your ISP will provide you with the Gateway IP
Address. If set to Obtain an IP address automatically, these values are
automatically assigned by your ISP.
• DNS (Domain Name Server) IP Address Your ISP will provide you with
at least one DNS IP Address. If set to Obtain an IP address automatically,
these values are automatically assigned by your ISP.
You can test and see if the above settings are correct by successfully connect-
ing to the Internet.
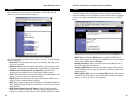
• PPPoE (Point-to-Point Protocol over Ethernet) Some DSL-based ISPs
use PPPoE to establish communications with an end-user. If you are using
a DSL line, check with your ISP to see if they use PPPoE. If they do use
PPPoE, you must enable it. If you do enable PPPoE, remember to remove
any existing PPPoE applications already on any of your PCs. To enable
PPPoE:
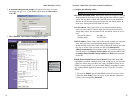
1. Click on the Enable option in the PPPoE section of the Setup screen.
2. Enter the User Name you use to log on to your Internet connection.
3. Enter your corresponding Password.
• Connect on Demand (Only available if PPPoE is enabled) If you aren’t
actively using the Internet, you can configure your Router to cut your con-
nection with your ISP after a certain period of time. If you have been dis-
connected due to inactivity, Connect on Demand enables your Router to
automatically re-establish your connection as soon as you attempt to
access the Internet again. If you wish to activate Connect on Demand,
choose the Enable option.
• Max Idle Time (Only available if PPPoE is enabled) The Max Idle Time
is the amount of time you would like to pass before the Router drops your
Internet connection due to inactivity. If you want your Internet connection
to remain on at all times, enter zero (0) in this field.
Password
• Keep Alive Option (Only available if PPPoE is enabled)This option keeps
your PPPoE-enabled Internet access connected indefinitely, even when it
sits idle. It keeps the connection alive by sending out a few data packets
periodically, so your Internet service thinks that the connection is still
active. To use this option, click on the box next to Keep Alive to select it,
and click Apply.
Instant Broadband
TM
Series
22


