Chapter 3
Advanced Configuration
19
Dual-Band Wireless-N Gigabit Router
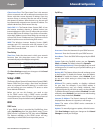
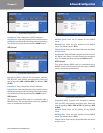
sites created using this programming language. Select
this feature to enable Java filtering. Deselect the feature to
allow Java usage.
ActiveX ActiveX is a programming language for websites.
If you deny ActiveX, you run the risk of not having access
to Internet sites created using this programming language.
Select this feature to enable ActiveX filtering. Deselect the
feature to allow ActiveX usage.
Cookies A cookie is data stored on your computer and
used by Internet sites when you interact with them. Select
this feature to filter cookies. Deselect the feature to allow
cookie usage.
Click Save Settings to apply your changes or click Cancel
Changes to cancel your changes.
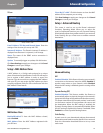
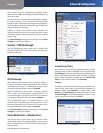
Security > VPN Passthrough
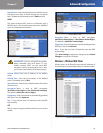
The VPN Passthrough screen allows you to enable VPN
tunnels using IPSec, PPTP or L2TP protocols to pass through
the Router's firewall.
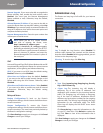
Security > VPN Passthrough
VPN Passthrough
IPSec Passthrough Internet Protocol Security (IPSec) is
a suite of protocols used to implement secure exchange
of packets at the IP layer. To allow IPSec tunnels to pass
through the Router, keep the default, Enabled.
PPTP Passthrough Point-to-Point Tunneling Protocol
(PPTP) allows the Point-to-Point Protocol (PPP) to be
tunnelled through an IP network. To allow PPTP tunnels to
pass through the Router, keep the default, Enabled.
L2TP Passthrough Layer 2 Tunneling Protocol is the
method used to enable Point-to-Point sessions via the
Internet on the Layer 2 level. To allow L2TP tunnels to pass
through the Router, keep the default, Enabled.
Click Save Settings to apply your changes or click Cancel
Changes to cancel your changes.
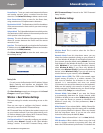
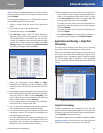
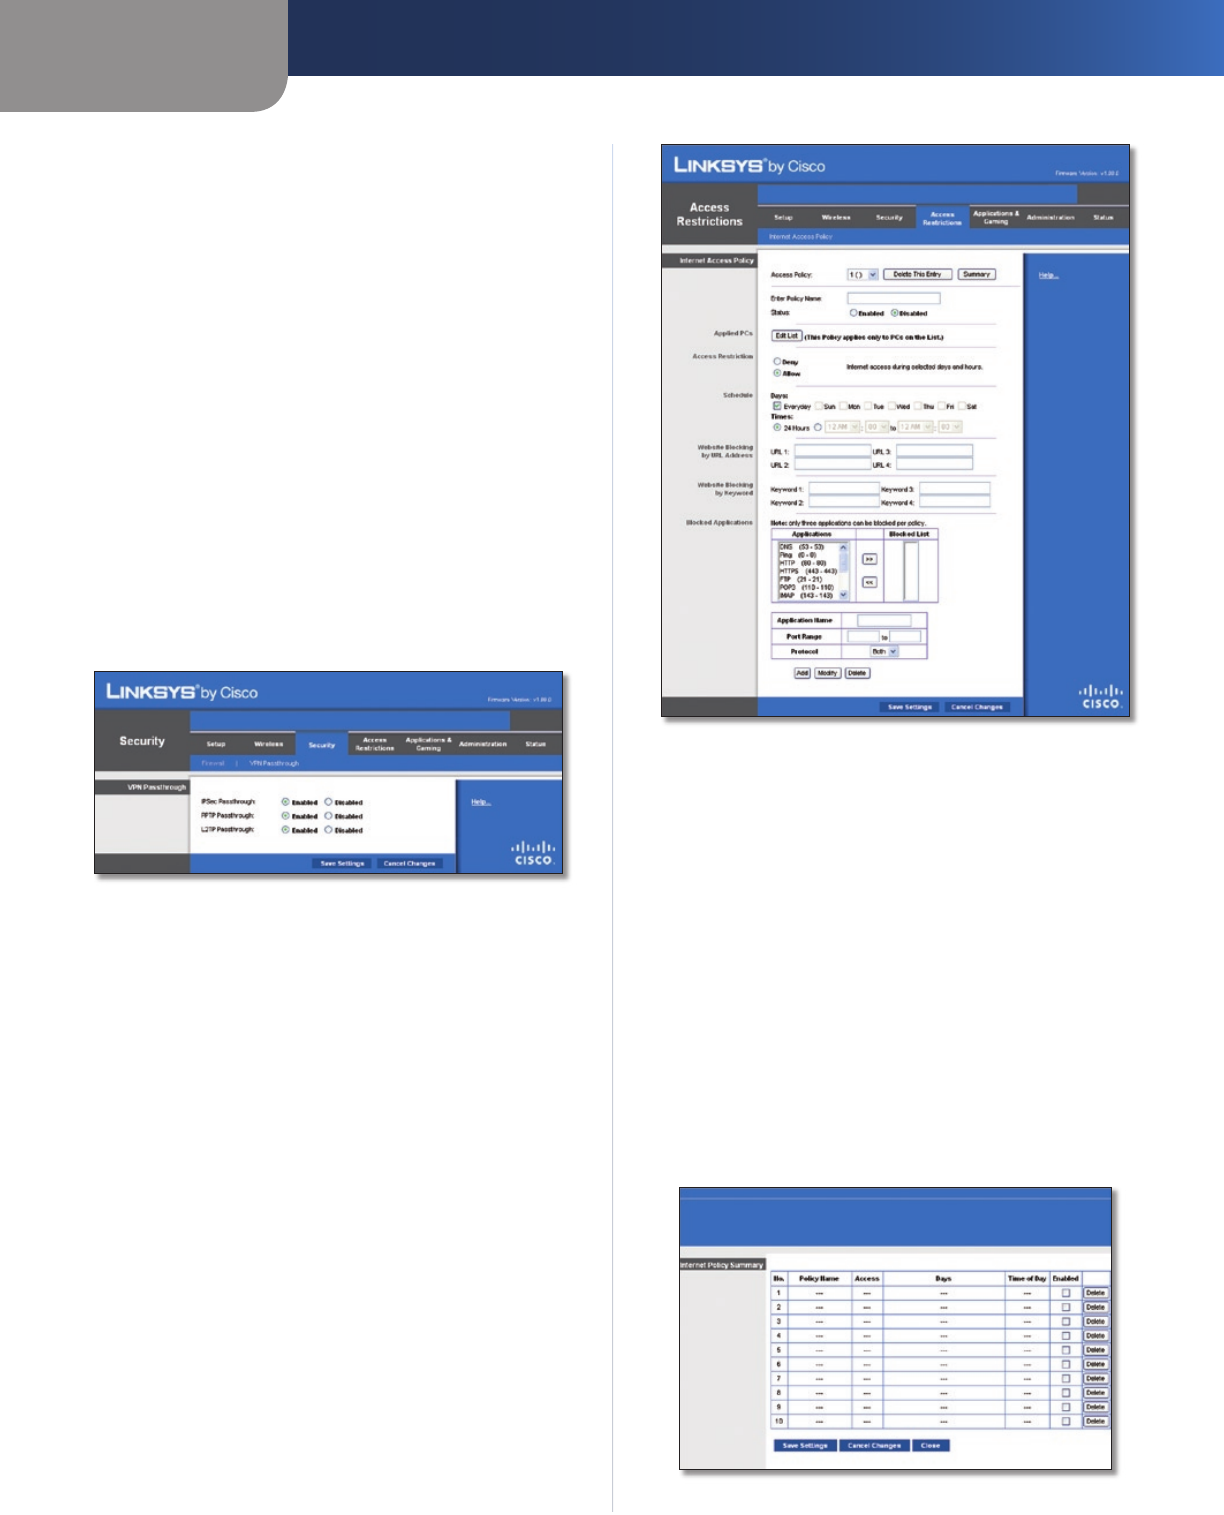
Access Restrictions > Internet Access
The Internet Access screen allows you to block or allow
specific kinds of Internet usage and traffic, such as Internet
access, designated services and websites during specific
days and times.
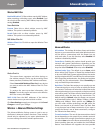
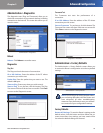
Access Restrictions > Internet Access
Internet Access Policy
Access Policy Access can be managed by a policy. Use the
settings on this screen to establish an access policy (after
Save Settings is clicked). Selecting a policy from the drop-
down menu will display that policy's settings. To delete a
policy, select that policy's number and click Delete This
Policy. To view all the policies, click Summary.
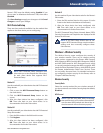
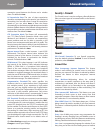
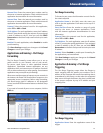
Summary
The policies are listed with the following information: No.,
Policy Name, Access, Days, Time and status (Enabled). To
enable a policy, select Enabled. To delete a policy, click
Delete. Click Save Settings to save your changes or click
Cancel Changes to cancel your changes. To return to the
Internet Access Policy screen, click Close.
Summary


