


Lynx LCD Monitor User Manual
Lynx LCD Monitor User Manual
4
INTRODUCTION
T
hank you for purchasing the Marshall Lynx 10W LCD Monitor. The Lynx Se-
ries of Universal Monitors offers high performance features and excellent pic-
ture quality for use in a variety of industrial/commercial and mobile applications.
The information contained in this instruction manual covers the installation and
operation of the monitors. We encourage you to read it carefully and keep it for
future reference. All the installation materials and wire/cables must pass qual-
ity inspections in accordance with international electrical rules and laws. When
installing your monitor, remember to always adhere to local ordinances and laws
concerning wire and cable installation.
INSTALLATION
We strongly recommend that a qualified installation and maintenance technician
install this product. Improper installation of this monitor may cause battery leak-
age or a short circuit.
PRECAUTIONS
Remote Control
In mobile applications, do not place the remote control in direct sunlight, especial-
ly in the summer. For example, avoid placing the remote on the dashboard, steer-
ing wheel or any other place where high temperatures could cause damage. When
parking in the sun, be sure the remote is safely stored in a glove box or tool kit.
When exposed to direct sunlight, signals emitted from the remote control may
not be properly received by the monitor. The remote should be pointed within
close proximity of the front panel receiver.
Double-sided Tape
The included double-sided tape is intended for use on a flat desktop surface
only. Do not attempt to affix the panel on other surfaces.
LCD
Do not press against the screen of the LCD. Pressing against the screen can
cause distortion or other damage. The images may become unclear or the LCD
may be damaged.
Do not use this product in temperatures lower than -10ºC or higher than 60ºC.
5
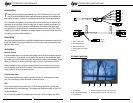
CONNECTION
LCD PANEL FUNCTIONS
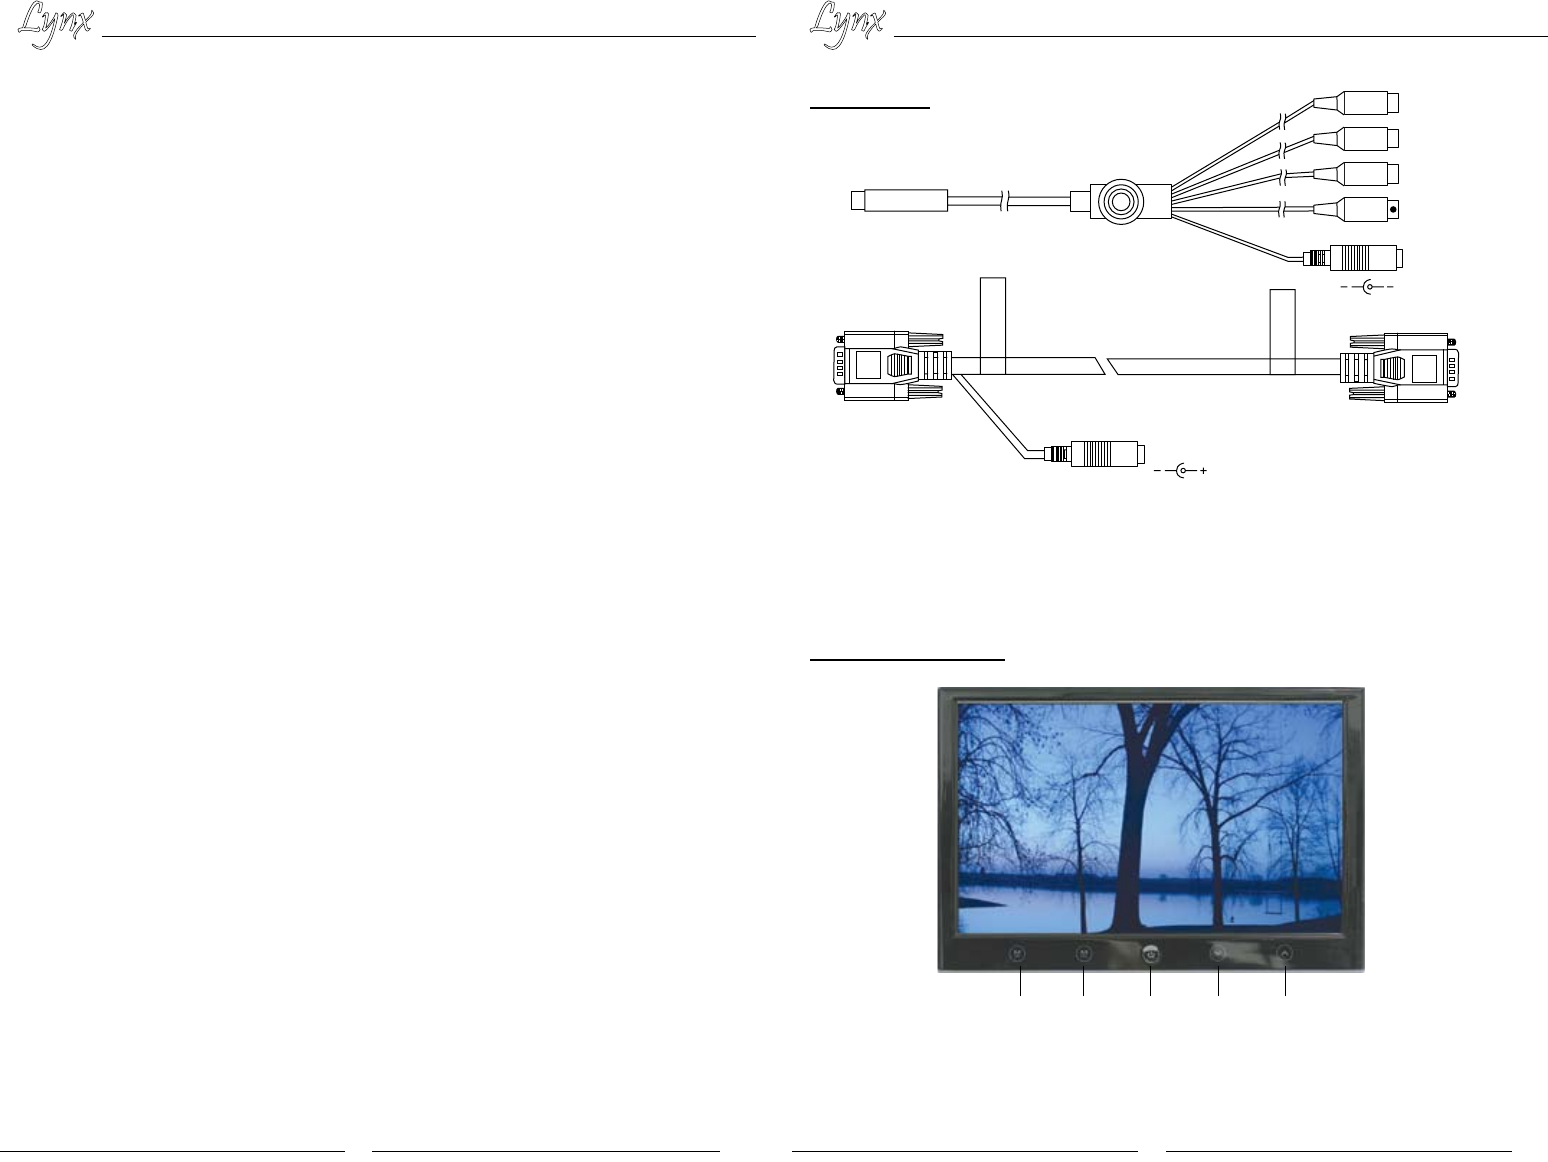
V1
R
L
1
2
3
4
5
MONITOR
COMPUTER
DC12V
1. Yellow 1 Video input 1
2. Red Audio Right input
3. White Audio Left input
4. Yellow 2 Video input 2 (BNC)
5. DC12V
1. AV1/AV2/VGA
2. Menu (Up/Down/Left/Right)
3. Power: ON/OFF
1 2 3 4 5
4. Decrease brightness, contrast, color, volume, etc.
5. Increase brightness, contrast, color, volume, etc.