Microboards Technology Print Factory
39
Chapter 6 Solve a Problem
Printer not printing:
Confirm the printer is plugged into a power source and is turned on. The ON/OFF switch is located at
the back of the unit, above the power cable connector.
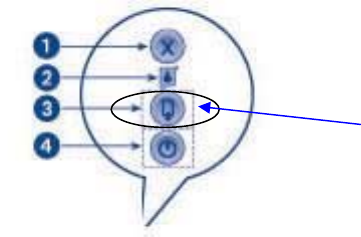
Confirm the green light is lit on the three button front panel. If AC power is on and the green light is
off, press the O button on the front panel. If the light still does not come on, contact Microboards
technical support.
Confirm the printer is connected to the computer, with a parallel or USB cable. This can be checked
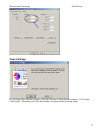
by clicking on Start, going to Settings and selecting Printers. Confirm the printer is listed and is active.
If the icon is not active, make sure the Use Printer Offline is not selected. Also check to make sure the
correct printer port is selected.
Out of Paper indication:
If the Out of Paper indicator is blinking confirm there are discs in the input bin. If the input bin is
empty, add more discs and press the out of paper button.
If there are discs in the input bin, the disc may not have dropped correctly on the belt. Press the out of
paper button on the interface and the system will attempt to load another disc. If that does not fix the
problem, proceed to Disc Loading Error.
Disk Loading error:
If a disc is not loaded correctly, it could cause the out of paper indicator to come on. Press the out of
paper button on the interface. The printer will attempt to load another disc. If this does not clear the
error, remove the discs from the input bin. Check to see if there are any discs on the belt. Remove any
discs that are left on the belt.
Lift the cover and check for any discs on the front part of the printer. Remove any discs found on the
belts. Close the cover.
Next, reload the input bin and press the out of paper button. The system will load the next disc and
continue printing the remaining discs for that job.


