EN-26
Optimizing the image
Selecting a picture mode
The projector is preset with several predefined picture modes so that you can
choose one to suit your operating environment and input signal picture type.
To select a operation mode that suits your need, you can follow one of the
following steps.
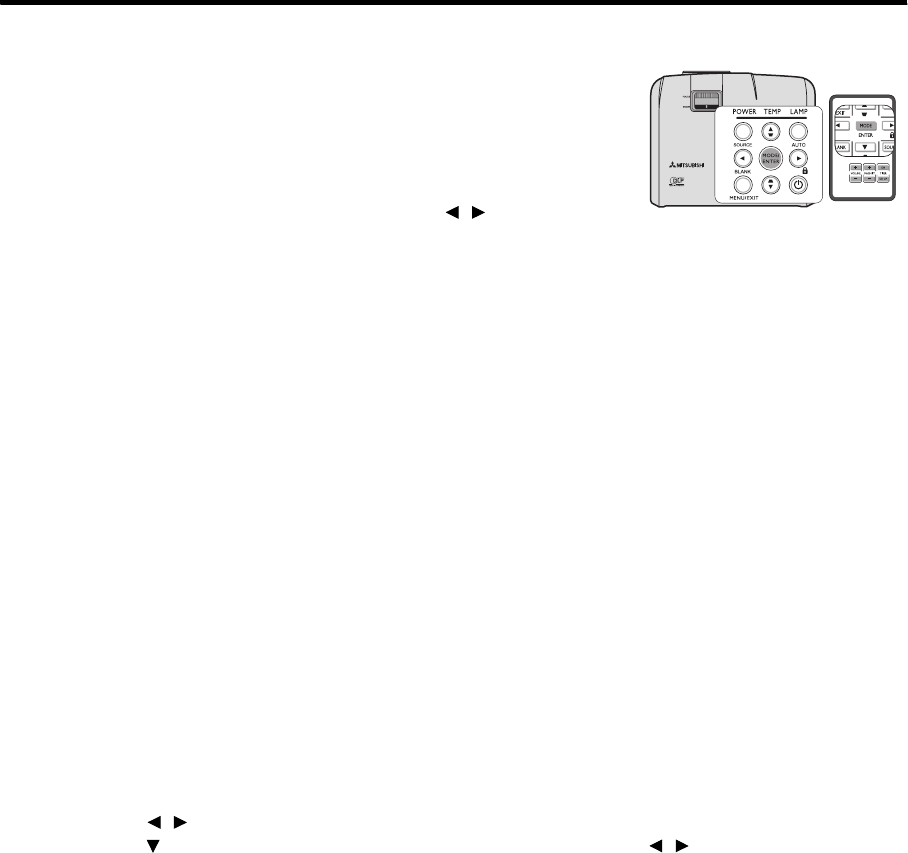
•Press MODE/ENTER on the remote control or projector repeatedly until
your desired mode is selected.
• Go to the PICTURE > Setting menu and press / to select a desired
mode.
Picture modes for different types of signals
The picture modes available for different types of signals are listed below.
1. Brightest mode: Maximizes the brightness of the projected image. This mode is suitable for environments
where extra-high brightness is required, such as using the projector in well lit rooms.
2. Presentation mode: Is designed for presentations. The brightness is emphasized in this mode to match PC and
notebook coloring. For Video input signals, this mode is suitable for playing gamebox-based video games in a
normal living room lighting level environment.
3. Normal mode: Maximizes the purity of RGB colors to provide true-to-life images regardless of brightness
setting. It is most suitable for viewing photos and for viewing PC graphic and drawing applications such as
AutoCAD. For Video input signals, this mode is appropriate for viewing colorful movies, video clips from
digital cameras or DVs.
4. Theater mode: Is appropriate for playing colorful movies, video clips from digital cameras or DVs through the
PC input for best viewing in a blackened (little light) environment. For Video input signals, this mode is suitable
for enjoying dark movies or DVD movies best viewed in a blackened (little light) home cinema or lounge room
environment.
5. User 1/User 2 mode: Recalls the settings customized based on the current available picture modes. See "Setting
the User 1/User 2 mode" on page 26 for details.
Setting the User 1/User 2 mode
There are two user-definable modes if the current available picture modes are not suitable for your need. You can use
one of the picture modes (except the User 1/User 2) as a starting point and customize the settings.
User 1 is for PC sources, and User 2 is for VIDEO sources.
1. Press MENU/EXIT to open the On-Screen Display (OSD) menu.
2. Go to the PICTURE > Setting menu.
3. Press / to select User 1 to User 2.
4. Press to select a sub-menu item to be changed and adjust the value with / . See "Fine-tuning the image
quality in user modes" below for details.
5. When all settings have been done, highlight Save Settings and press MODE/ENTER to store the settings.
6. The confirmation message 'Setting Saved' is displayed.


