


EN-24
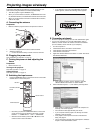
How to use the connection software
For details on the procedure for running the connection software,
see page 22.
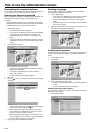
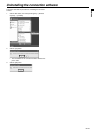
Pausing or resuming the projection
Pausing the projection
1. Click the button.
Resuming the projection
1. Click the button.
Updating the paused projection
You can update the paused image to the one displayed on the com-
puter screen currently.
1. Click the button while pausing images.
• Projected images are updated each time you click the button.
Stopping or starting the projection
Stopping the projection
1. Click the button.
• Projecting the image on the computer screen stops, and the
default screen of the projector appears.
Starting the projection
1. Click the button.
Exiting the connection software
1. Click the icon, then select [Exit].
Important
• When multiple users have logged on the screen, users who logged
on later are prioritized.
• Approximately 30 computers can be connected to the projector
wirelessly at the same time. However, the number of connectable
computers depends on the radio wave environment.
• If you want to connect to another projector, select the desired one
in Step 6 in "E. Connecting wirelessly" on p. 21.
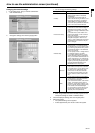
Other operation
Displaying the administration screen
1. Click the icon, then select [Web Admin].
• For details on the administration screen, see page 26.
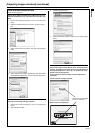
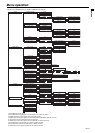
Reconnecting to the projector
If the wireless connection to the projector is lost due to problems such
as poor reception, you can reconnect to the projector.
• Set the input source of the projector to be switched to "WIRE-
LESS" in advance. (For more details, see page 21.)
1. Click the icon, then select [Search Server].
2. Enter the login code, then click the [OK] button.
• The login code is a four-digit number displayed in "LOGIN
CODE:" in the projected image.
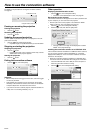
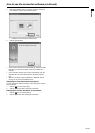
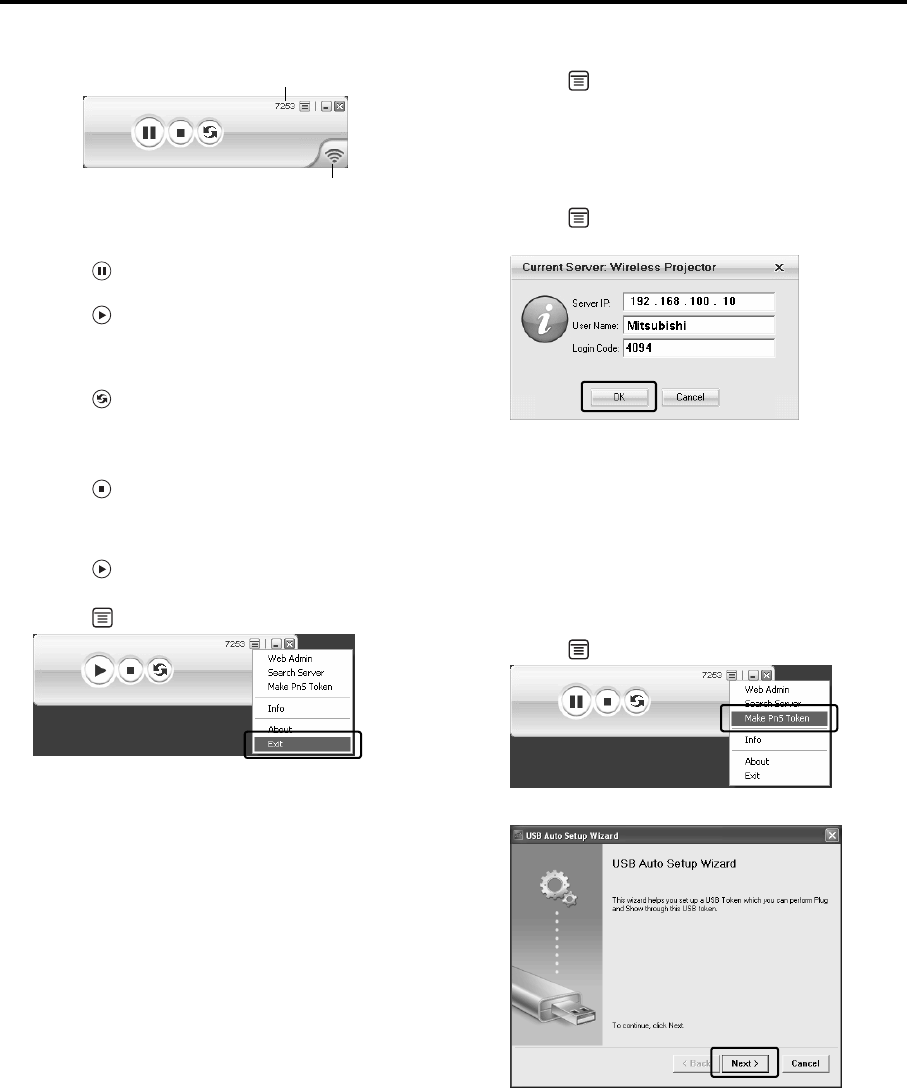
Installing the connection software on a USB flash drive
If the connection software is installed on a USB flash drive in advance,
you can use the connection software immediately on a computer
equipped with USB ports. You do not need to install the connection
software on the computer.
• When the connection software is installed on a USB flash drive,
the volume name of the USB flash drive changes to "PnS Token".
1. Insert the USB flash drive into a USB port of the computer on
which the connection software is running.
2. Click the icon, then select [Make PnS Token].
3. Click the [Next>] button.
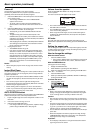
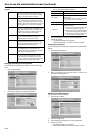
Authentication code
Reception status (three levels)