E-26
General Operation
This section describes the use of direct operation with the main unit or remote control buttons.
For information about operation using the menu, see "Menu Operation Method" on Page E-35 and the various items on
Pages E-42 to E-54.
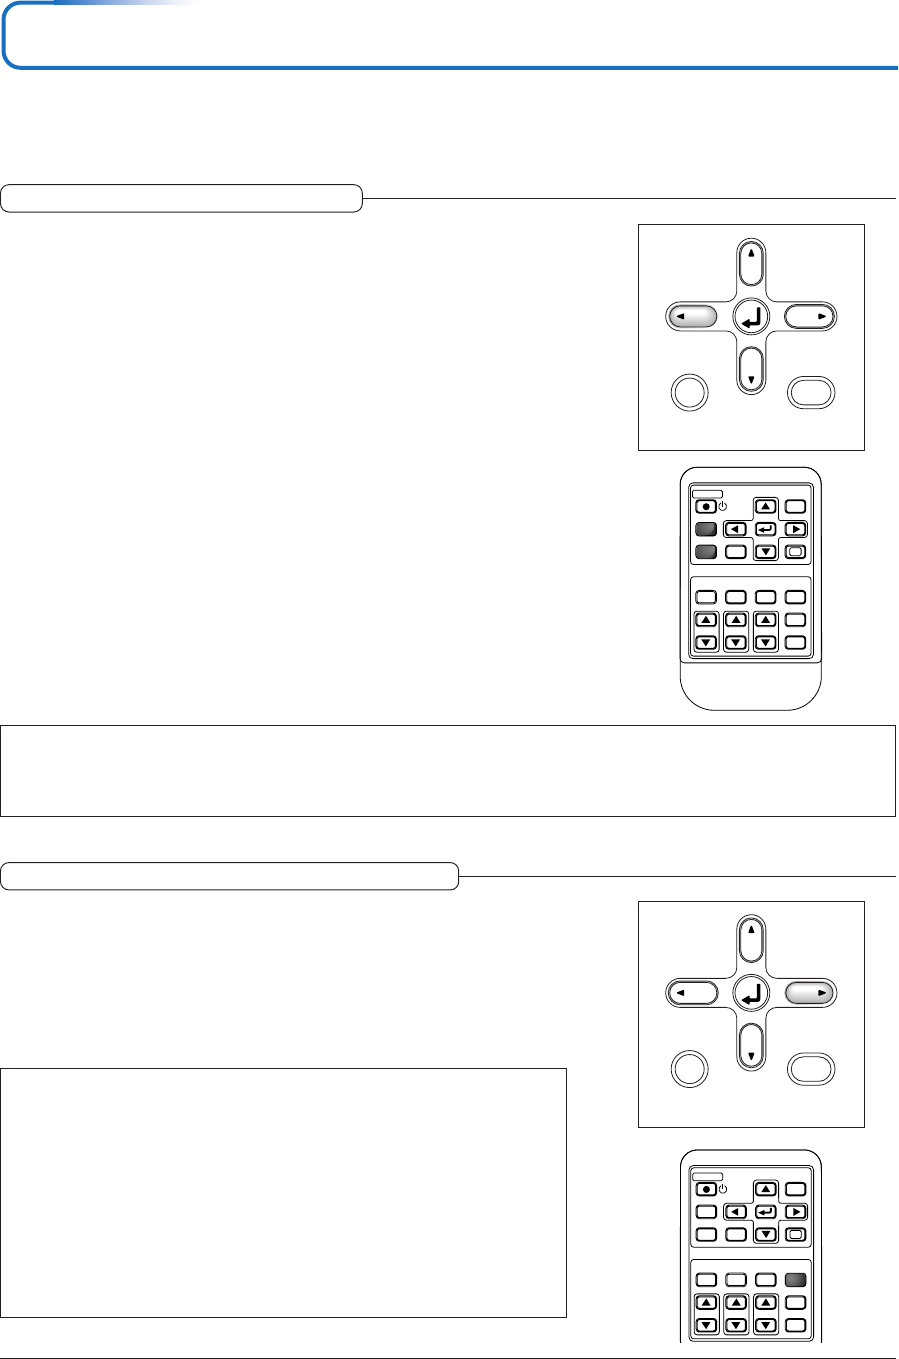
Input Selection
This operation selects the input signal to be projected.
Main unit operation: Press the SOURCE button.
(It will not function while the menu or the quick menu is displayed.)
When Auto Source is On
If there is no input signal at the source that was previously used, the projector
automatically selects another source that has the next input signal.
When Auto Source is Off
Each press of the button switches the selection one step in the sequence of PC →
VIDEO → S-VIDEO.
Remote control operation: Press the desired input selection button.
RGB button........ This is used to switch to the PC connector.
VIDEO button..... Each press of this button switches the input between Video and S-Video.
When Auto Source is On
When an input signal is not present at the selected source, the projector automati-
cally selects the next source that has an input signal.
When Auto Source is Off
The projector switches to the selected source regardless of whether an input sig-
nal is present.
STANDBY
FREEZE
MUTE
LAMP MODE AUTO
ASPECT
TIMER
VOL KSTN ZOOM
CANCEL QUICK
MENU
ENTER
Q
1234
RGB
VIDEO
Note
* When you do not operate source selection, the projector will assume the input selection condition that was previously used.
* See "Auto Source" on Page E-49 for information about the Auto Source on and off conditions.
* When the input format has been switched, you may be required to reconnect the input signal.
RGB
STANDBY
VIDEO
FREEZE
MUTE
LAMP MODE
ASPECT
TIMER
VOL KSTN ZOOM
CANCEL QUICK
MENU
ENTER
Q
123
AUTO
4
Note
* If the display position is shifted, vertical lines appear on the picture, or the projection
is not good even after using automatic adjustment, please perform image adjustment
manually. See "Picture Adj. / Fine Picture / H Position / V Position " on Page E-42.
* If the position is off or there are dark vertical bands on the picture, press the AUTO
button with the screen as bright as possible (make the screen as bright as possible by
for example displaying the trash window over the entire screen). If the problem per-
sists after pressing the AUTO button several times, set manually at the “Picture Ad-
justment” menu.
* When the image extends beyond the boundaries of the screen or is smaller than the
screen, set Aspect to "Auto". See "Selection of Aspect Ratio" on Page E-27 and "As-
pect" on Page E-47.
Automatic Adjustment of Analog RGB
This function automatically adjusts the position shift of the analog RGB input sig-
nal, the size of the picture, vertical striping, and color infidelity.
Normally, this function is adjusted automatically at the time of signal selection.
Main unit operation/Remote control operation: Press the AUTO button. (This
will not function while the menu or the quick menu is displayed.)
A press of the AUTO button starts the automatic adjustment.


