E – 28
Setting in Accordance With
Image Contents (continued)
Initial Settings
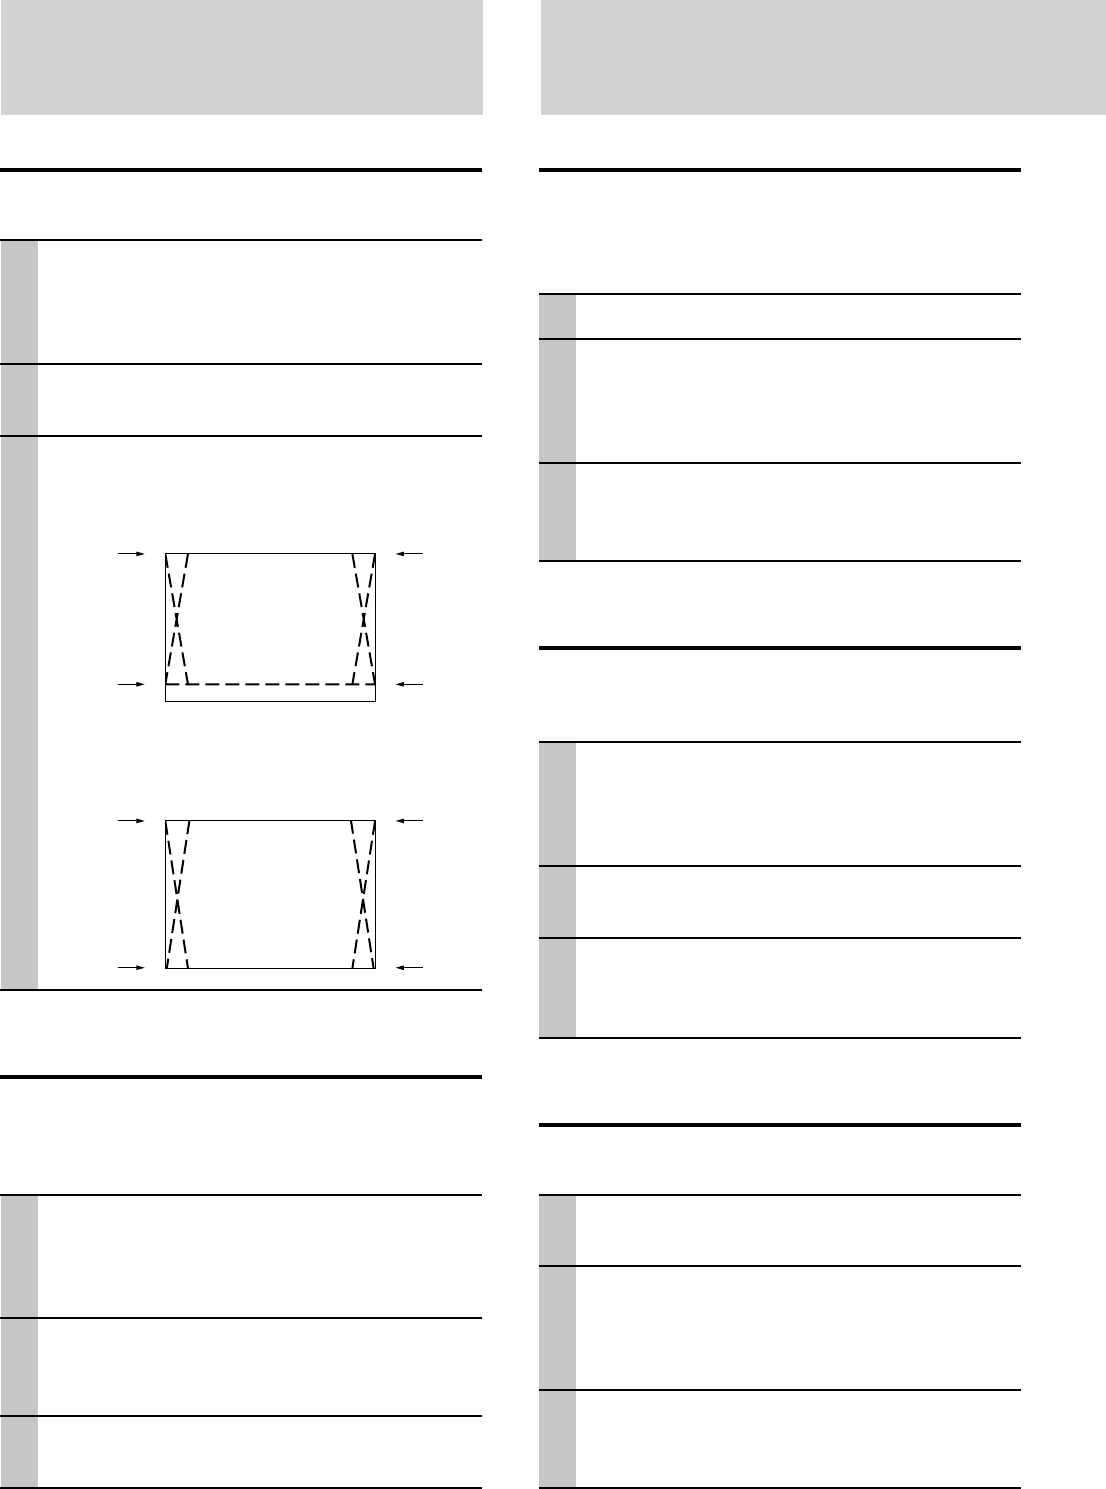
Setting Keystone
This is used to set the height for keystone adjustment.
1 With the FLIP COVER of the remote con-
trol open, press the MENU button to dis-
play the Advanced menu, then use the
cursor $ / % keys to select “VIEW”.
2 Display the frame, then use the cursor {
/ } keys to select “KEYSTONE”.
3 Use the cursor $ / % keys to select
“NORMAL” or “FULL”.
●Normal: normal keystone correction
●Full: In this mode, the image is enlarged to fill
the screen vertically and then Keystone correc-
tion is performed.
Setting the partial display position
Input a signal that is rated SXGA to RGB/YCbCr connec-
tor and then set the partial display position with ASPECT
(described later) set to Real.
1 With the FLIP COVER of the remote con-
trol open, press the MENU button to dis-
play the Advanced menu, then use the
cursor $ / % keys to select “VIEW”.
2 Display the frame, use the cursor { / }
keys to select “PAN” and then press the
ENTER button.
3 Use the cursor { / }, $ / % keys to set
the display position.
Audio Muting
Audio only can be muted for each input.
This function is convenient when multiple video units are
connected to this projector.
1 Select the input to be muted (page 16).
2 With the FLIP COVER of the remote con-
trol open, press the MENU button to dis-
play the Advanced menu, then use the
cursor $ / % keys to select “SETUP”.
3 Use the cursor { / } keys to select
“SOUND MUTE”, then use the cursor $ /
% keys to set muting to ON or OFF.
Selecting the Background
Two different backgrounds can be selected for projection
when there is no signal input.
1 With the FLIP COVER of the remote con-
trol open, press the MENU button to dis-
play the Advanced menu, then use the
cursor $ / % keys to select “SETUP”.
2 Use the cursor { / } keys to select
“BACKGROUND”.
3 Use the cursor $ / % keys to select one
of the following backgrounds.
● Blue ● Black
Auto Gain
Brightness and contrast are adjusted automatically.
1 Select the input to be set for auto gain
(page 16).
2 With the FLIP COVER of the remote con-
trol open, press the MENU button to dis-
play the Advanced menu, then use the
cursor $ / % keys to select “SETUP”.
3 Use the cursor { / } key to select “AUTO
GAIN”, then use the cursor $ / % keys to
set ON or OFF.
To close the menu
Press the CANCEL button.


