


15
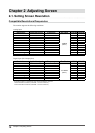
Chapter 2 Adjusting Screen
2 Prepare the display pattern for the analog display adjustment.
Windows
1. Load the “EIZO LCD Utility Disk” to your PC.
2. Start the “Screen Adjustment Utility” from the startup menu. If it cannot be started, open the
screen adjustment pattern les.
Other than Windows
Download the "Screen adjustment pattern les" from our site: http://www.eizo.com
NOTE
• For details and instructions on opening the “Screen adjustment pattern les”, refer to “Readme.txt” le.
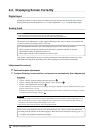
3 Perform the auto adjustment again with the analog screen adjustment pattern
displayed.
●
To adjust ickering, screen position, and screen size automatically [Auto Adjustment]
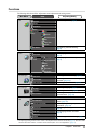
Procedure
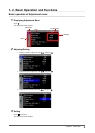
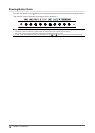
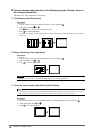
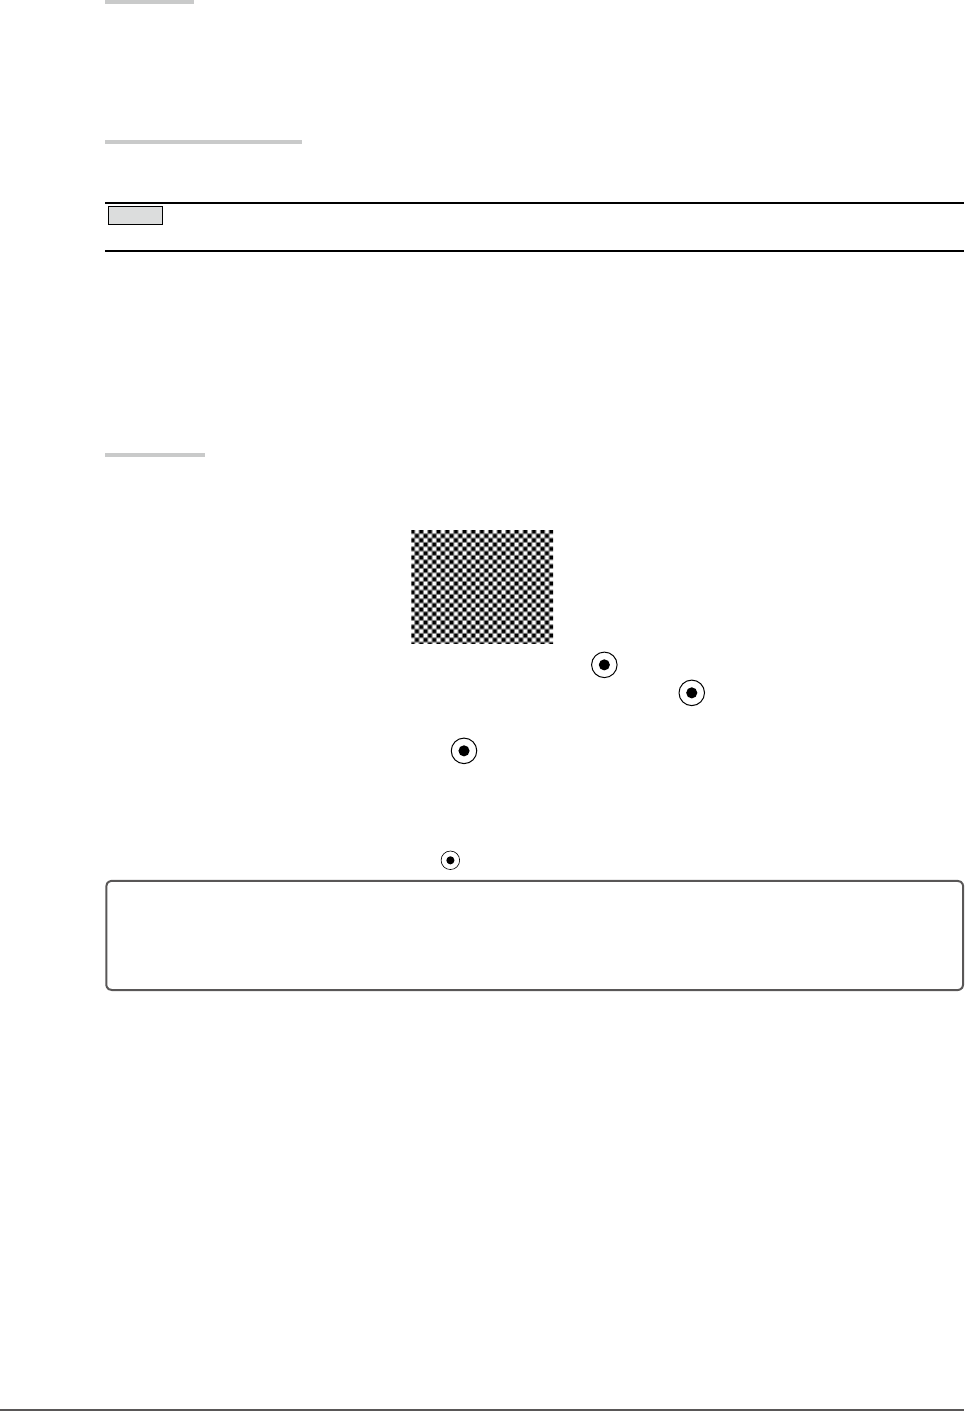
1. Display Pattern 1 in full screen on the monitor using the “Screen Adjustment Utility” or the screen
adjustment patternles.
2. Choose <Screen> from the Adjustment menu, and press .
3. Choose <Analog Adjustment> from the <Screen> menu, and press .
To proceed with the subsequent adjustments, select an item in <Analog Adjustment> of the <Screen> menu.
4. Choose <Auto Adjustment>, and press .
The auto adjustment function works (the message “In Progress” appears) to adjust the ickering, screen position,
and screen size correctly.
When the auto adjustment is completed, a message appears. Select “OK” to conrm the new settings or “Cancel”
to restore the previous settings, and press
.
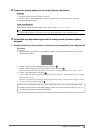
If the screen is not displayed correctly even after adjusting in step 3 above, perform the adjustments
according to the procedures on the following pages. When the screen is displayed correctly, go to step
5 “To adjust color gradation automatically [Range]”.