


30
3. Projecting an Image (Basic Operation)
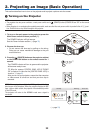
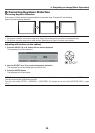
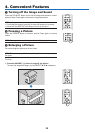
Adjusting with the Auto Keystone Function
The Auto Keystone correction feature will correct the vertical distortion of a projected image on the screen. No special
operation required. Just put the projector on a flat surface.
TIP: Even when the menu setting for [AUTO KEYSTONE] is turned on, [KEYSTONE] can be adjusted manually.
To turn on [AUTO KEYSTONE], proceed the following steps.
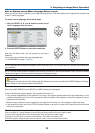
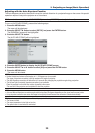
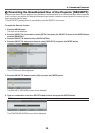
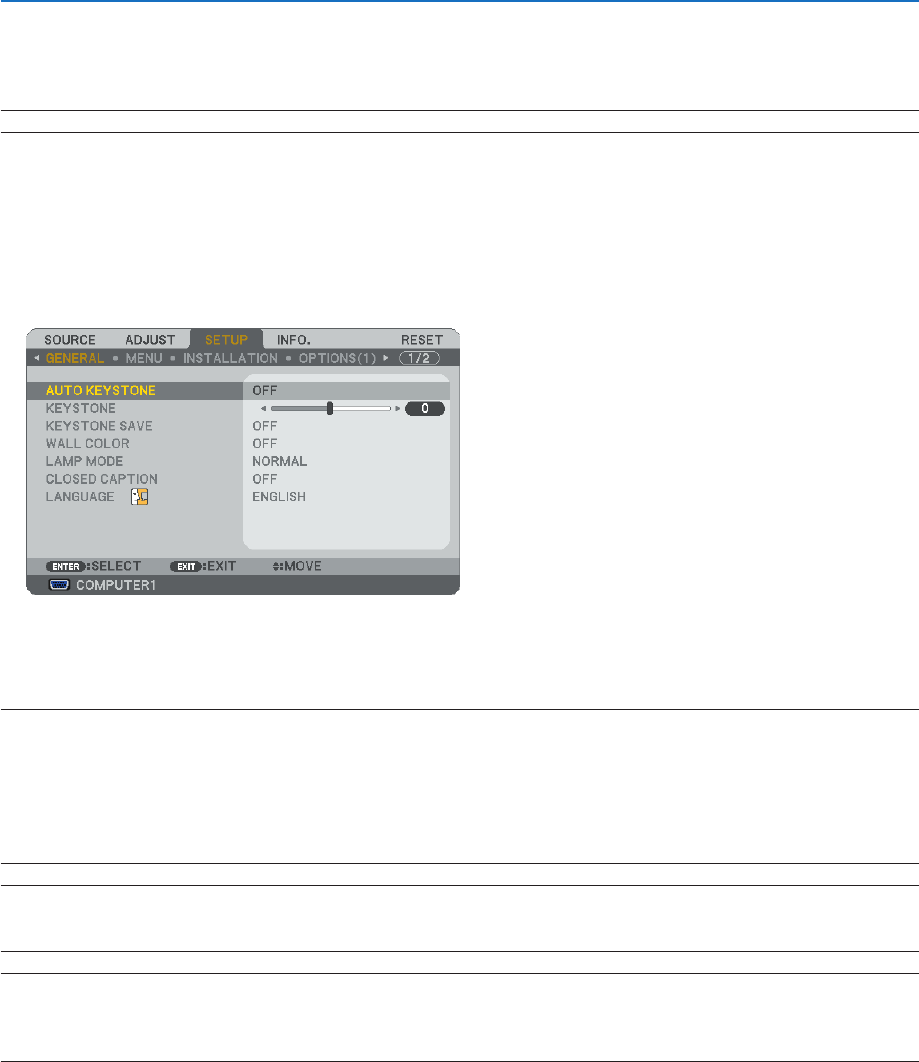
1. Press the MENU button
The menu will be displayed.
2. Press the SELECT
button to select [SETUP] and press the ENTER button.
The [GENERAL] screen will be highlighted.
3. Press the SELECT
button.
The [AUTO KEYSTONE] will be highlighted.
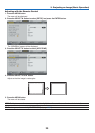
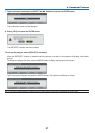
4. Press the ENTER button to display the [AUTO KEYSTONE] screen.
5. Press the SELECT
or button to select [ON] and press the ENTER button.
6. Press the MENU button.
The menu will be closed.
NOTE:
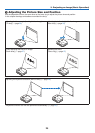
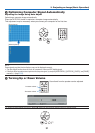
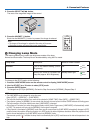
• Vertical distortions between offset angles of +/- 30 degrees can be corrected.
The range of keystone correction is not the maximum tilt angle of projector.
• The Auto Keystone correction will take effect in 2 seconds after changing the projection angle during projection.
• The left and right (horizontal) keystone correction is not available.
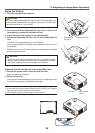
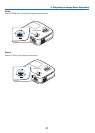
Place the projector so that the lens surface is parallel to the screen.
The rear feet of the projector can be adjusted to level the projector.
NOTE:
• Auto and Manual Keystone correction angle could be less than 30 degrees depending on the signal and/or aspect ratios.
• Using keystone correction can cause the image to be slightly blurred because the correction is made electronically.
TIP: If you have one of the following conditions, the projector’s Auto Keystone may not be performed correctly.
• The screen is tilted
• The room temperature is too high or too low
• The optical zoom is maximized or minimized