System Settings
167
ReadyNAS OS 6.1
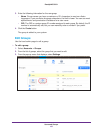
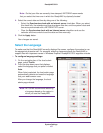
Note: So that your files are correctly time-stamped, NETGEAR recommends
that you select the time zone in which the ReadyNAS is physically located.
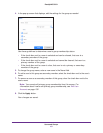
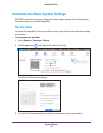
4. Select the correct date and time by doing one of the following:
• Select the Synchronize clock with an Internet server check box. When you select
this check box, the calendar and time drop-down lists dim, and the system’s date and
time are synchronized with a NETGEAR NTP server.
• Clear the Synchronize clock with an Internet server check box and use the
calendar and time controls to set the date and time manually.
5. Click the Apply button.
Your changes are saved.
Select the Language
To make sure that the ReadyNAS correctly displays file names, configure the system to use
the appropriate character set. For example, selecting Japanese allows the ReadyNAS to
support files with Japanese names in Windows Explorer. ReadyNAS OS 6 supports unicode.
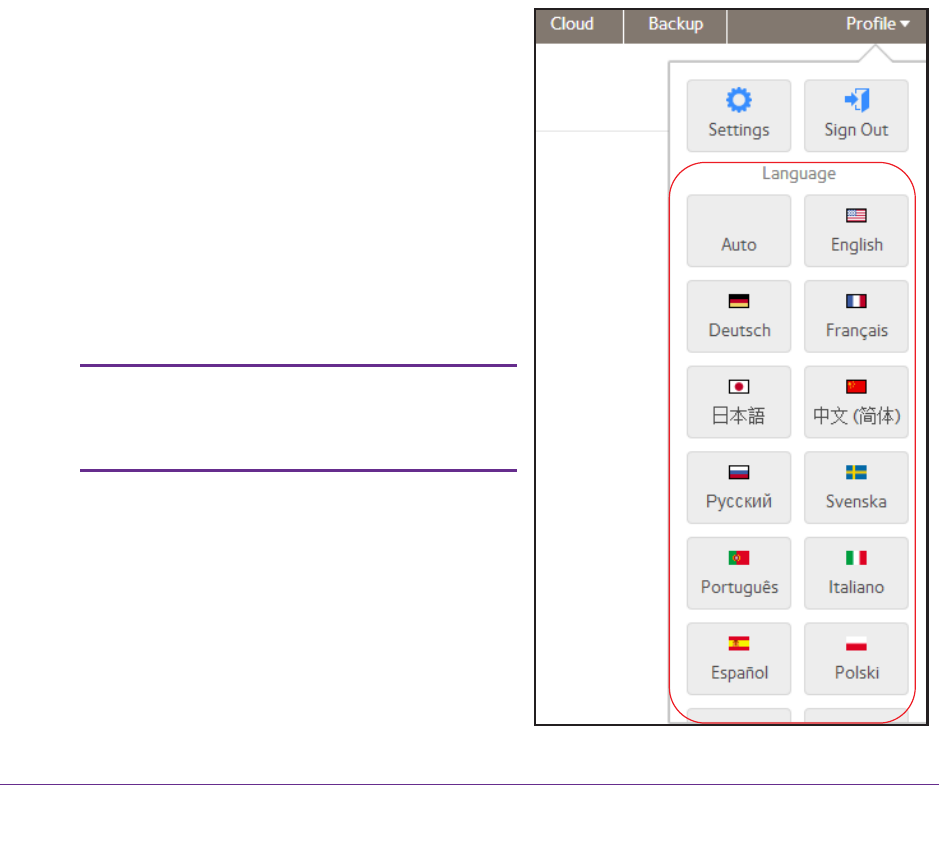
To configure language settings:
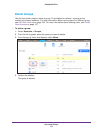
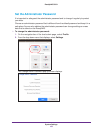
1. On the navigation bar of the local admin
page, select Profile.
2. From the drop-down menu that displays,
select the language that you prefer or select
Auto.
When Auto is selected, the local admin page
automatically detects and uses the language
that your web browser uses.
After you change the language, the local
admin page reloads.
Note: NETGEAR recommends selecting
a language based on the region in
which you use the ReadyNAS.


