


NETGEAR ReadyNAS User Guide
3-4 Maintenance and Administration
v1.0, October 2007
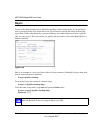
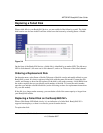
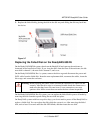
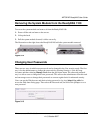
1. Open the disk tray door.
2. Press the button under the failed disk. The latch pops out.
3. Pull out the disk tray and remove the screws.
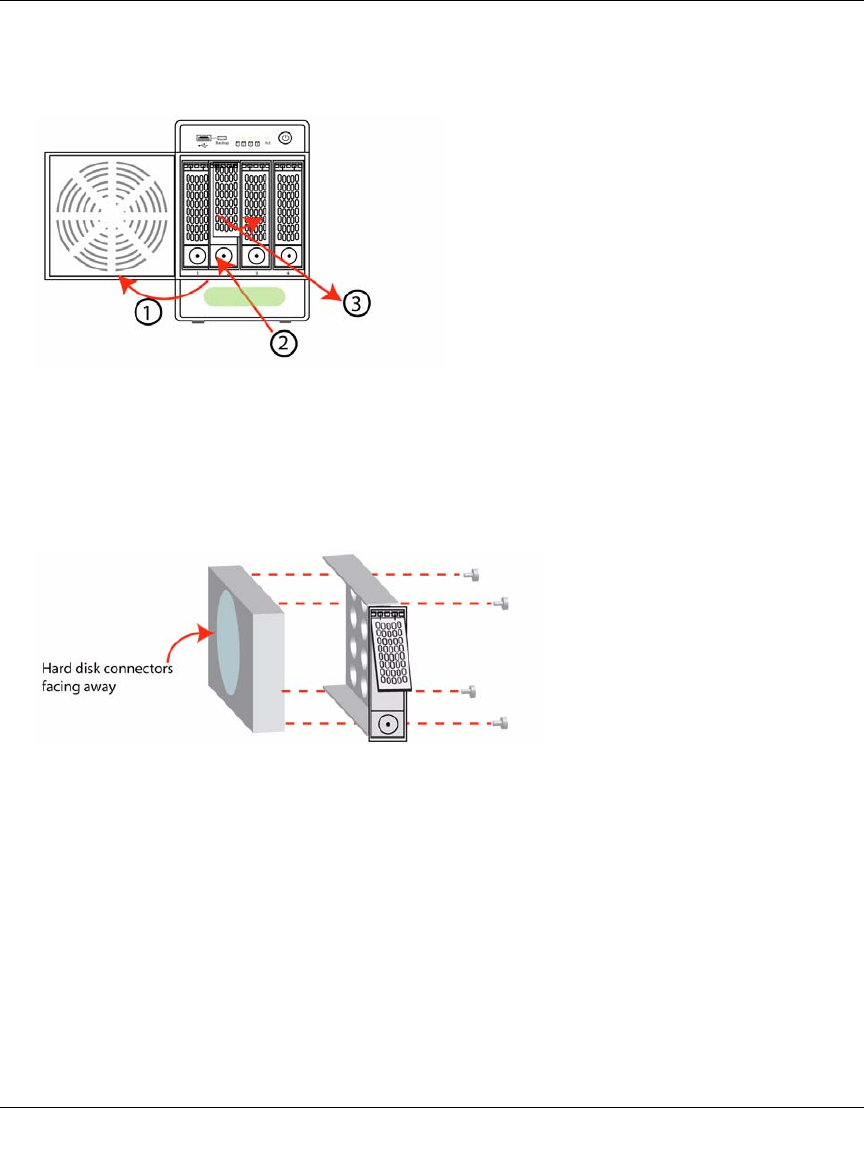
4. Replace the failed disk, reassemble, and slide the disk tray back in. Make sure that the hard
disk connectors are facing away from you when you reassemble the disk.
The ReadyNAS system performs RAID synchronization in the background, and notifies you
by e-mail when synchronization is complete.
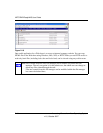
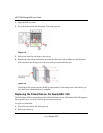
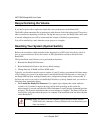
Replacing the Failed Disk on the ReadyNAS 1100
The Disk Status LED corresponding to the failed disk blinks slowly. The ReadyNAS1100 supports
hotswap disk trays; you do not need to power down the device.
To replace a failed disk:
1. Press disk tray button; the latch pops out.
2. Pull out the disk tray.
Figure 3-5
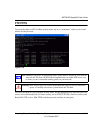
Figure 3-6