Chapter 1. Installation and Basic Configuration | 9
XAV5501 Powerline AV+ 500 Adapter User Manual
Adding Adapters to Your Network
Once the first adapter is installed and connected to your router, you can easily add adapters
into your network.
To add Powerline adapters:
1. Be sure the first Powerline adapter is connected to your router.
2. Plug additional Powerline adapters into power outlets near the other computers and
additional peripheral devices to be included in your Powerline network.
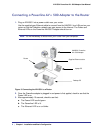
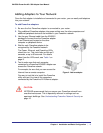
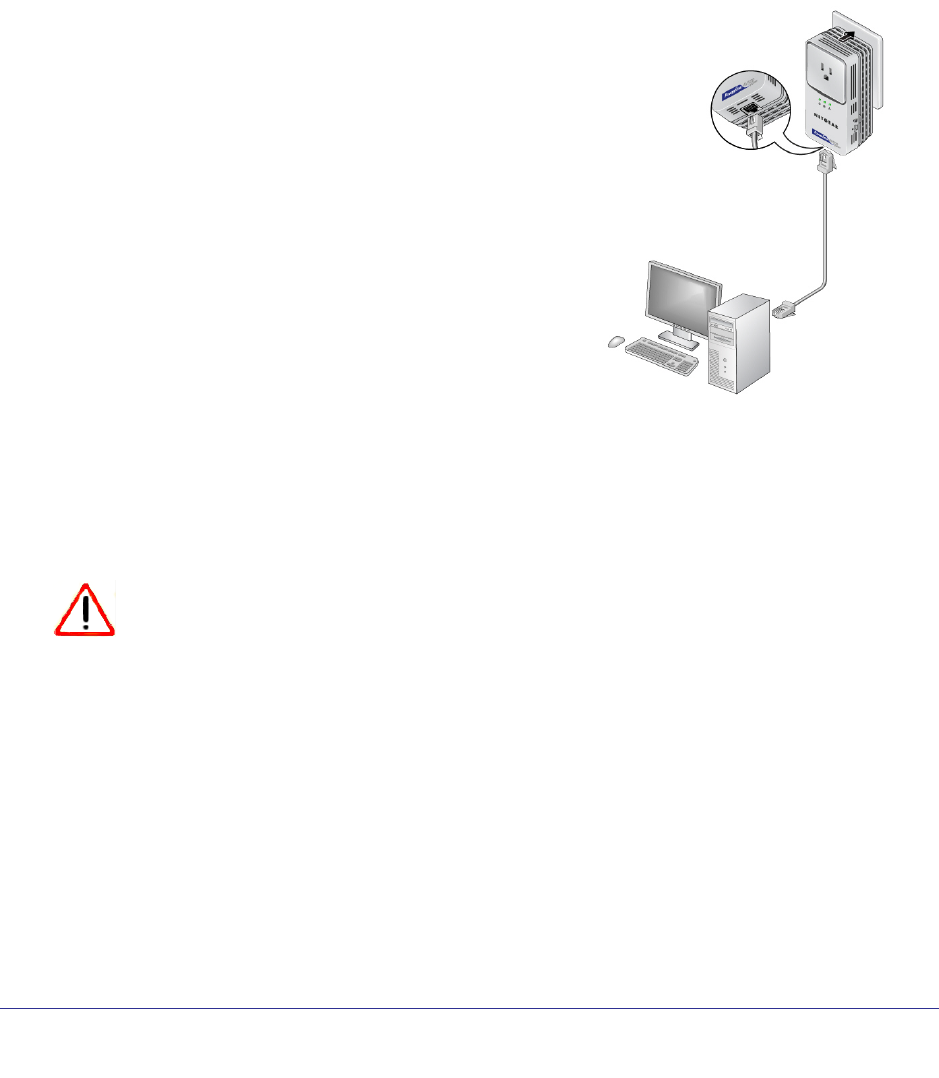
3. Use the gray Ethernet cable from the XAV5501
package to connect from the
Figure 4. Add an adapter
Powerline adapter
to an Ethernet port located on the other
computer or peripheral device.
4. Wait for each Powerline adapter to be
recognized by the Powerline network.
The Power, Ethernet, and Powerline LEDs
should turn on. This could take as little as 5
seconds, or up to 80 seconds. For details
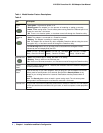
about how the LEDs work, see Table 1 on
page 6.
5. Test to make sure that each computer
connected to a Powerline XAV5501 Adapter can
access the Powerline network.
For example, be sure that you can access the
Internet from a remote computer.
One way to test this is to install the Powerline
utility and use it to view all the computers
connected by the Powerline AV Ethernet adapter.
CAUTION:
NETGEAR recommends that you secure your Powerline network from
unauthorized access. This is especially relevant in settings such as
apartment buildings. See Understanding Powerline Network Security on
page 10.


