7
S
IMPLIFIED
I
NFRARED
R
OUTER
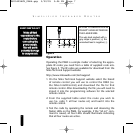
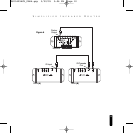
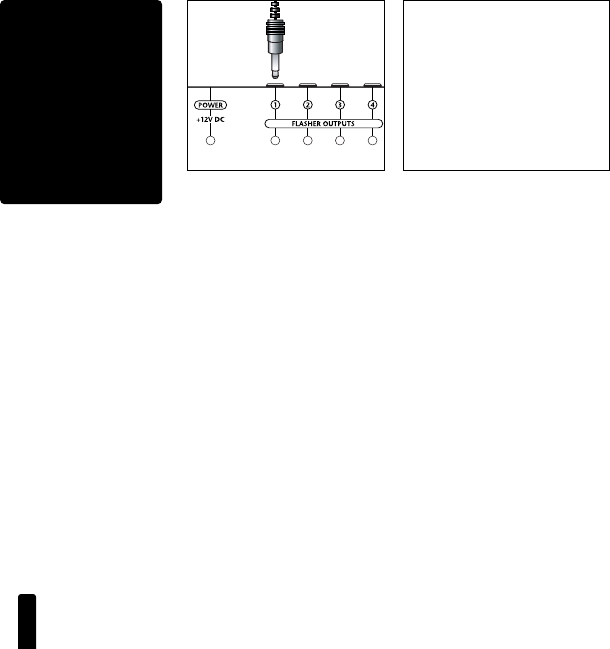
BE SURE TO OBSERVE PROPER
POLARITY WHEN EXTENDING
THE FLASHER WIRE.
The wire lead marked with a
gray stripe is positive (+); the
unmarked lead is negative (-).
IMPORTANT
M
M
a
a
k
k
e
e
a
a
l
l
l
l
f
f
i
i
n
n
a
a
l
l
c
c
o
o
n
n
n
n
e
e
c
c
t
t
i
i
o
o
n
n
s
s
t
t
o
o
t
t
h
h
e
e
r
r
o
o
u
u
t
t
e
e
r
r
b
b
e
e
f
f
o
o
r
r
e
e
c
c
o
o
n
n
n
n
e
e
c
c
t
t
i
i
n
n
g
g
t
t
h
h
e
e
p
p
o
o
w
w
e
e
r
r
s
s
u
u
p
p
p
p
l
l
y
y
.
.
T
T
h
h
i
i
s
s
w
w
i
i
l
l
l
l
a
a
v
v
o
o
i
i
d
d
p
p
o
o
t
t
e
e
n
n
t
t
i
i
a
a
l
l
d
d
a
a
m
m
a
a
g
g
e
e
t
t
o
o
c
c
o
o
m
m
p
p
o
o
n
n
e
e
n
n
t
t
s
s
.
.
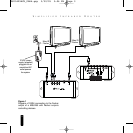
Figure 4
Operation
Operating the PAR4 is a simple matter of selecting the appro-
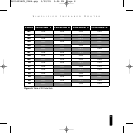
priate IR codes you need from a table of supplied code sets.
See figure 5. The IR codes are available for download from the
Niles Technical Support website:
http://www.nilesaudio.com/techsupport
1. On the Niles Technical Support website select the brand
of remote control you will use to control the PAR4 (i.e.
the Niles IntelliControl) and download the file for that
remote control. After downloading the file you will need to
import it into the programming software for the selected
remote control.
2. From the supplied table select the route you wish to
use (i.e. code 1: all four routes on) and load it into the
remote control.
3. Test the code by operating the remote and observing the
flasher LEDs on the PAR4. For example, if the “all on” com-
mand is issued, all four LEDs should illuminate indicating
that all four routes are active.
DS00429ACN_PAR4.qxp 3/30/05 3:06 PM Page 7


