4
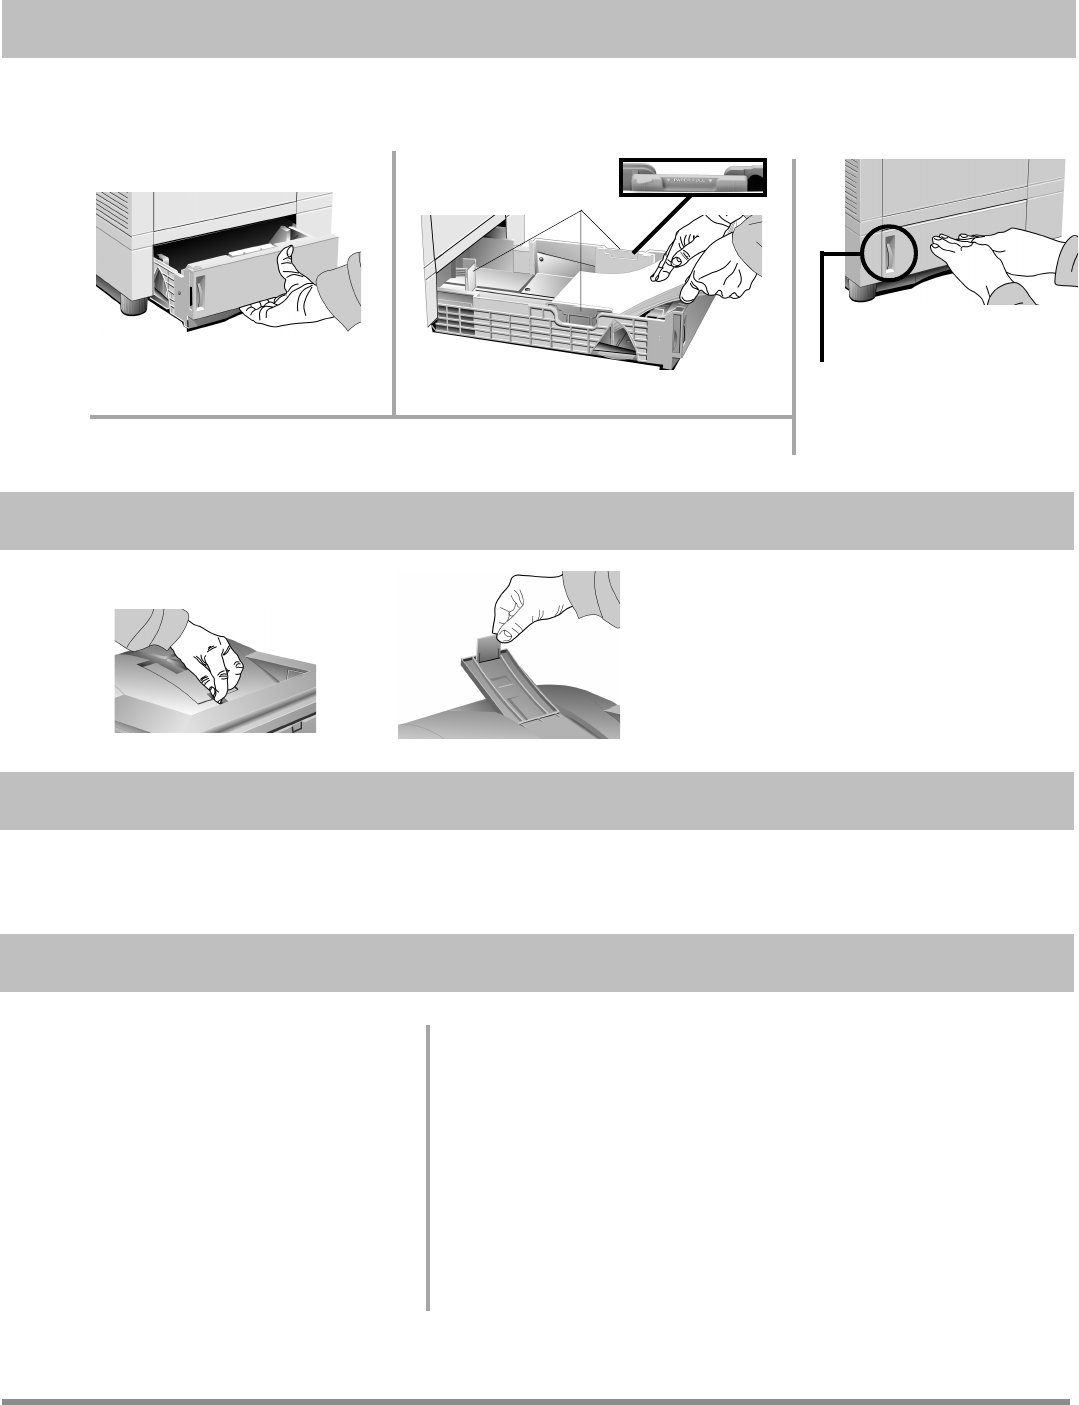
Pull the tray out.
Push the tray back in.
Adjust the guides (1) and load paper.
Paper Gauge:
Indicates the amount of
paper left in the drawer.
Models 24Tn & 24DXn Only: Load the 2nd Paper Tray in the same manner.
1 Turn the printer on.
2 Press ON LINE.
!
To print envelopes, transparencies,
labels, etc., use the front feeder and
the rear exit path: see “How Do I?”
in the on-line User’s Guide for more
information.
Open.
Lift.
Models Furnished with 2nd Paper
Tray
The printer is set to print from Tray 1. You
can set the printer to automatically switch
to Tray 2 when Tray 1 is empty, or to make
Tray 2 the default. See “How Do I?” in the
on-line User’s Guide.
Front Panel Display Language
To change the display language, see “Front
Panel” under Printer Controls in the
on-line User’s Guide.
Power Save Delay & Quiet Mode Settings
The printer comes with Power Save Delay on.
!
For the fastest possible time to print, set the Power Save Delay
to Disabled and the Quiet Mode to Off: see “Time to Print”
under Printer Controls in the on-line User’s Guide.
Printer Emulation
The printer automatically switches emulations depending on what
driver it detects when it receives a document. To select a specific
emulation, see “Selecting an Emulation” under Printer Controls in
the on-line User’s Guide.
3 Hold FORM FEED until PRINT DEMO PAGE appears on the display.
4 Press ENTER, then ON LINE.
You’re now ready to install the software: see Part 2.
!
The printer comes set for standard, 8½" x 11", 20-lb. paper fed from Tray 1. To change the default to
another print media, size or paper source, see “How do I?” in the on-line User’s Guide.
5
Load Paper
6
Open the Top Paper Exit Path.
7
Print the Demo Page.
8
Check the Settings.
1


