


Page 13
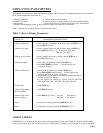
Setup For Engineering Units
After setting a channel's relay for NORMALLY OPEN/CLOSED operation, the next parameter to be set are the 3 letters
that follow the process value in the display. These 3 letters represent the measurement units for that particular channel.
Any desired combination
of the following letters may be programmed:
A,B,C,D,E,F,G,H,I,J,L,N,O,P,Q,R,S,T,U,Y
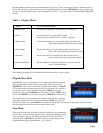
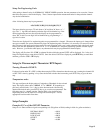
The letter selection goes up to 'Y' and down to 'A' and from 'A' down to ' - '
sign. The ' -' sign indicates that the particular digit will be blanked e.g. if the
desired engineering unit was feet, then the display can be programmed to
show ' Ft'. In this case one digit will be blanked out by programming a ' - '
sign in its location.
Three dots are displayed if no engineering units are programmed for a channel. Whenever the input type is changed from
one type to another, the system automatically clears the engineering units. Therefore, it is necessary to re-enter new units
after a change in the input type has been made. The only exception in this case is when a thermocouple selection is made.
In that case, the unit automatically enters an 'F' or 'C' (Fahrenheit or Centigrade) depending upon the selected display
units. However, just like the other inputs, any alternate units may be programmed for thermocouples.
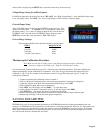
The display will first show 'Cx UNIt' (x=channel #) after which the current UNITS will be displayed. Use ^v key (ref.
Setup For High Scale) to setup desired UNITS. Once the desired UNITS are displayed, push SETUP key to enter them
and then go back to 'SYS CH' display.
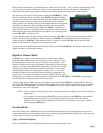
Setup for Thermocouple/ Thermistor/ RTD Inputs:
Turning Channels ON/OFF:
If selected option under 'IP tYPE' is either thermocouple, RTD or thermistor then the next step is turning the channel ON
or OFF. This is done by pushing ^v key. Once the desired selection has been made, push SETUP key to go to the next
step.
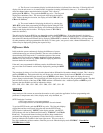
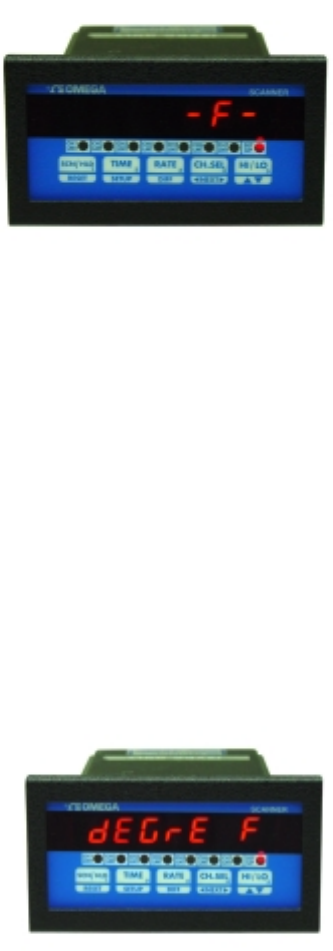
Temperature units:
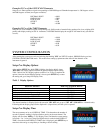
This step configures the display units to Centigrade or Fahrenheit for the selected
input. The display either shows "dEGrE C" or "dEGrE F" depending on
previously selected units. Use ^v key to select alternate mode. Once having
obtained the desired units, press SETUP key to go on to the next parameter. The
following steps (i.e. channel setpoint, Channel limit, relay dead-band and
engineering units) are the same as for voltage and current inputs -- refer to
appropriate sections and/or flow chart.
Setup Examples
Example #1: Use of the OFFSET Parameter
Setup for a 4-20ma transducer signal corresponding to 0-500 gallons of fluid (reading in 10th of a gallon resolution):
DECIMAL POINT = 999.9
HIGH SCALE = 500.0
LOW SCALE = 000.0
OFFSET = 4.000
TARE = 0.000