6
OPERATION
HDMI Input Indicators
The HM-31 has three HDMI Input Indicator lights on its front panel. When the HM-31
senses audio/video transmission on one of its HDMI INPUT ports, the corresponding
HDMI Input Indicator is illuminated in Red color. When an HDMI INPUT is selected for
use, the corresponding HDMI Input Indicator is illuminated in Blue color. The HDMI
Input Indicator is not illuminated when there is no input signal or no HDMI cable
connected.
Input Selection with the Front Panel Button
To select an HDMI input, press the SELECT button on the front panel of the HDMI
switch. Each press of the button progresses to the next active HDMI INPUT. Signal
from the selected HDMI INPUT is sent to the OUTPUT port and its corresponding
HDMI Input Indicator is illuminated in Blue.
Input Selection with the Remote Control
The button on the remote control has the same function as the SELECT button on
the front panel.
There are also direct input selection buttons
on the remote control.
Pressing each button selects the corresponding HDMI INPUT port, no matter whether
the port has active input signal or not.
Automatic Input Selection
The HDMI INPUT ports 1, 2 and 3 are prioritized, with port 1 having the highest priority
and port 3 the lowest. When the HM-31 HDMI Switch senses a new input signal on a
port with higher priority than the currently selected port, it automatically switches to the
high priority port. When input signal ceases on the currently selected port, the HM-31
HDMI Switch automatically switches to the port with next priority and active signal.
This priority makes it possible to automatically select input without touching the remote
control or front panel. Simply turn on the desired source device and the HM-31 HDMI
Switch will automatically select the correct HDMI INPUT port.
For example, in the “Typical Connection” diagram on page 5, if you turn on the DVD
player, the HDMI Switch will automatically select HDMI INPUT 1. To watch cable TV,
simply turn off the DVD player and turn on the cable box. To play games, simply turn
on the Game Console and turn off other devices.
Note: Some cable box models have an active HDMI output even when they are turned
off. In this case please connect the cable box to HDMI INPUT 3 so it has the lowest
priority.
7
MOUTING OPTIONS
Wall Mounting
The HM-31 HDMI Switch can be wall-mounted. To vertically mount the HM-31 HDMI
Switch, please drill two holes on the wall using the included wall-mount template as
guidance. Install appropriate anchors if necessary. Screw in two flat head screws into
the holes or anchors, and leave approximately 1/16 inch space between the screw
head and the wall surface. Hang the HM-31 HDMI Switch on the screws using the key
holes on the bottom of the HDMI Switch. Due to the variation of possible mounting
surfaces, mounting hardware is not included.
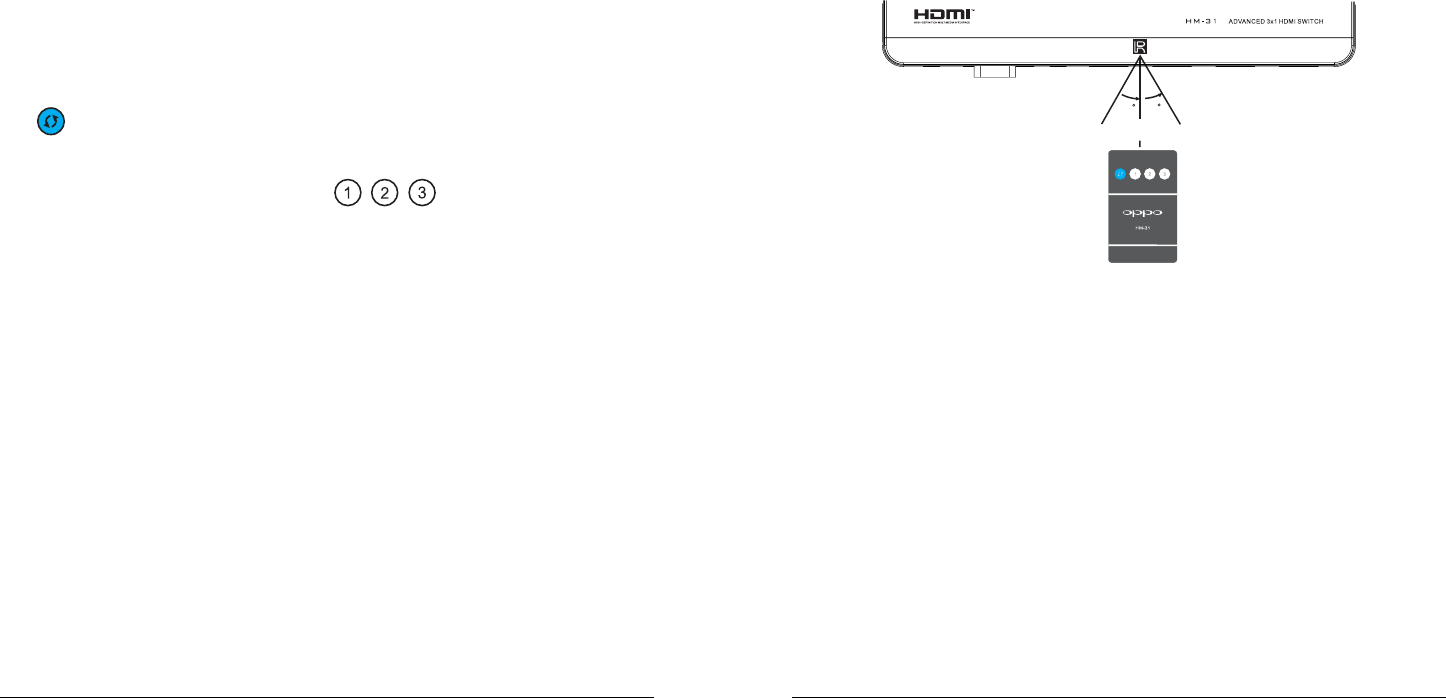
There is an additional IR Remote Sensor on the top of the HM-31 HDMI Switch to
facilitate wall-mount operation. Please make sure that it is not blocked to ensure
reliable remote control.
Within about 25 ft
Hidden Placement
If you would like to place the HM-31 HDMI Switch at a hidden location, please
purchase an External IR Remote Sensor (OPPO part number IR-ES1) and plug it into
the IR IN port on the back panel of the HDMI Switch. Place the sensor head at a
location where there is direct line-of-sight to ensure reliable operation. The External IR
Remote Sensor is available from your dealer or directly from OPPO Digital, Inc.
Custom Installation
If your home theater system has an integrated control system, please ask your custom
installer to contact OPPO for the RS-232C control protocol. The HM-31 HDMI Switch
has an RS-232C control port and can be integrated into most custom home theater
control systems.


