S
UPPLIED ACCESSORIES
5
CONTENTS / SUPPLIED ACCESSORIES / INSERTING THE REMOTE CONTROL BATTERIES / REMOTE CONTROL RANGE
I
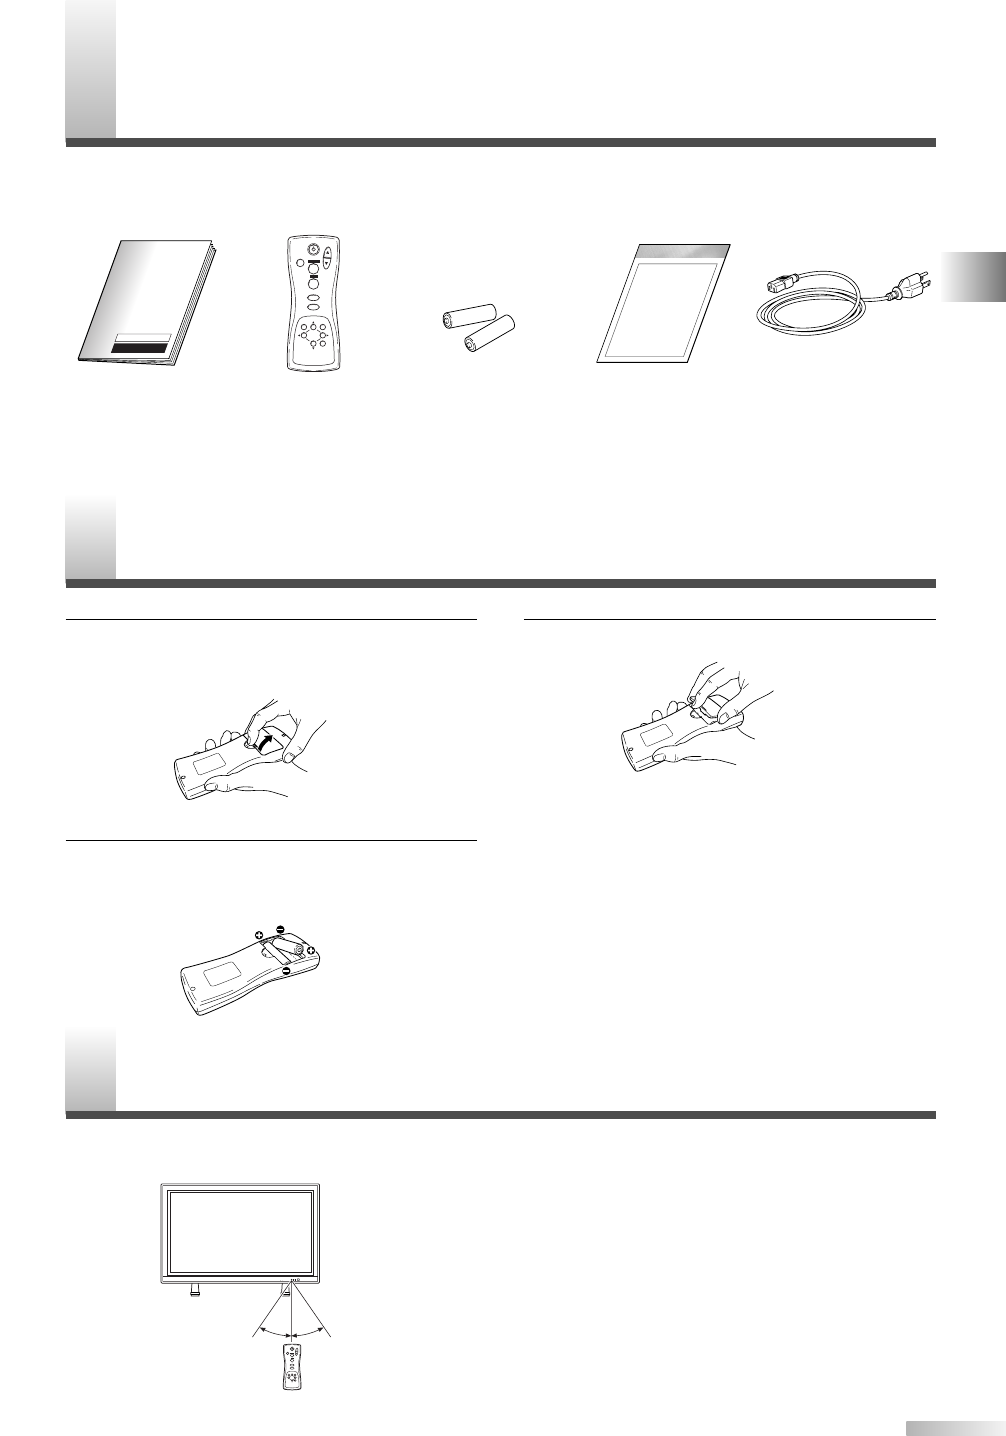
NSERTING THE REMOTE CONTROL BATTERIES
1 Remove the back cover of the remote control
while pressing the tab on the back cover down
with your finger.
2 Insert two AA size batteries, making sure that
the polarities of the batteries match the sym-
bols inside the remote control.
3 Replace the back cover of the remote control.
NOTE:
• Do not insert a mix of old and new batteries.
• Do not insert a mix of different brands of batteries
or different types of batteries.
• Always use new, fresh batteries as replacement.
•Never attempt to charge, heat, burn or take apart
batteries.
R
EMOTE CONTROL RANGE
Operate the remote control within a 30 degree angle on both sides of the infrared sensor on the main
unit. You can operate the remote control from a distance of several yards away from the main unit.
NOTE:
Other devices which use infrared beams, sunlight,
fluorescent lights, etc., may affect the range and
effectiveness of the remote control. Make sure the
plasma display is positioned in a place which mini-
mizes interference from them.
POWER
INPUT SELECT
DISPLAY
MENU
PREVIOUS
SLEEP
VOL
MUTE
SCREEN MODE
STILL
With in 30 degreesWith in 30 degrees
Approximately
7.6 yds (7 m)
Approximately 5.5 yds (5 m)Approximately 5.5 yds (5 m)
VOLUME
INPUT SELECT
STANDBY
ONPOWER
This product comes with the following accessories:
Please confirm that they are included.
NOTE:
If any of these accessories are missing, please contact your dealer.
P Owner's Manual
(1EMN20890A)
P Remote Control
(NE801UD)
P AA batteries x 2
P Power cable
(WBC0182LTE01)
POWER
INPUT SELECT
DISPLAY
MENU
PREVIOUS
SLEEP
VOL
MUTE
SCREEN MODE
STILL
P
Quick Connection Guide
(1EMN20891)


