


21
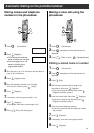
Using the hand scanner
Scanning a document
Operation indicator
Scanning
position
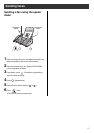
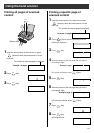
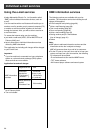
1 Press down the knob of the
hand scanner, and pull out the
scanner from the main unit.
Then, turn it over.
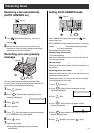
2 Press (Resolution) repeatedly to select the
desired resolution.
●
Resolution types
(Letter: For documents that consist of letters)
(Photo: For documents containing
photographs, etc.)
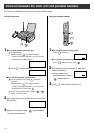
3 Press (Scanning width) repeatedly to select the
desired width.
●
Scanning width types
(Within 208mm)
(Within 252mm)
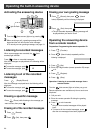
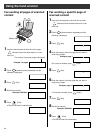
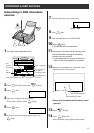
4 Place the scanning position and the
(Document’s left end) on the document.
5 Press (Start/Stop).
●
You will hear a beep, and the operation indicator
will light green after about 1 or 2 seconds.
You can start scanning after the operation indicator
lights green.
Knob
(Document’s
left end)
(Scanning
position)
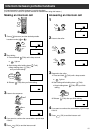
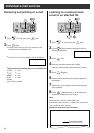
6 Press the hand scanner against the document,
and move it slowly towards the direction of the arrow
().
●
When it is scanning properly, the operation
indicator will flash green.
●
For the proper scanning speed for different
resolution types, see “Scanning speed and memory
capacity” on the bottom of this page.
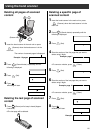
7 After scanning the document, press
(Start/Stop).
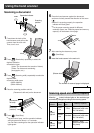
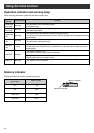
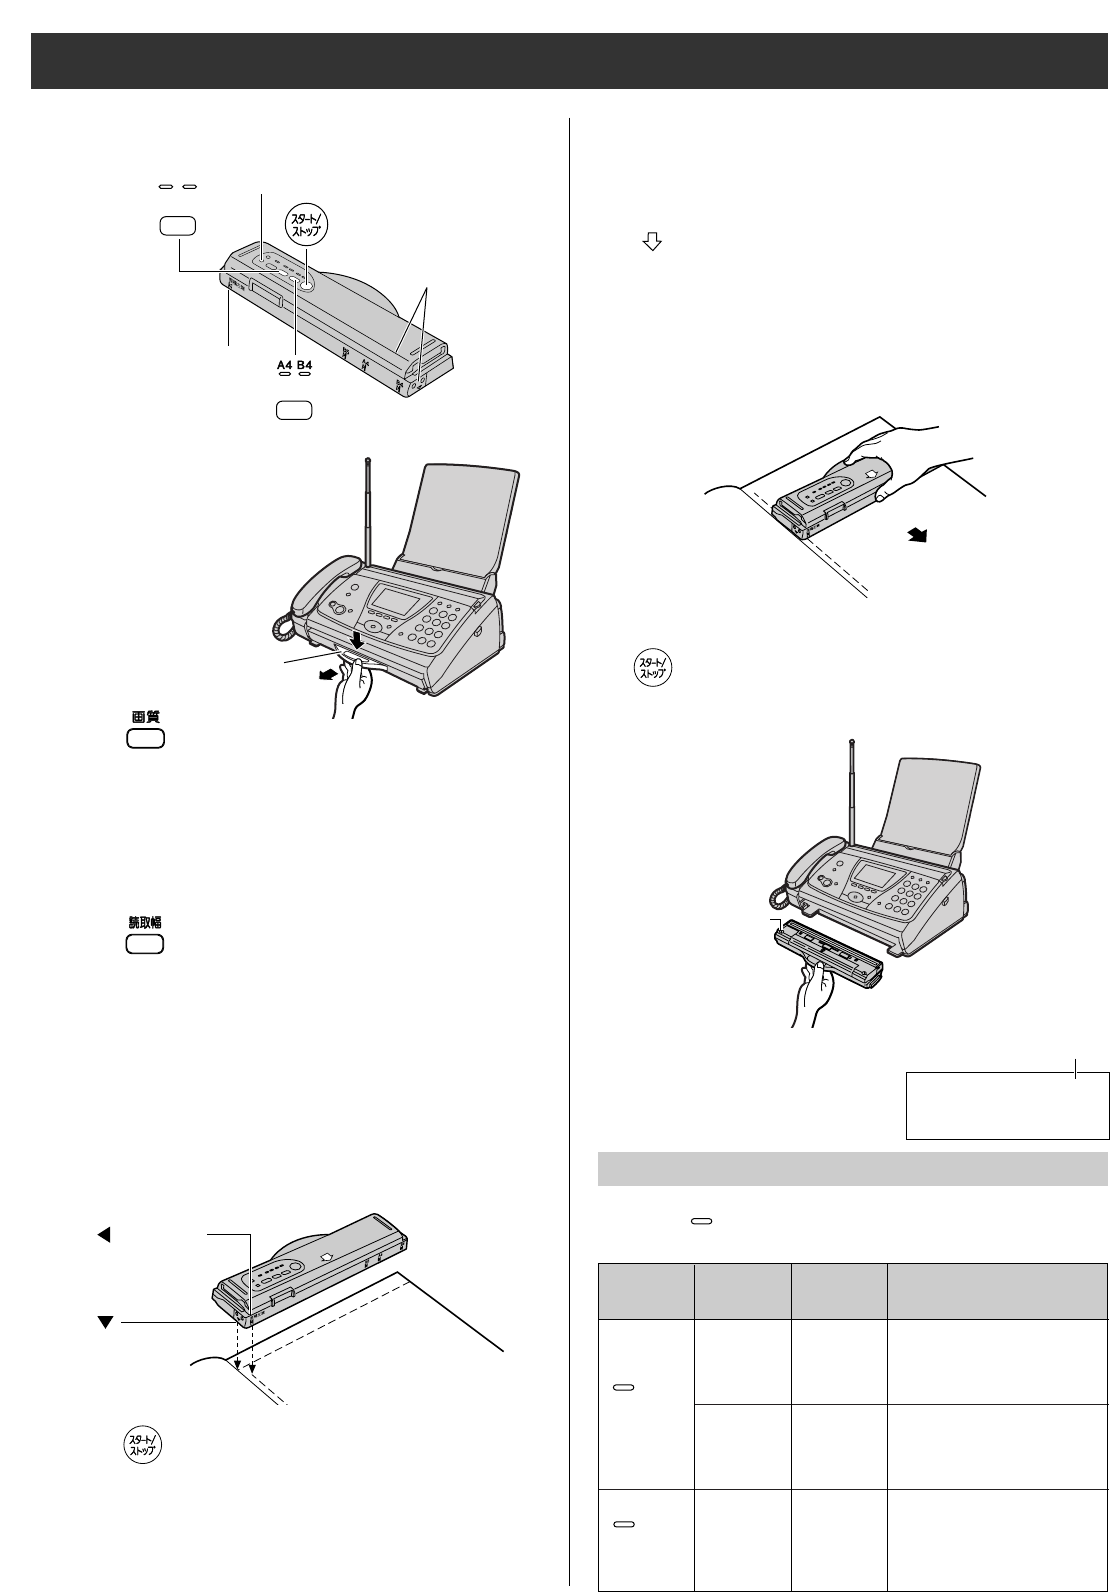
Scanning speed and memory capacity
Scanning direction
When the (Letter) indicator lights on, the resolution type
automatically changes according to the scanning speed.
8 Insert the hand scanner in the main unit.
(Bottom side)
The number of scanned pages is displayed.
(Letter)
light on
(Photo)
light on
Memory capacity
Approx. 10 pages
(document paper size-
A4, 700 letters)
Approx. 20 pages
(document paper size-
A4, 700 letters)
Approx. 1 page
(document paper size-
A4, photo)
Scanning
speed
50mm/
1 sec
100mm/
1 sec
25mm/
1 sec
Resolution
type
Fine
Standard
Resolution
indicator