Introduction 21
CopperLink 1211E/1212E User Manual 3 • Configuration
Introduction
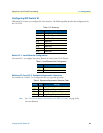
The CL1212E has eight DIP switches (S1) for configuring the unit for a wide variety of applications. This sec-
tion describes switch locations and explains the different configurations.
Accessing the DIP Switches
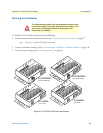
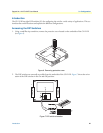
1. Using a small flat-tip screwdriver, remove the protective cover located on the underside of the CL1212E
(see
figure 6).
Figure 6. Removing protective cover
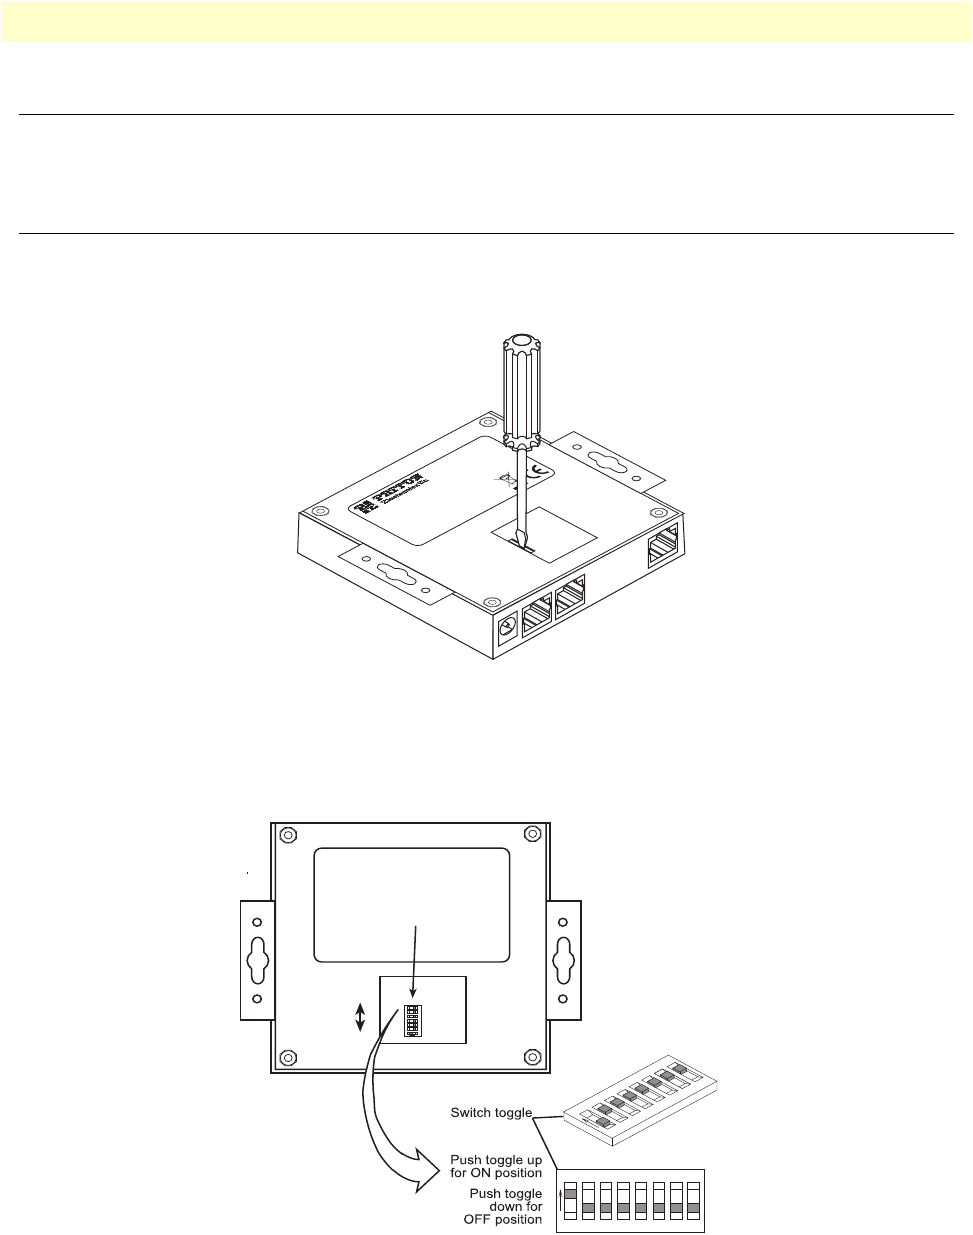
2. The DIP switches are externally accessible from the underside of the CL1212E. Figure 7 shows the orien-
tation of the DIP switches in the On and Off positions.
Figure 7. DIP switch orientation
ON
OFF
S1
1234
ON
S1
567
ON
S1
12345678
123
4
O
N
S1
567
8


