SmartNode 4654 & 4658 ADSL2+ Quick Start Guide
3
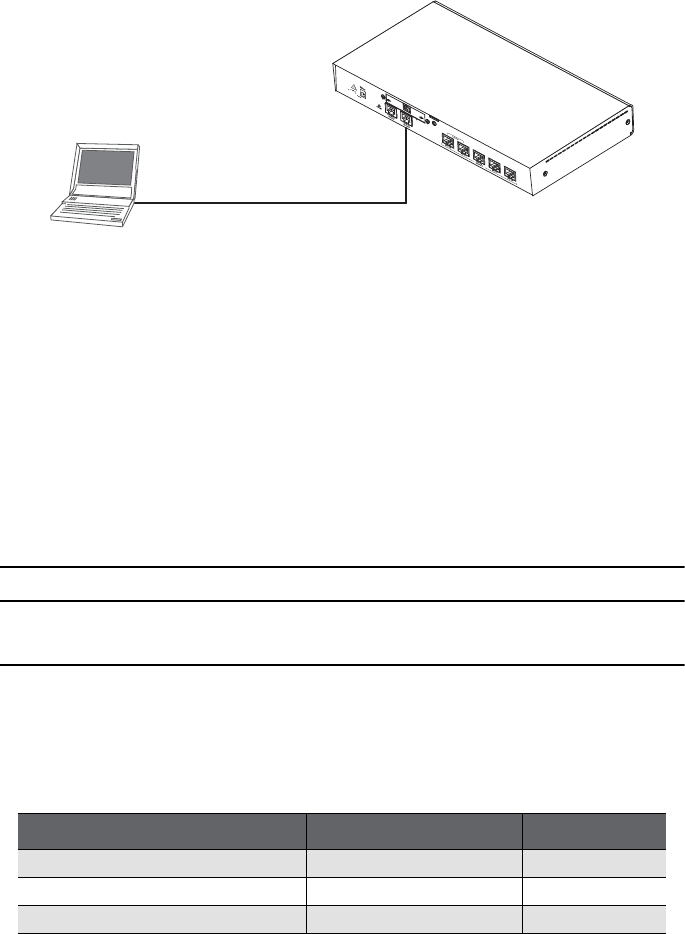
Figure 1.
Connecting to the PC
1.
Connect the PC’s Ethernet port to
LAN (ETH
0/0)
port of the SmartNode 4650 ADSL2+. The SmartNode
4650 ADSL2+ Series is equipped with Auto-MDX Ethernet ports, so you can use straight-through Ethernet
cables for host or hub/switch connections. (See
figure 1
.)
2.
The SmartNode comes with a built-in DHCP server to simplify configuration. Therefore, to automatically
configure the PC for IP connectivity to the SmartNode, configure the laptop PC for DHCP. The SmartNode
will provide the PC with an IP address.
3.
Check the connection to the SmartNode by executing the
ping
command from the PC command window
as follows:
ping 192.168.1.1
3.0 Configuring the desired IP address
3.1 Factory-default IP settings
The factory default configuration for the Ethernet interface IP addresses and netmasks are listed in
table 1
.
Both Ethernet interfaces are activated upon power-up. LAN interface
ETH 0/1 (LAN)
provides a default DHCP
server. The WAN interface uses DHCP client to get the IP address and netmask automatically from the
service provider.
If these addresses match with those of your network, go to section
4.0 “Connecting the SmartNode to the
network”
on page 4. Otherwise, continue with the following sections to change the addresses and
network masks.
Table 1.
Factory default IP address and network mask configuration
Item
IP Addresss Network Mask
WAN interface DSL port (DSL 0/0)
DHCP DHCP
LAN interface Ethernet 1 (ETH 0/0) 192.168.1.1 255.255.255.0
DHCP server address range (LAN) 192.168.1.10-192.168.1.19 255.255.255.0
A
C
T
L
I
N
K
1
2
V
,
1
.2
5
A
–
+
Straight-through wired cable
LAN (ETH 0/0)
Laptop PC


