4
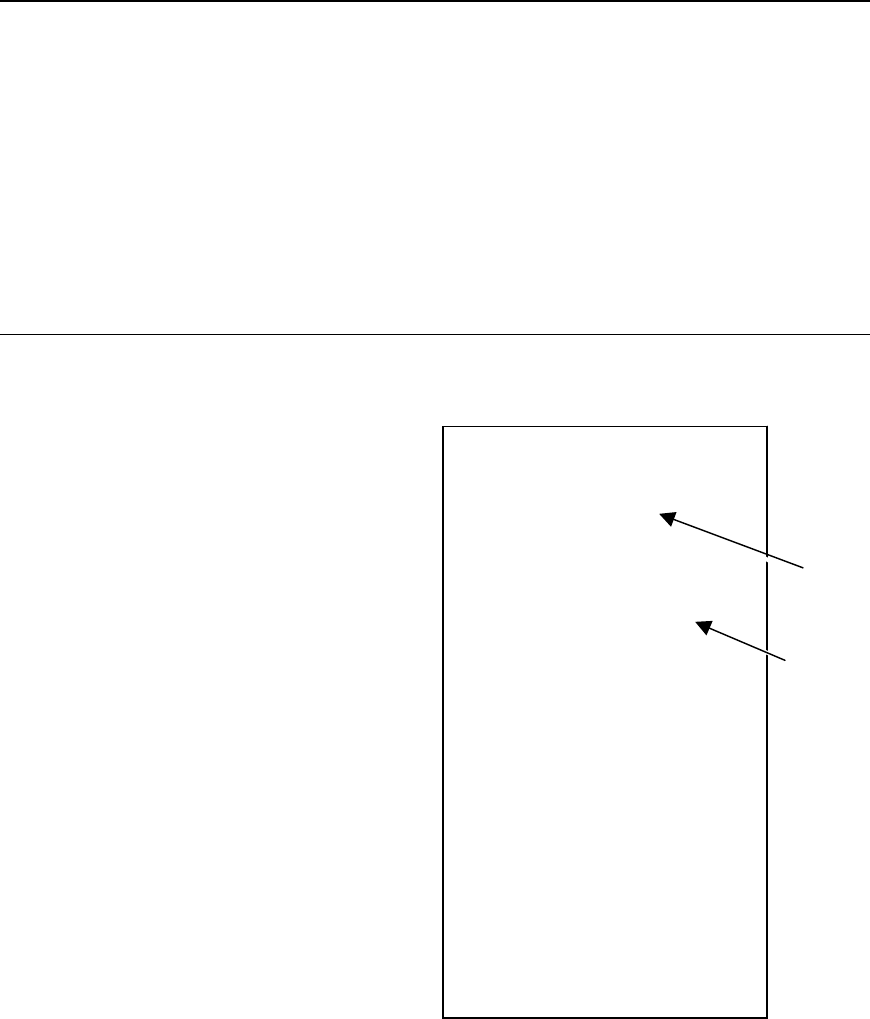
MonarchNet 2 Network Status
Connected – Wireless
MAC – 00-33-22-AK-35-18
Nwk Ver – CTMO – 7.011 (2006.4.12)
Boot Ver – 7.6
WiFi Ver – 1F 1.4.9
Prn Ver – Version 3.0
Boot Ver – Version 3.1
IP Address 192.0.192.0
Subnet Mask 255.255.0.0
IP Gateway 192.0.192.0
(via DHCP 192.0.192.10)
Boot Method AUTO
Boot Tries 3
Timeout 0 min
Keep Alive 1 min
WiFi Information
WiFi SSID ABC123
WiFi Mode INFRASTRUCTURE
WiFi Speed 11
WiFi WEP Disabled
Signal Strength 72
Actual SSID
Attached AP Mac
Network Stats
Packets Received 2485
Bytes Received 225990
Bad Packets Received 448
Receiver Overruns 0
Packets Transmitted 193
Bytes Transmitted 23731
Configuring the Print Server
1. Start your Web browser.
2. Type in your printer’s IP address (for example, 192.0.0.192) on your
computer and press Enter/Pause on the printer. If you are not sure of
your printer’s IP address, print a configuration label.
The printer’s display shows the “N” network symbol or the antenna
symbol when the printer is connected and ready to receive data.
Note: A MonarchNet2 manual is available and included in the licensing
fee. Contact your sales representative for more information.
Printing a Configuration Label
To print a configuration label, press the Test button (if available) on the
back of the Ethernet print server unit.
Note: Use 6-inch long supply.
If you are using supply that
is shorter than 6 inches long,
temporarily change your
Supply Type in the printer
menu to “continuous” to print
the entire test label. After
printing the test label,
change your supply type to
your previous setting. Some
information may print outside
the label edges of narrow
supply.
Network
Version
IP Address


