


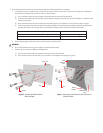
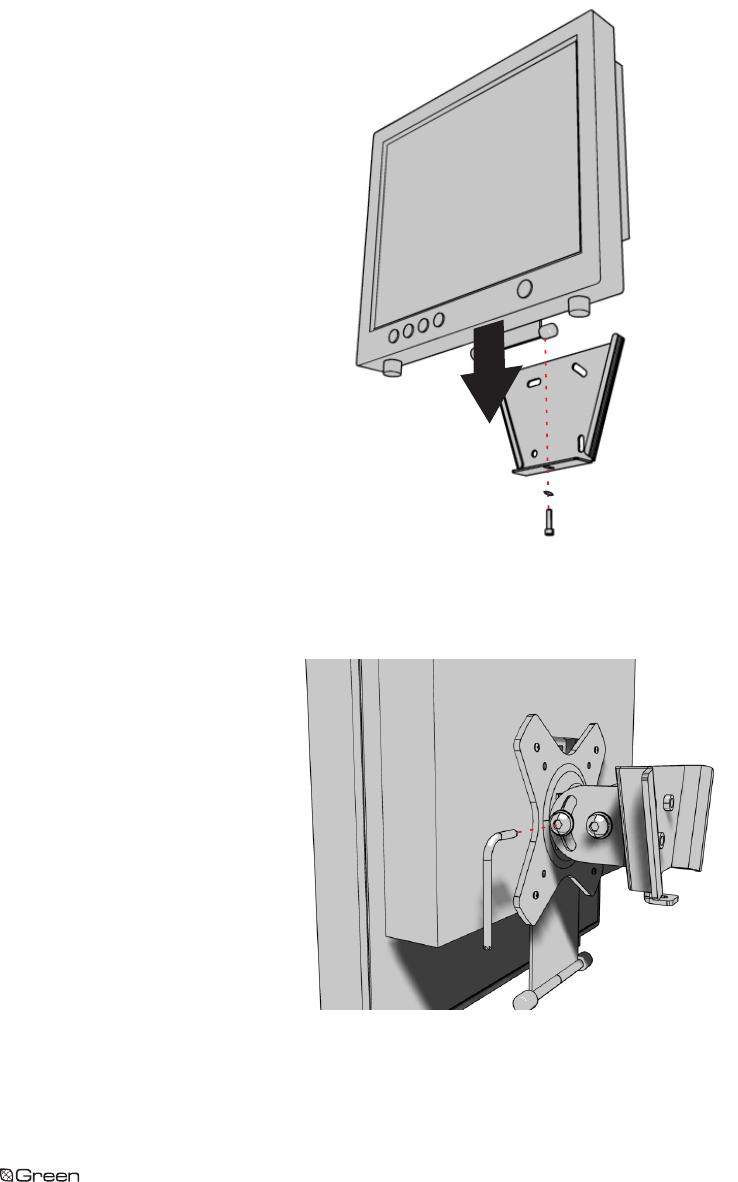
4. Carefully slide the monitor mount into the slots of the wall bracket. Use the 10-32 socket head screw and the flat washer (supplied) to fasten the wall
bracket to the monitor mount. Refer to Figure 4. Use the 5/32-inch Allen wrench (supplied) to tighten the screw.
Figure 4.
Attaching the Wall Mount and Monitor
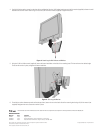
5. Using the 3/16-inch Allen wrench (supplied), loosen the button head bolts on the side of the mounting head. Tilt the monitor to the desired angle.
To secure the monitor in place, retighten the button head bolts.
Figure 5.
Securing the Monitor
6. To swivel the monitor between portrait and landscape views, loosen the nut on the back side of the mounting head using a 9/16-inch wrench (not
supplied). Retighten the nut to secure the monitor in place.
The materials used in the manufacture of this document and its components are compliant to the requirements of Directive 2002/95/EC.
REVISION HISTORY
Manual # Date Comments
C2224M 8/06 Original version.
C2224M-A 11/06 Inserted statement per UL about minimum 2 x 4 wood stud.
C2224M-B 12/06 Added hardware information for large monitors per ECO 06-17078.
Pelco, the Pelco logo, Camclosure, Esprit, Genex, Legacy, and Spectra are registered trademarks of Pelco. ©Copyright 2006, Pelco. All rights reserved.
Endura,ExSite, and Spectra III are trademarks of Pelco.
DLP is a registered trademark of Texas Instruments, Inc.