20 Philips · PPX3407 · PPX3410
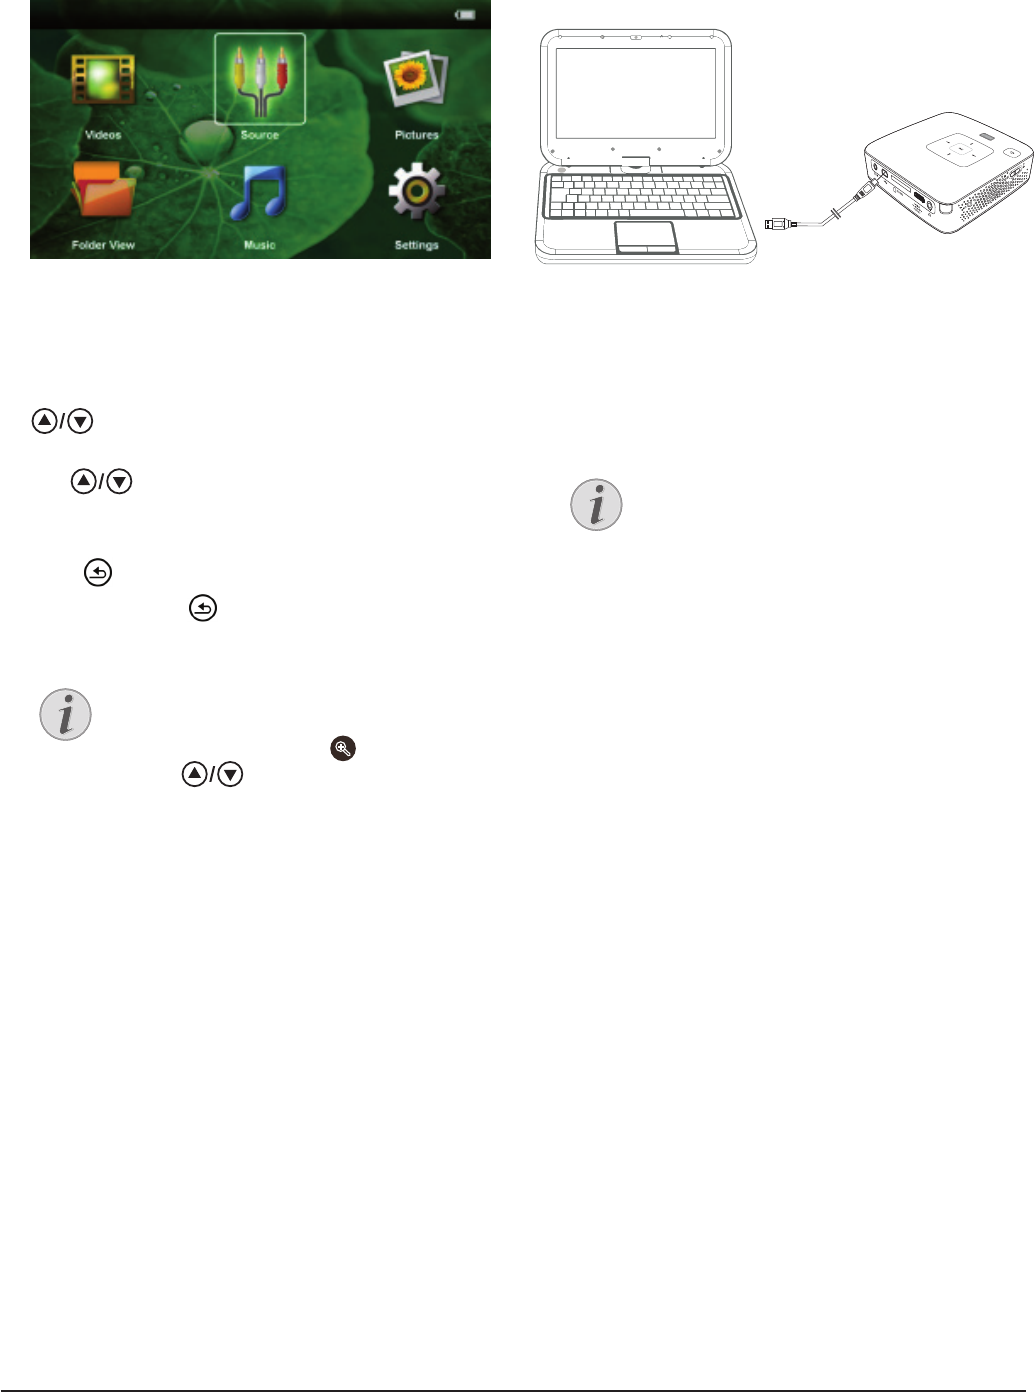
Connect to a Computer (USB)
1 Connect the mini-USB socket to the Pocket Projec-
tor and the USB socket to the computer.
2 Switch the device on using the on/off switch on the
side.
3 A conrmation appears when the devices are con-
nected successfully.
4 If a memory card has been inserted, it will be dis-
played as another disk drive.
5 You can move, copy or delete data from the compu-
ter, the memory card (if inserted) and the internal
memory.
Note
Successful connection
Microsoft® Ofce & Adobe® PDF
Files Playback
1 Switch the device on using the on using the on/off
switch on the side.
2 After the initial screen the main menu appears.
3 Use the navigation keys to select Folder View.
4 Conrm with à.
5 With an inserted memory card or USB stora-
ge device: Select the internal memory, the USB st-
6 Conrm with à.
orage medium or the memory card using the keys
.
7 Use to select the Microsoft® Ofce file or A-
8 Press à to start view.
9 Press to end view and return to the overview.
10 When you press again, you will return to the
dobe® PDF le that you wish to view.
main menu.
Note
Zoom in / Zoom out
You can enlarge the displayed image during
the slide show using the key. Use the
keys to move around the
magnied image.
,
À/Á
You can use the USB cable to connect the Pocket Proj-
ect to a computer. In this way, you are able to copy les
back and forth between the internal memory, an
inserted memory card and the computer. You can also
delete the les. You can playback the les saved on the
Pocket Projector on your computer.
You cannot use the projection function of
the Pocket Projector when it is connected
to a computer via USB.


