Basic Operation
Remote control operation
ENGLISH - 25
When projecting an image, press FREEZE to
capture the projected image and display it on
the screen as a still picture. While the image is
frozen, the sound will be stopped.
Press the FREEZE button to return to the projection.
You can turn off the lamp and stop the
projection temporary for electrical power save.
Press the SHUTTER button to return to the projection.
You can reset most of the customized settings
to the factory defaults by pressing the
DEFAULT button of the Remote control.
Display the required sub menu or the menu
items, and press the DEFAULT button again.
See “Main menu and Sub-menu” on page 28.
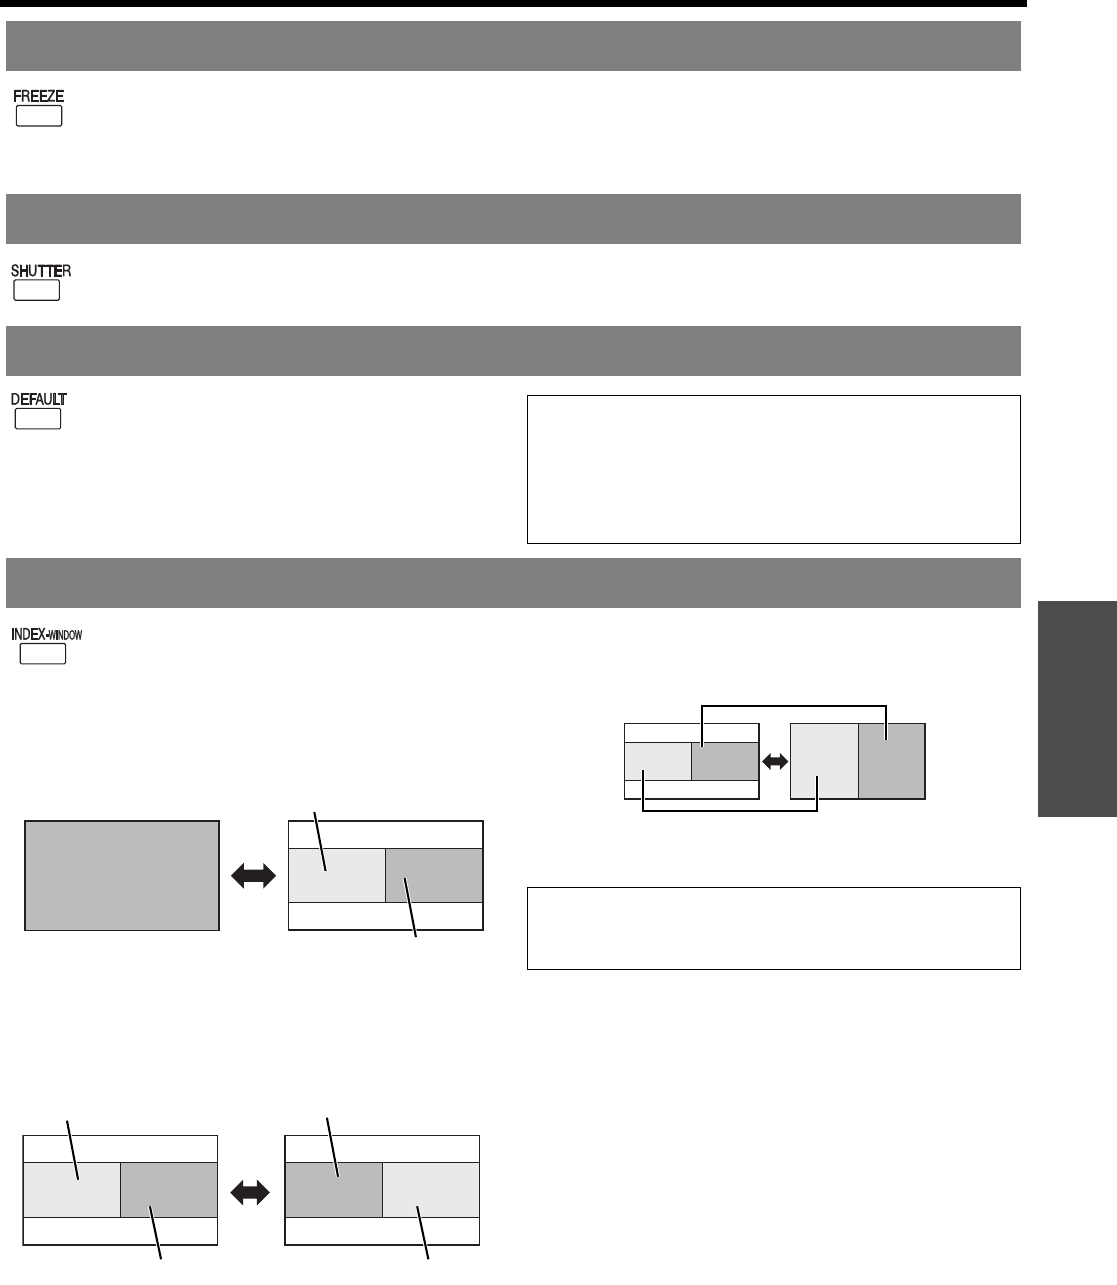
You can project an image in split 2 windows
as an INDEX-WINDOW, one is frozen, stored
in memory and displayed on the screen’s left
side, while the display of subsequent images
continues on the right.
To escape from the INDEX-WINDOW, press
the MENU or RETURN button.
Q Switching the position
In default, the frozen image is displayed on the left
and the subsequent image is displayed on the
right. Press I H to switch the position.
Q Changing the image size
Press F G to switch and cycle through in 3 size.
Q Capturing a new image
While in INDEX-WINDOW mode, press ENTER to
capture a new image and the frozen image window
will be updated in a while.
Capturing an image
Stopping the projection temporary
Resetting to the factory default settings
NOTE:
• Some menu items are not available to reset by pressing
the DEFAULT button. Adjust each menu items
manually.
• To reset all the settings to the factory defaults, see
“INITIALIZE ALL” on page 36.
Projecting an image in INDEX-WINDOW mode
Projected image
Frozen image
Continuing image
Frozen image
Continuing image
Continuing image
Frozen image
NOTE:
• If you change the window size, the aspect ratio of the
image is changed and becomes vertically elongated.
Frozen image
Continuing image


