3 - Configuring and Connecting to Your Socket Board ST7SB Socket Board User Guide
8/12
3.2.2 Connecting via the female HE10 connector
When using this connection, power for the socket board can be provided by its
power supply, or by your ST7-STICK. However, you must configure the POWER
jumpers appropriately.
Note:
No matter which option you choose for powering your socket board, your ST7-STICK’s power
supply must be connected, as it cannot be powered by the socket board.
To connect to the female HE10 connector on your socket board:
1 Plug the male HE10 connector on the ST7-STICK, into the female HE10
connector on the bottom of your socket board.
2 Choose a power supply configuration (i.e. both tools powered by the ST7-
STICK, or each tool powered by its own power supply) and set the POWER
jumpers on your socket board to the appropriate position:
- Set POWER to 1 if the socket board is supplied by the ST7-STICK, as
shown in
Figure 4
,
inset A
.
- Set POWER to 2 if the socket board is supplied by its own power supply as
shown in
Figure 4
,
inset B
.
3 Plug in the appropriate power supply, or power supplies. Once connected, the
green Power LED should light up and remain lit.
You are ready to program your ST7 from the STVP7 interface on your host PC.
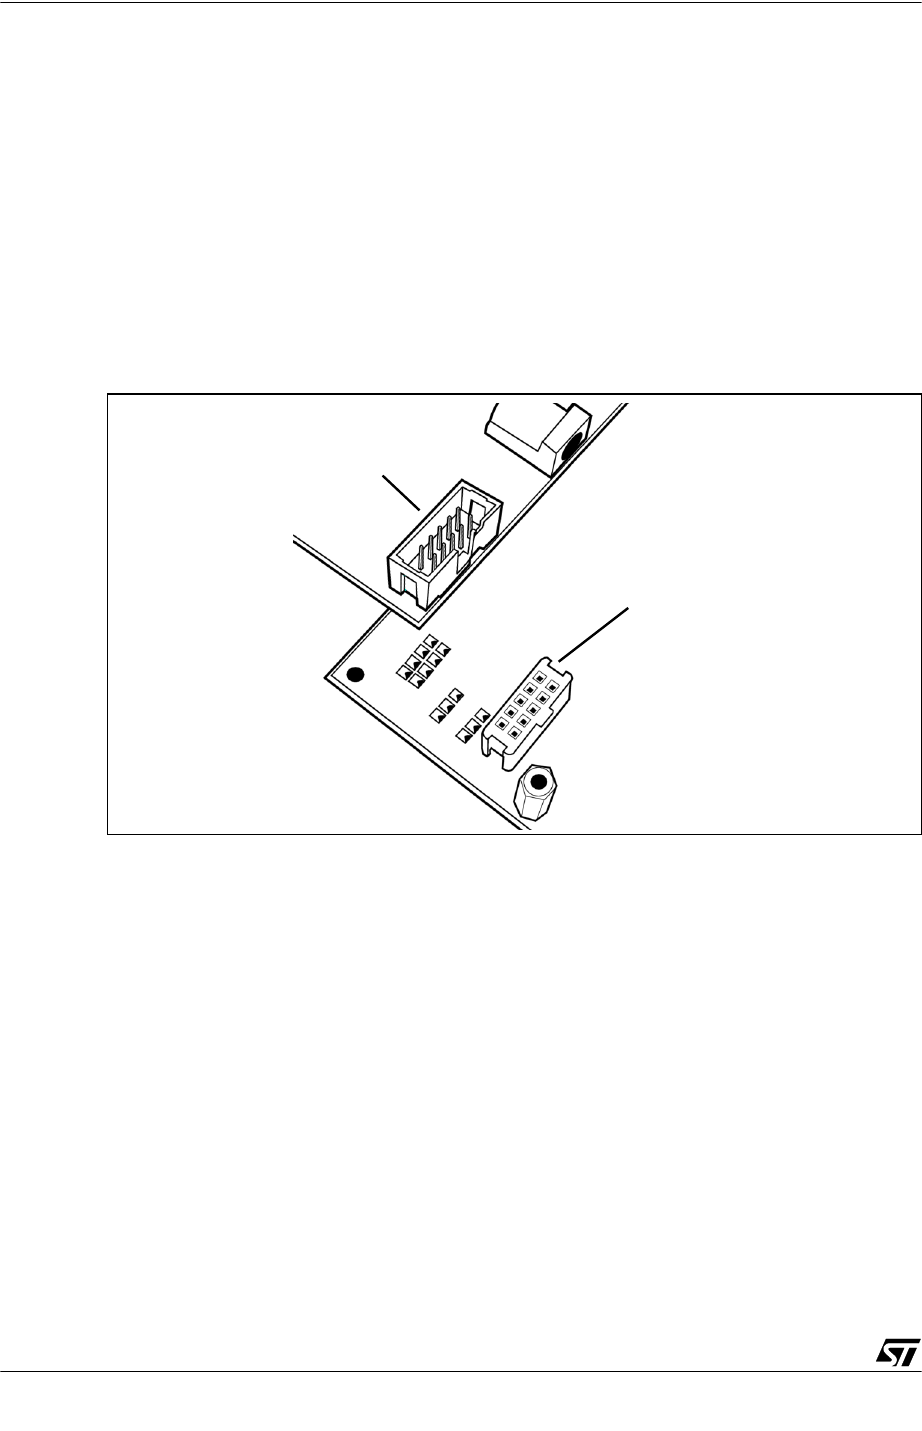
Figure 5: Male and female HE10 connector
The male HE10 connector on the
top side of your ST7-STICK...
...connects to the female
connector on the bottom of
your ST7SB socket board.


