196
PRO-610HD, PRO-510HD, SD-582HD5, SD-532HD5
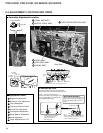
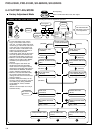
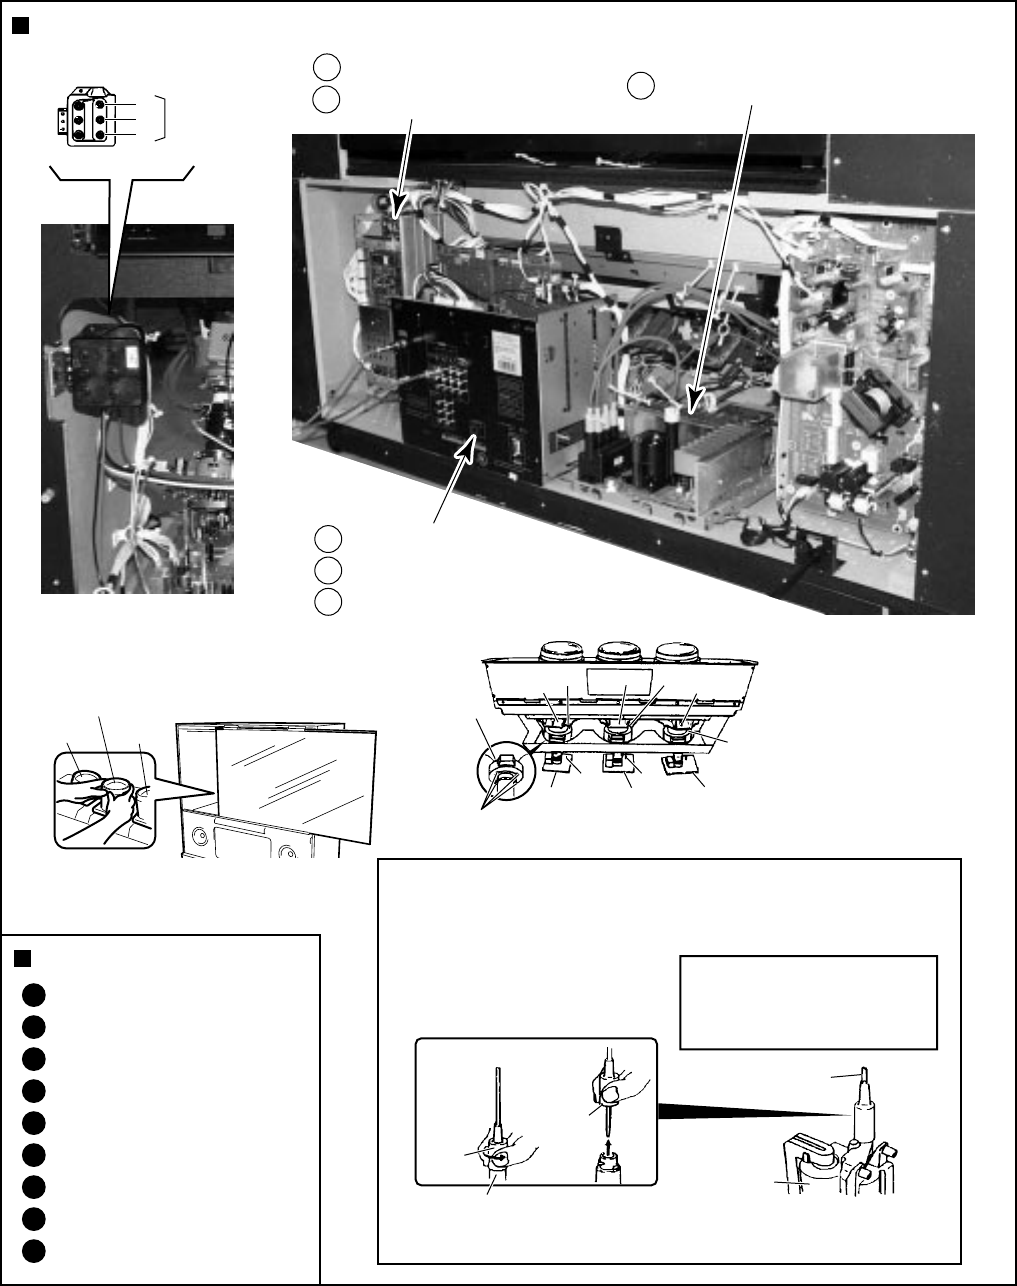
6.3 ADJUSTMENT LOCATION AND ITEMS
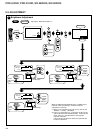
Assembly Adjustment Location
DEFLECTION (SERVICE) ASSY
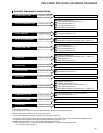
Adjustment Items
A
CONV. AMP ASSY
B
DIGITAL CONV. ASSY
Front View
C
Focus VR (VR1)
Focus VR
B
G
R
CRT assy B
Deflection
Yoke (B)
Deflection
Yoke
TP-BK TP-GK
B CRT DRIVE
assy
Centering magnet
(Turn in either direction untill cross signal becomes white.)
G CRT DRIVE
assy
R CRT DRIVE
assy
Deflection
Yoke (G)
Deflection
Yoke (R)
CRT assy R
CRT assy G
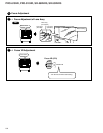
1
Brightness Adjustment
2
Deflection Yoke Adjustment
3
Focus Adjustment
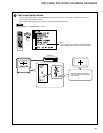
4
Test-cross Position Check
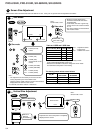
5
Screen Size Adjustment
6
Convergence Adjustment
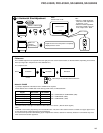
7
White Balance Adjustment
8
Panel Adjustment
9
Panel Adjustment for DTV
Lens assy
(For Red)
Lens assy
(For Blue)
Lens assy
(For Green)
SUB VIDEO ASSY
E
SIGNAL ASSY
F
VIDEO ASSY
D
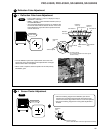
Rear View
Rubber
Cover
Holding the rubber cover firmly,
turn counterclockwise and
check that the lock has
been disengaged.
FBT
Pull straight up
Anode Cable
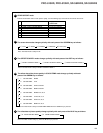
MEASURING METHOD
SERVICEMAN WARNING
Note :
When reconnecting the cable, proceed in the
reverse order. After reconnecting, tug on the
cable to check that it is secure.
Before removing the anode cable, turn
off the power, unplug the AC plug and
let the unit discharge for more than 1
minut.
Disconnect the FBT anode cable as shown below.
Measure at the point where the cable enters the FBT.
Caution : Take extra precaution when
measuring the voltage. High voltage are also
present in surrounding circuit boards. (CRT
assy, POWER SUPPLY assy)


