


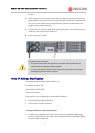
Polycom® RSS
™
4000 Getting Started Guide – Version 6.0
5
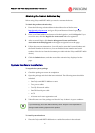
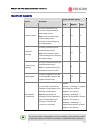
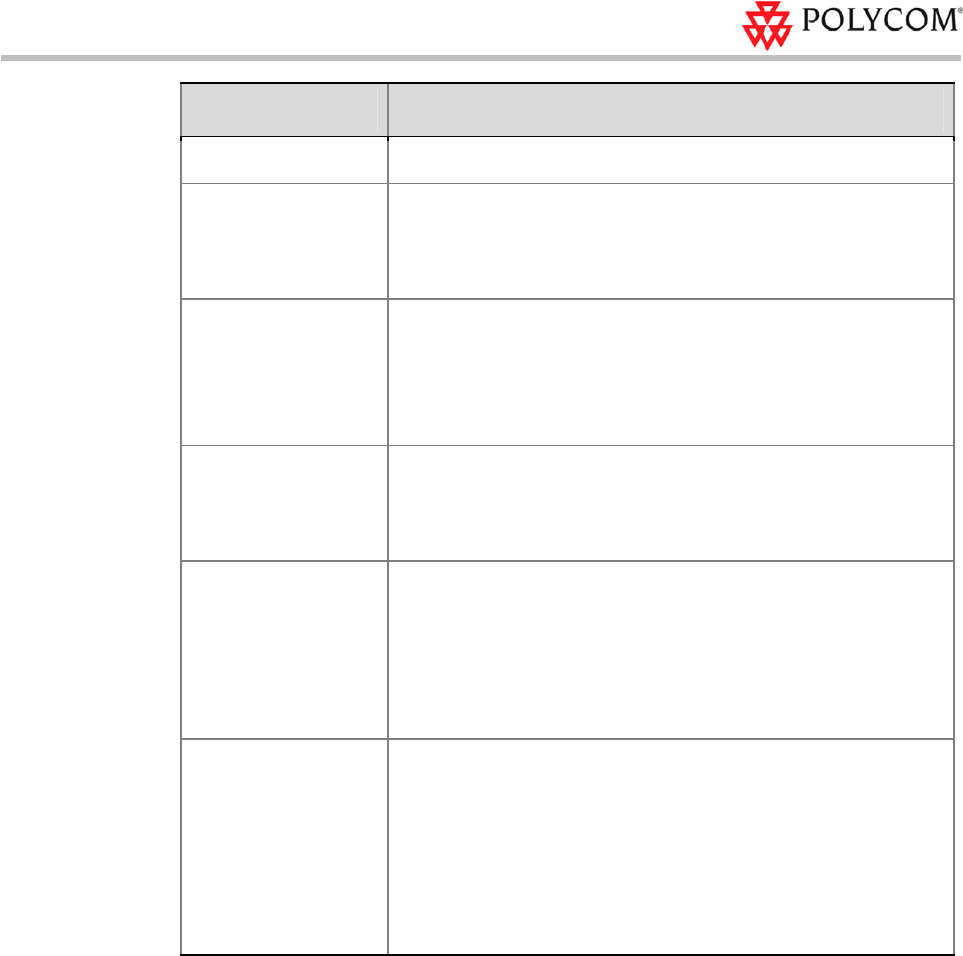
Parameter Description
the DHCP server could change over time.
Using the following IP
Address
Select this option to use the static IP address. You may need to
manually enter the IP address, subnet mask, and gateway IP
address.
Obtain DNS Server
Address Automatically
Used in combination with the DHCP option. When the Obtain an IP
Address Automatically (DHCP) option is selected, the system will
automatically obtain DNS server address from a DHCP server in the
network.
Using the following
DNS Server Address
If you did not select the option to automatically obtain DNS address,
you must enter the preferred/alternate DNS server addresses here
for the system to resolve domain names.
Using the following
NAT Server
The Network Address Translation (NAT) function of the system
enables you to translate the private network IP address of packet into
a public network IP address before transmission. To enable NAT,
select this check box and then enter the public network IP address to
be displayed publicly.
LAN Speed
Sets the speed/duplex modes for LAN ports. Supports the 10/100M
Full Duplex or Half Duplex mode and the 1000M network. Select
Auto to use auto-negotiation.
Note:
When setting LAN port speed, contact your network
administrator to ensure that the switch link rate matches the system
port.
9 Click Update and a dialog box will pop up, in which you should confirm to restart
the system to apply the setting.
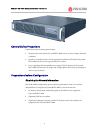
To change IP address via RS-232 Console or Telnet:
1 Connect your PC to the RS232 port of the Polycom® RSS™ 4000 with a serial port
cable and activate the console port (115200,8bits).
2 After you logged in to the console port, input the default password POLYCOM to
enter the system.
3 Enter "?" or "help" after the prompt "#" and the system displays available
command information.
4 Change IP address using the command in the format below:
set lan1 ip {dhcp | static <ip> netmask <mask> gw <gateway>}