


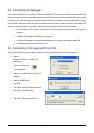

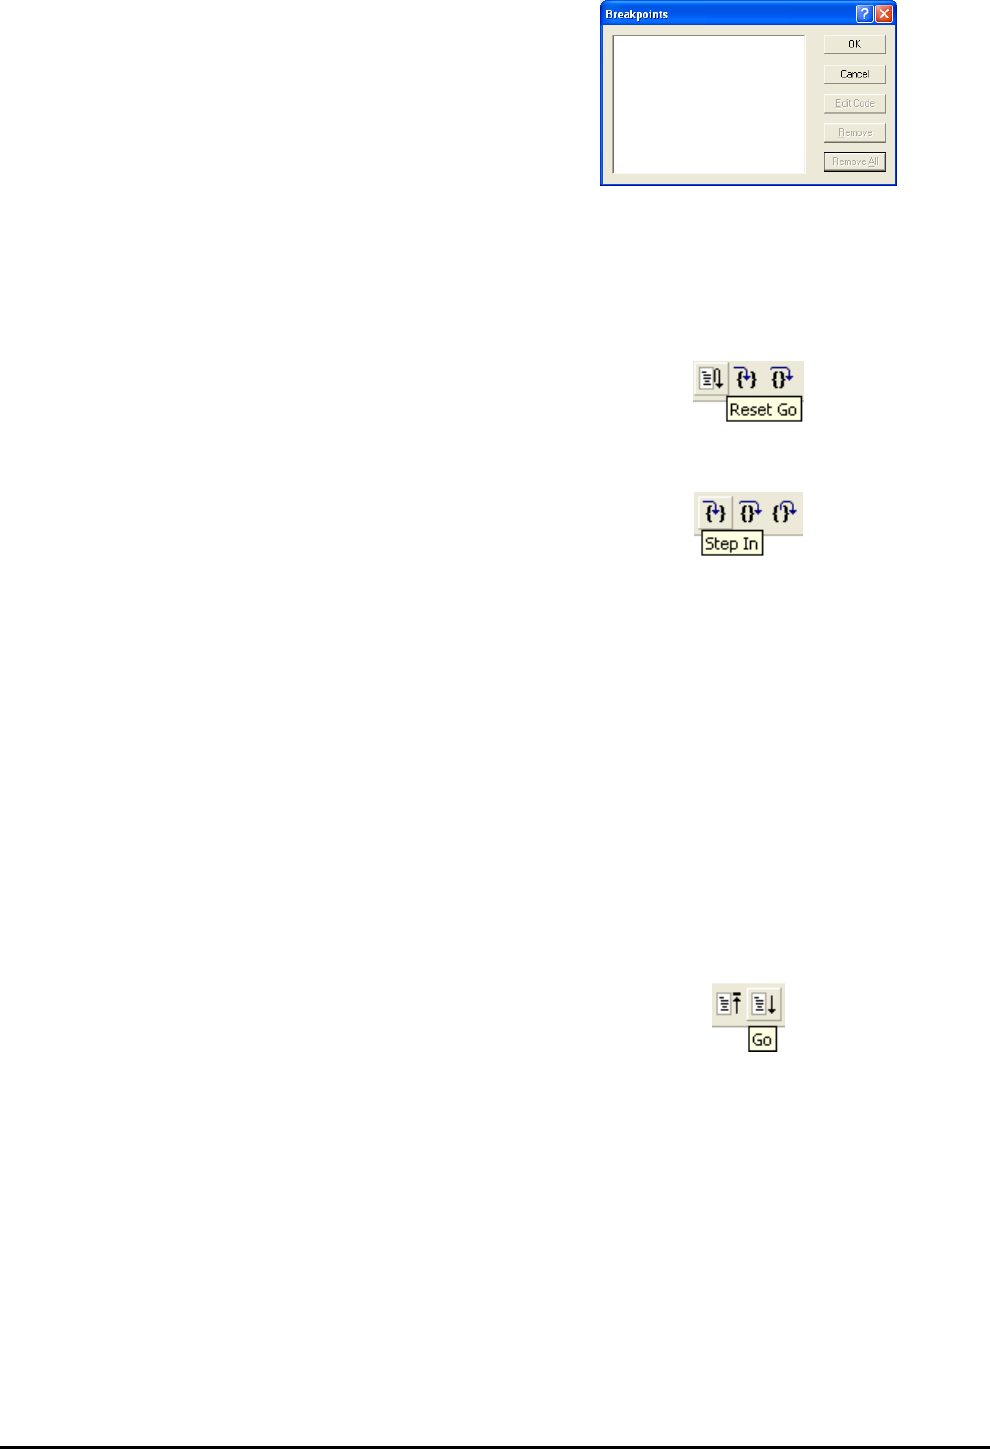
• Press ‘CTRL-B’ to open the breakpoint window.
• Select ‘Remove All’
• Press <OK>.
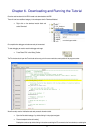
• Open the file ‘main.c’
• Insert a breakpoint on ‘Statics_Test();’.
The statics test is used to demonstrate that the initialisation has successfully copied all initialised variables from storage in flash to RAM.
• Press <Reset Go> on the Debug Toolbar.
The code will stop at the breakpoint. (Press a button to bypass the flashing LED test.)
• Press <Step In> on the Debug Toolbar.
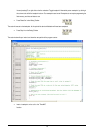
It is possible to monitor variables during debugging of the code. To set up a ‘watch’ on a variable place the mouse over the variable. If the
variable is available in the current context a tool-tip will be displayed with the current value of the variable.
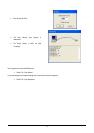
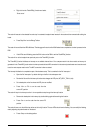
• Hover the mouse over the ‘ucStr’ variable to see the tooltip value. Then Right click on the variable name and select ‘Instant
Watch’.
A dialog will open showing the variable and allowing further details to be explored.
• Press <Add>
The dialog will close and a new pane will open in the workspace containing the variable.
It is possible to see that the string has been successfully initialised to ‘STATIC ‘.
• Set a breakpoint on the call to ‘DisplayString()’ inside the for loop.
• Press ‘Go’ to run the code from the current PC
position.
When the program stops you can see the modified string displayed on the second line of the LCD.
Inspection of the watch pane will show that the first character of the variable string has been replaced with the first character of the constant
replacement string.
• Remove the breakpoint
• Right click on the ‘DisplayString()’ function call after the loop and select ‘Go to cursor’.
This shows that the variable was initialised at program start up and can be overwritten with ‘TESTTEST’.
You have now run the tutorial code and used many of the common features of the debugger. We suggest that you review the rest of the
tutorial code as many functions have important information on the operation of the code, the compiler directives and comments on when
they should or must be used. Please refer to Chapter 7 for more information on the project files.
12