


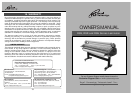
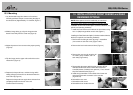
RSS, RSR, RSH Series
1413
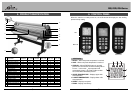
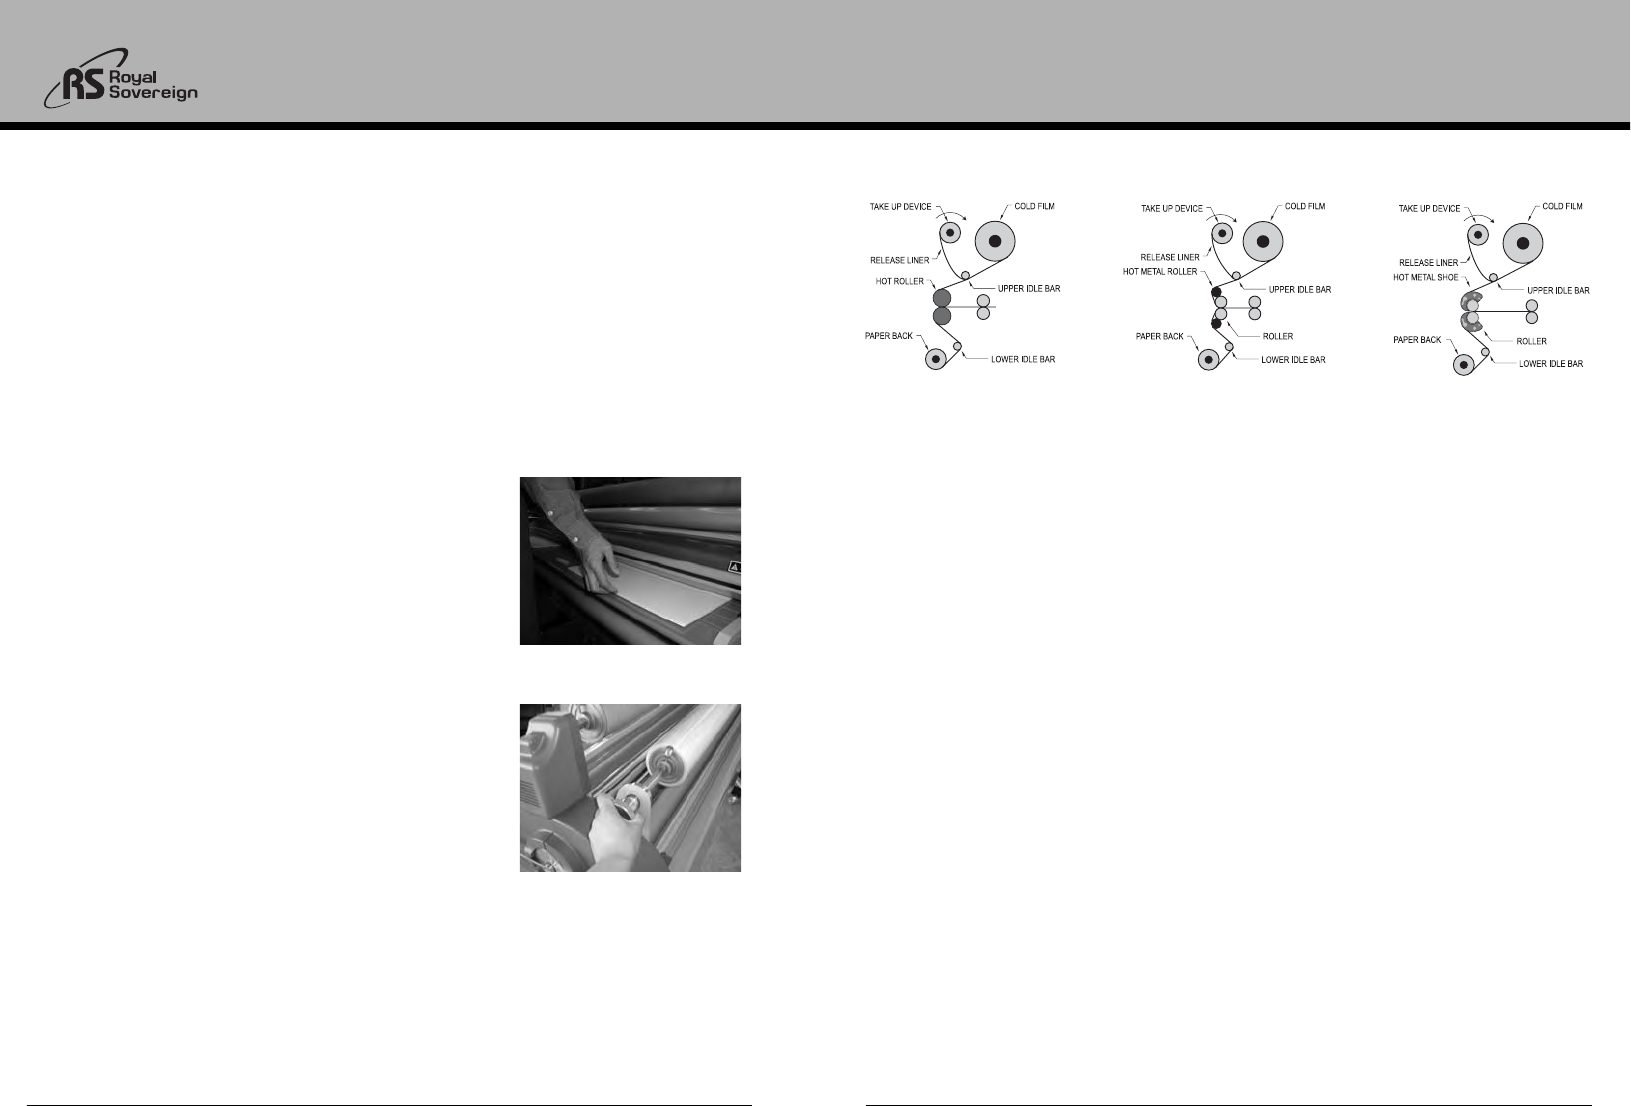
Figure 4
Figure 5
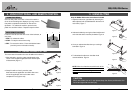
10. Reinstall the Front Table and the Paper Guide, and
close the Safety Cover.
11. Adjust the nip setting to 1/8´´ (3mm).
12. Insert and push the leader boards on each end until
boards reach the front nip point.
13. Push the Run button.
14. Push the leader boards between the pair of main rollers
(Figure 4).
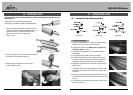
15. Press the Run button and adjust the supply roll tension
knobs by rotating clockwise or counterclockwise. Turn
it until the supply roll films have some resistance (the
tension varies depending on the film thickness; the
thicker the film the more tension is required)
(Figure 5).
16. Press Stop button when the leader board has
completely exited the rear of the unit.
17. Use the Cross Cutter to cut the leader board from the
web (see page 9).
18. Peel off the film from the board for reuse.
19. Set the roller nip setting to the appropriate position for
the lamination or encapsulation application.
1. Follow the steps in the “Loading Film” procedure by loading the upper shaft with
pressure sensitive film, e.g. (Royal Print-Pro Film) and lower shaft with pressure
sensitive mounting adhesive films, e.g. (Royal Sovereign White-Mount or Clear-
Mount).
2. Pull the upper laminate under the upper idle bar and separate the release liner from
the laminate.
3. Tape the release liner to the Take-Up Paper Core and allow the laminate to hang
over the main rollers.
4. Pull up the mounting adhesive and tack it to the laminate hanging over the rollers (do
not use the Lower Idle Bar).
5. Reinstall the Front Table and the Paper Guide and close the Safety Cover.
6. Turn on the upper take-up motor.
7. Adjust the nip setting to 1/8´´(3mm).
8. Insert and push the leader board until board reaches the nip point.
9. Press the Run button and adjust the supply roll tension knobs by rotating clockwise or
counterclockwise. Turn it until the supply roll films have some resistance (the tension
varies depending on the thickness of a film; the thicker the film the more tension is
required).
10. Press Stop button when the leader board has completely exited the rear of the unit.
11. Use the Cross Cutter to cut the leader board from the web (see page 9).
12. Set the roller nip setting to the appropriate position for the lamination application.
13.2 Decaling
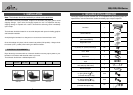
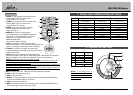
<RSH Series> <RSR Series> <RSS Series>