3-1
CONNECTIONS 3
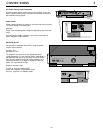
AC Power (mains) Cord Connection
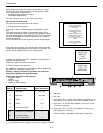
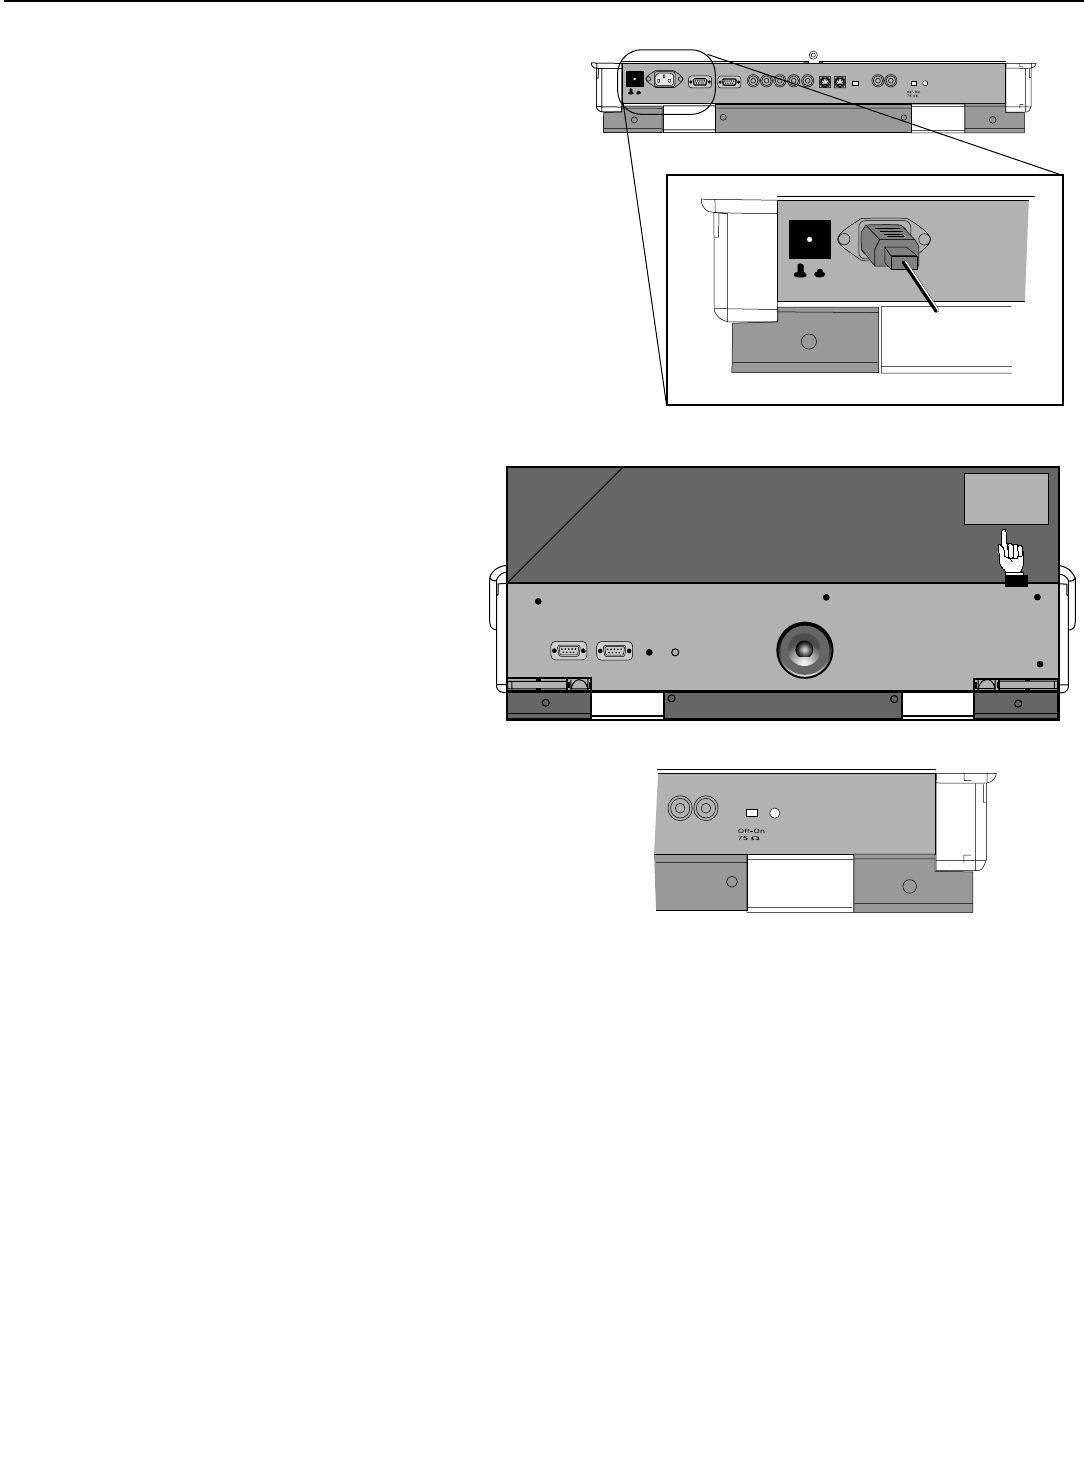
Use the supplied power cord to connect your projector to the wall
outlet. Plug the female power connector into the male connector at
the backside of the projector.
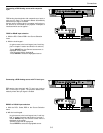
Power Check
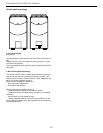
Power voltage indication on sticker on the back side of the projector.
The power voltage is indicated here.
Warning!
Check if the indicated power voltage corresponds to that of the wall
outlet.
If the wall outlet voltage is different, call a Runco technician for
power adaptation of the projector.
Switching On/Off
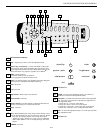
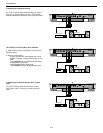
The projector is switched ON and OFF using the power
(mains) switch ON/OFF.
Pressed : ON
Not pressed : OFF
The projector can start now in the ‘operational mode’
(image displayed) or in the ‘stand by mode’, depending on
the position of the ‘power up’ dip switch on the controller
unit. This DIP switch must be set during installation by a
qualified technician, If you want to change this start up
mode, call a qualified technician.
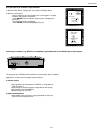
Stand by indication lamp:
no light up: projector switched OFF
green color: projector in Operational mode
red color : projector is in Standby mode.
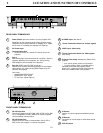
RS232 OUT
RS232 OUT
IR
IR
REMOTE
REMOTE
RS232 IN
RS232 IN
;laksdjf;lkdj;flkj;lkssd;fl
;'lakjdl;kjlnmfoomnfl;jk
T
V
L
E
N
S
8
m
m
T
V
L
E
N
S
8
m
m
Off On
Power/Mains
This device complies with part 15 of
the FCC rules. Operation is subject to
following two conditions (1). This
device may not cause harmful inter-
ference, and (2) this device must
accept any interference received
including interference that may cause
undesired operation.
Off On
Power/Mains
Comm Port
Port 3
B
G
R
Comp/
HSYNC
VSYNC Green=Oper.
Red=Stby
VIDEO
OffOn
Power/Mains
This device complies with part 15 of
the FCC rules. Operation is subject to
following two conditions (1). This
device may not cause harmful inter-
ference, and (2) this device must
accept any interference received
including interference that may cause
undesired operation.
Green=Oper.
Red=Stby
VIDEO


