


18
Samson AirLine
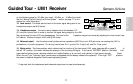
AR1 or UR1 receiver and plug it in (the UM1 receiver can also operate off battery power or a 12 volt power supply from a connected
video camera), then plug the adapter into any standard AC outlet. Slide the Power switch in the direction of the arrow to turn on the
receiver. If your system contains an AR1 receiver, its “Power/ RF” LED will light steadily red; if your system contains a UR1 receiver,
its “Power” LED will light steadily red. (Note: The UM1 receiver has no “Power” LED indicator.)
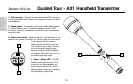
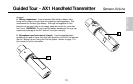
8. Turn on the power to your transmitter (using its Power on-off switch); the “Power/Battery” LED will flash if the battery is sufficiently
strong (if it lights steadily, the battery has less than 2 hours of power remaining and should be replaced). If your system contains an
AR1 receiver, its “Power/ RF” LED on the receiver should change color from red to green, indicating that it is receiving valid RF signal
and is placed and positioned correctly. If your system contains either a UR1 or UM1 receiver, one of the “A/B Receiver” LEDs will
light, showing you whether the (left) “A” or (right) “B” receiver is currently being used. The UR1 / UM1 meter will also indicate the
strength of the incoming RF signal.
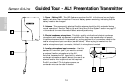
9. Now it’s time to set the audio levels. Turn on
your connected amplifier and/or mixer but keep its
volume all the way down. If you are using an AL1
transmitter, make sure that it is unmuted (its Mute
switch should be positioned away from the arrrow).
Then set the Volume, Level or AF Level knob on the
receiver fully clockwise; this is unity gain. If
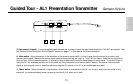
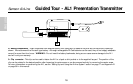
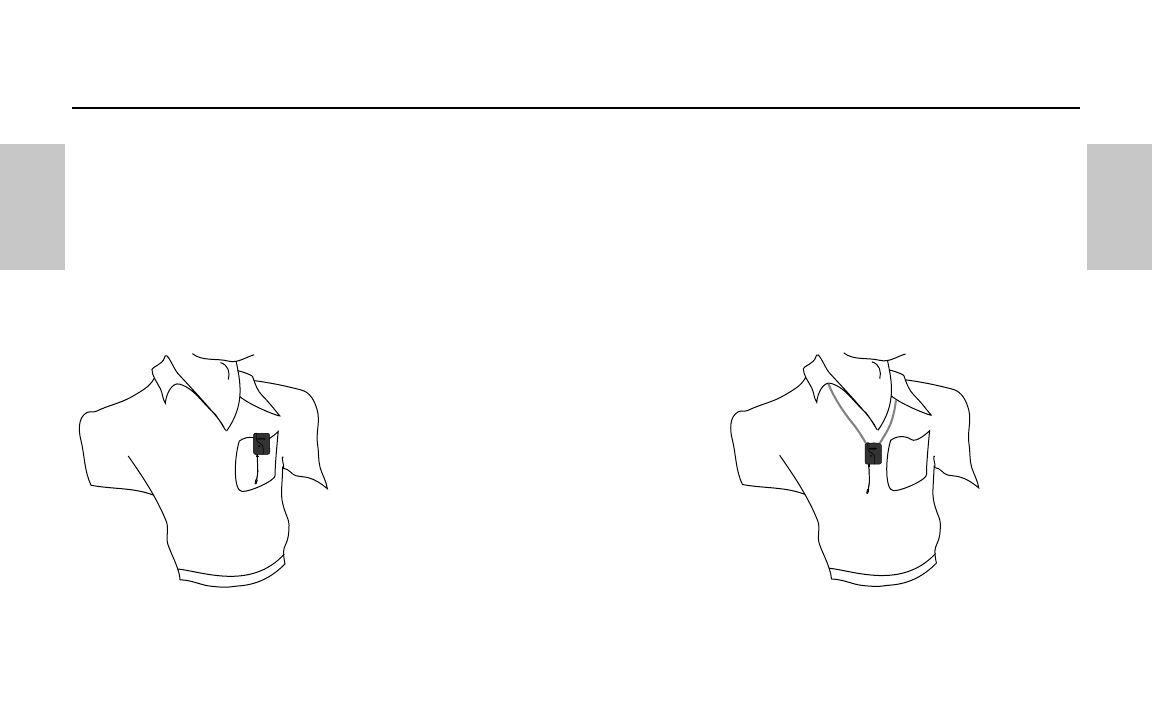
you are using an AL1 transmitter with the built-in
microphone, note that correct placement is critical
to sound quality. We recommend that you place it
as shown in the illustrations on this page—
unobstructed by clothing and either clipped to a
shirt pocket or lapel, or worn around the neck on the supplied lanyard.
Setting Up and Using Your AirLine System
SAMSON
SAMSON
ENGLISH
ENGLISH