14
Parallel/USB Interface Specification
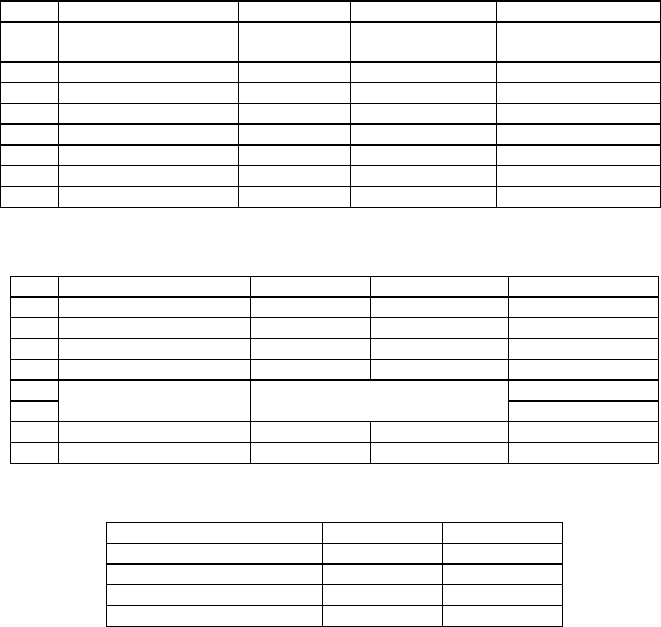
Dip Switch Set 1 Functions
SW FUNCTION ON OFF DEFAULT
1 Auto Line Feed Always
Enabled
Always
Disabled
OFF
2 Reserved - - OFF
3 Reserved - - OFF
4 Reserved - - OFF
5 Reserved - - OFF
6 Reserved - - OFF
7 Reserved - - OFF
8 Reserved - - OFF
Dip Switch Set 2 Functions
SW FUNCTION ON OFF DEFAULT
1 Emulation STAR EPSON OFF
2 Reserved - - -
3 Reserved - -
4 Reserved - -
5 OFF
6
Select Print Density Refer to the Following Table
OFF
7 Reserved - - -
8 Reserved - - -
Print Density
Print Density SW - 5 SW – 6
1 ( Light ) ON ON
2 OFF OFF
3 ON OFF
4 ( Dark ) OFF ON
15
Chapter 2. Hexadecimal Dumping
This feature allows experienced users to see exactly what data is coming to the printer.
This can be useful in finding software problems. When you turn on the hexadecimal dump
function, the printer prints all commands and data in hexadecimal format along with a
guide section to help you find specific commands.
To use the hexadecimal dump function, follow these steps:
1. After you make sure that the printer is off, open the cover.
2. Turn on the printer, while holding down the FEED button.
3. Close the cover, then the printer enters the hexadecimal dump mode.
4. Run any software program that sends data to the printer. The printer will print all the
codes it receives in a two-column format. The first column contains the hexadecimal
codes and the second column gives the ASCII characters that corresponds to the
codes.
1B 21 00 1B 26 02 40 40 40 40 . ! . . & . @ @ @ @
02 0D 1B 44 0A 14 1E 28 28 28 . . . D . . . . ( ( (
00 01 0A 41 0D 42 0A 43 43 43 . . . A . B . C C C
z A period (.) is printed for each code that has no ASCII equivalent.
z During the hex dump, all commands except DLE EOT and DLE ENQ are
disabled.
5. When the printing finishes, turn off the printer.
6. Turn on the printer and then the hexadecimal mode is off.
