


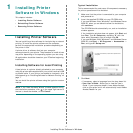
Installing Printer Software in Windows
8
2
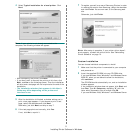
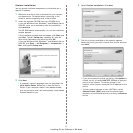
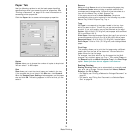
Insert the supplied CD-ROM into your CD-ROM drive.
If you use Windows Vista, Windows 7 and Windows Server
2008 R2, when you are asked to allow the installation,
click
continue
.
The CD-ROM should automatically run, and an installation
window appears.
If the installation window does not appear, click
Start
and
then
Run
. Type
X:\Setup.exe
, replacing “
X
” with the
letter which represents your drive and click
OK
.
If you use Windows Vista, Windows 7 and Windows Server
2008 R2, click
Start
→
All Programs
→
Accessories
→
Run
, and type
X:\Setup.exe
.
3
Click
Next
.
• If necessary, select a language from the drop-down list.
•
View User’s Guide
: Allows you to view the User’s
Guide. If your computer doesn’t have Adobe Acrobat,
click on this option and it will automatically install Adobe
Acrobat Reader for you.
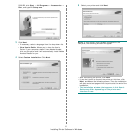
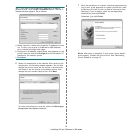
4
Select
Typical installation for a network printer
. Click
Next
.
5
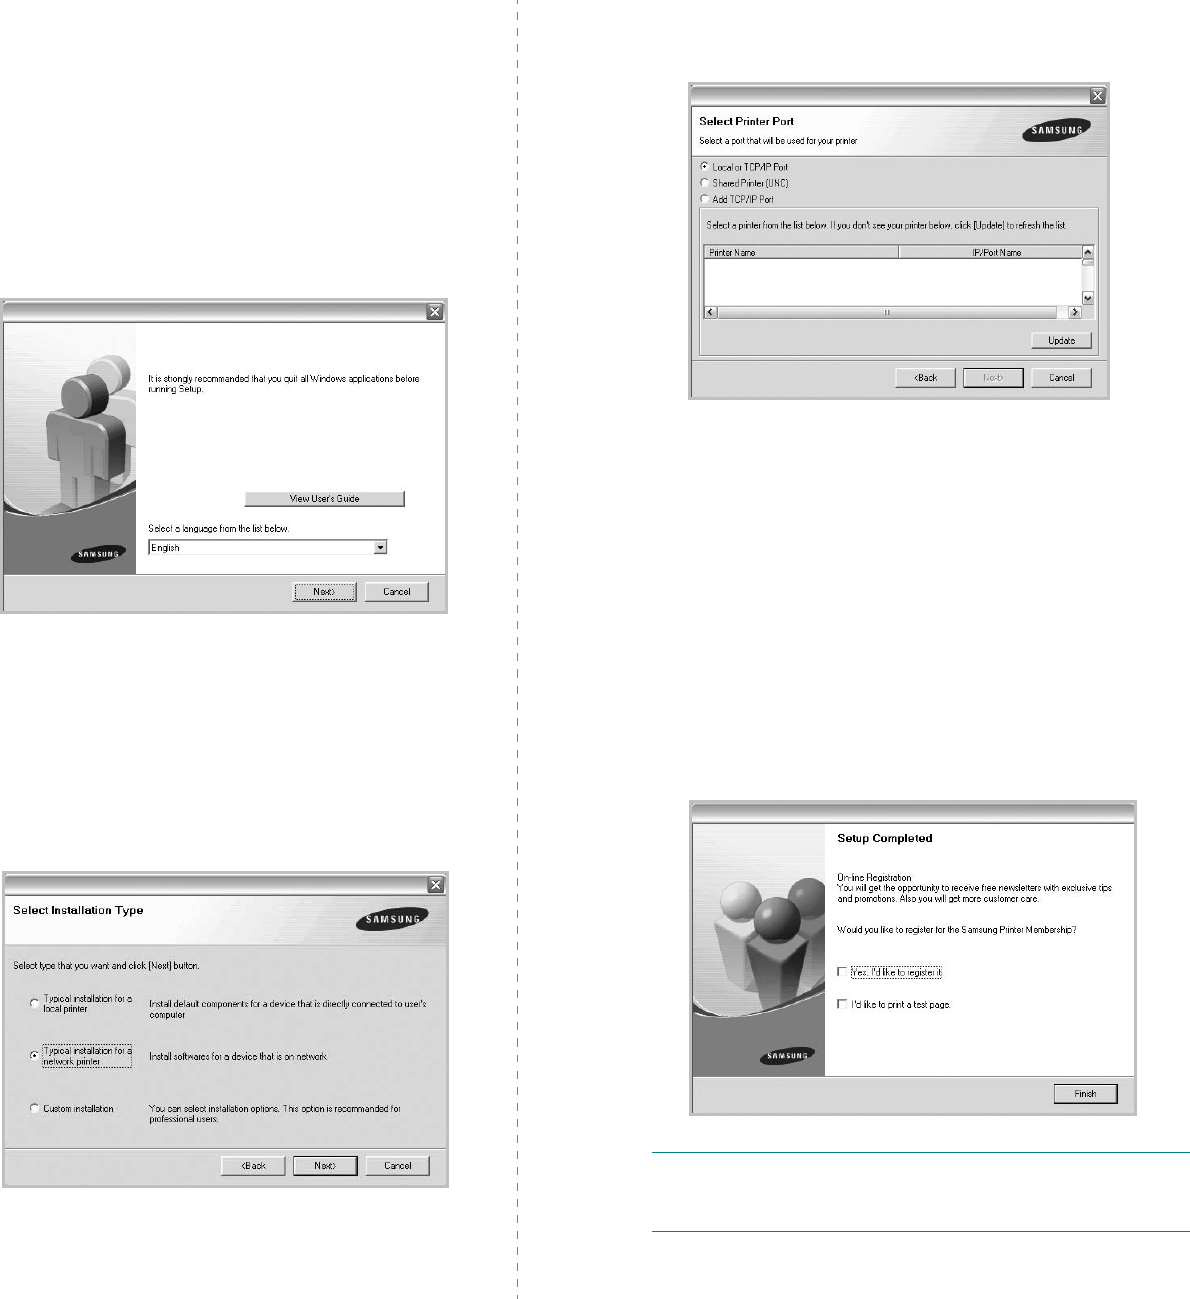
The list of printers available on the network appears.
Select the printer you want to install from the list and then
click
Next
.
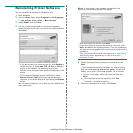
• If you do not see your printer on the list, click
Update
to
refresh the list, or select
Add TCP/IP Port
to add your
printer to the network. To add the printer to the
network, enter the port name and the IP address for the
printer.
• To find a shared network printer (UNC Path), select
Shared Printer [UNC]
and enter the shared name
manually or find a shared printer by clicking the
Browse
button.
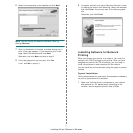
6
After the installation is finished, a window appears asking
you to print a test page and to register yourself as a user
of Samsung Printers in order to receive information from
Samsung. If you so desire, select the corresponding
checkbox(es) and click
Finish
.
Otherwise, just click
Finish
.
NOTE
: After setup is complete, if your printer driver doesn’t
work properly, reinstall the printer driver. See “Reinstalling
Printer Software” on page 10.