Photo 21
P
hot
o 22
Photo 23
Step 23
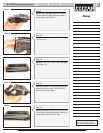
Slide the contact end cap onto the end
of the cartridge. Lift up on the PCR saddle
so the shaft of the PCR fits into the
saddle.
(See P
hot
o 22)
St
ep 24
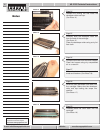
Install the four screws that hold the
contact end cap to the cartridge.
(See Photo 23)
ML 2250 Technical Instructions 5
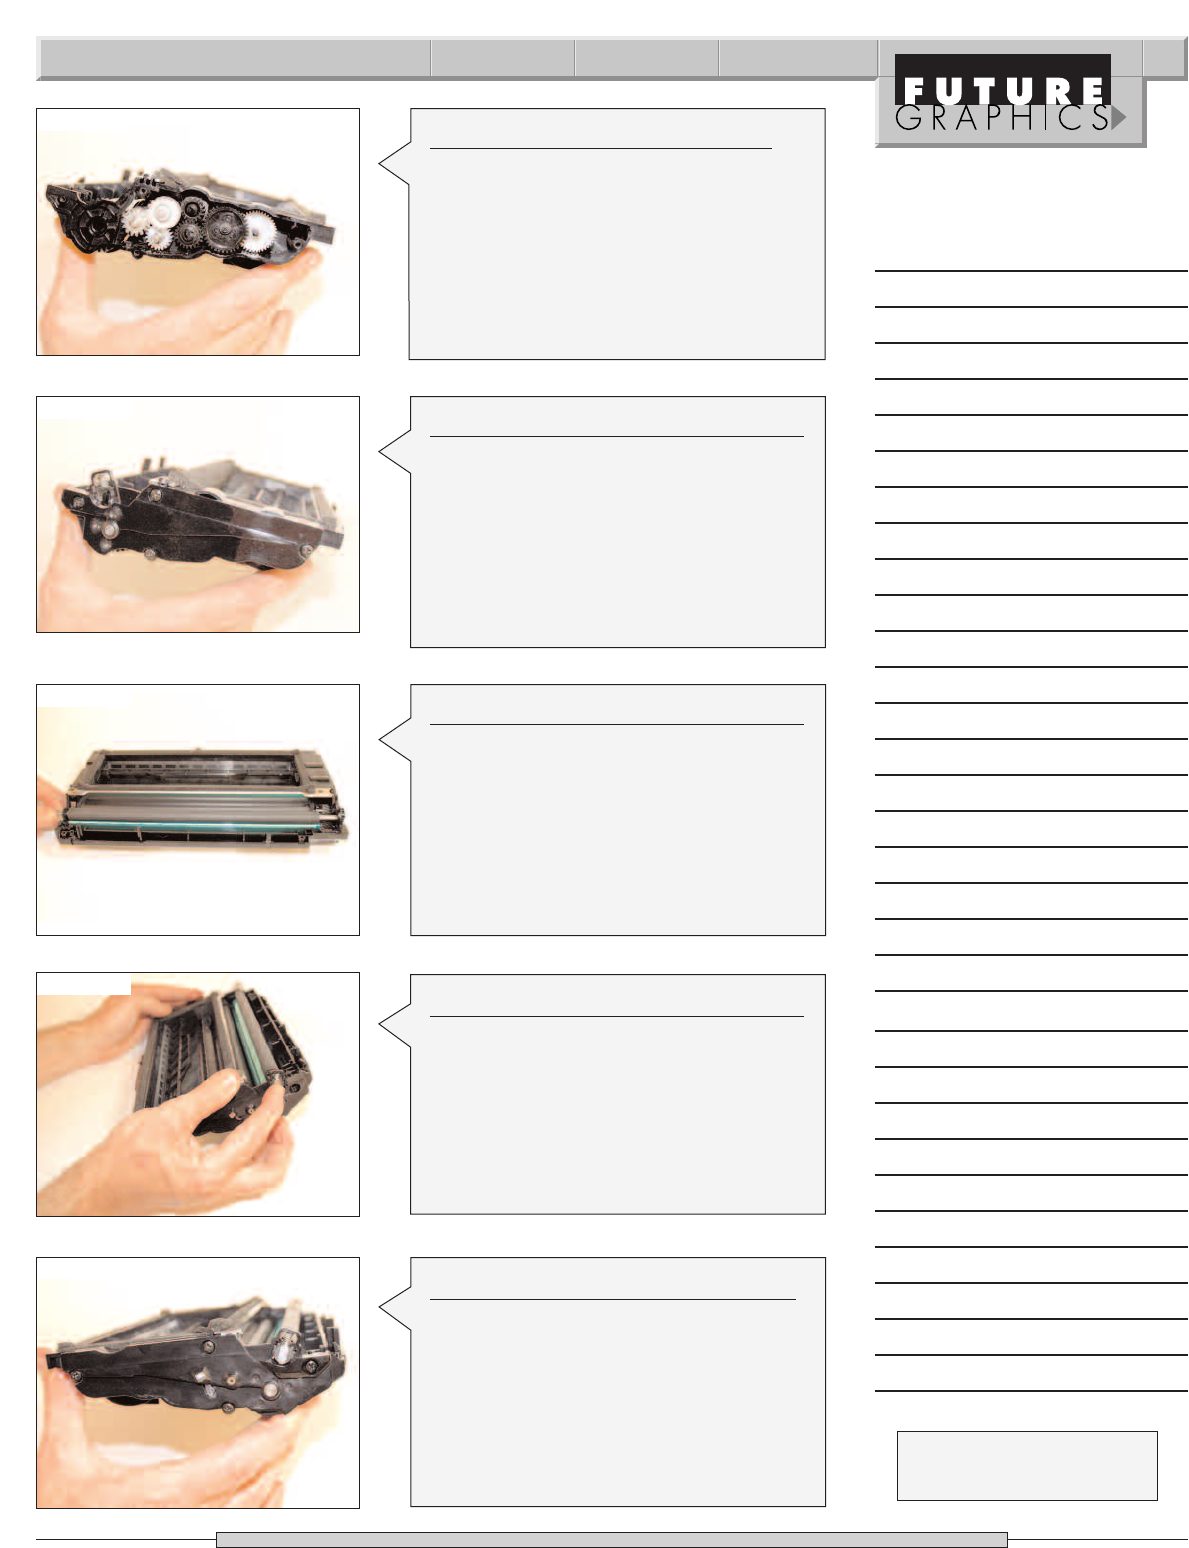
Photo 19
S
tep 20
Install the seven gears onto the end of
the cartridge.
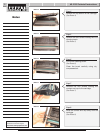
(See Photo 19)
Photo 20
Step 21
Slide the gear-housing end cap on to the
end of the cartridge, and install the four
screws that hold the end cap in place.
(See Photo 20)
Step 22
Place the non gear end of the PCR into
the PCR saddle on the gear housing end
cap.
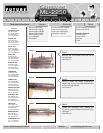
(See Photo 21)
Notes
Need trust-worthy, detailed Technical
Instructions for another engine?
Visit: www.futuregraphicsllc.com


