Rev. 1.01
- 20 -
SLP-D22**
5-4 Gap Sensor Auto-Calibration
Gap sensor auto-calibration is used when the printer does not detect a gap on the label
paper correctly. Generally a printer is set to detect most gap types, but sometimes
detection fails and paper continues to be fed without stopping when special paper is used.
In such cases, use the gap sensor auto-calibration function to facilitate proper detection.
1) Check to see that the paper is aligned correctly.
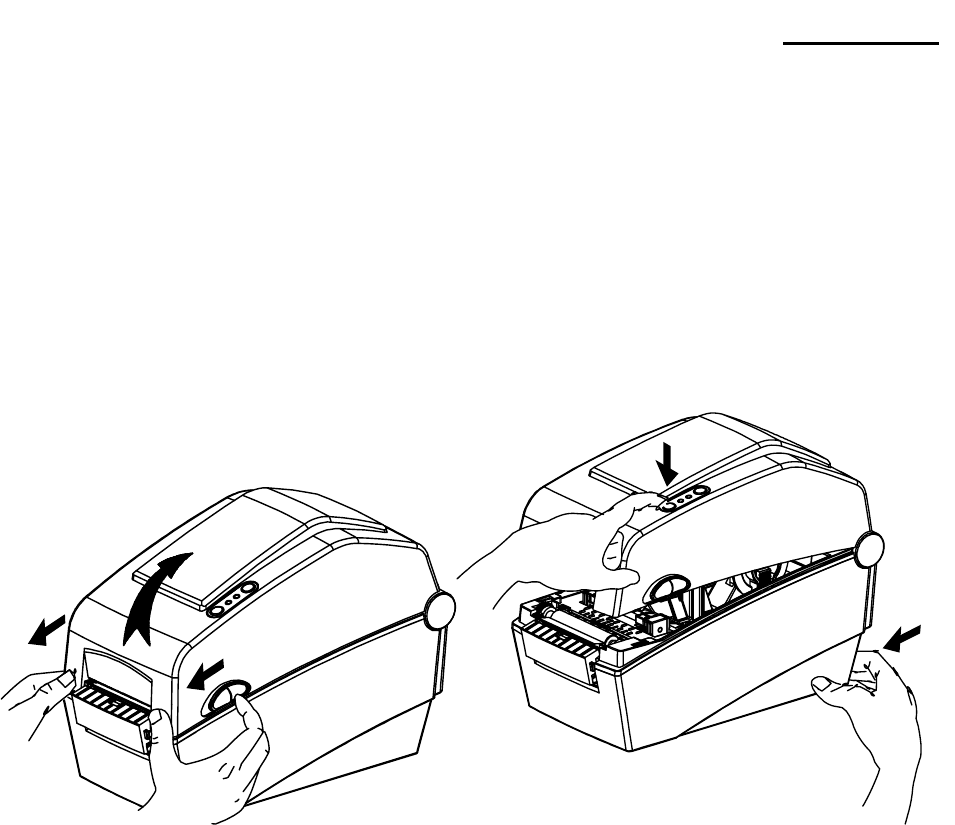
2) Open the paper cover and turn on the printer while holding down the paper feed button.
- The green LED blinks.
3) Close the paper cover.
- An information message is printed and the red LED turns on.
4) Press the paper feed button.
① Once
- The LED color changes to orange.
- The previous gap sensor correction value is erased and reset to its default value.
② Twice (for automatic sensor calibration)
- The LED color changes to green.
- The gap sensor auto-calibration is performed as 2~3 pages of paper are fed
continuously.
③ Three times (for automatic sensor calibration and the label length setting)
- The LED color changes to green.
- The gap sensor auto-calibration and label length measurement are performed while
slowly feeding 4~5 pages of paper.
5) Gap sensor auto-calibration is complete.


