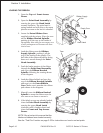
LOADING THE RIBBON
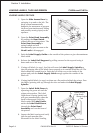
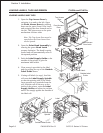
1. Open the Top and Front Access
Doors.
2. Open the Print Head Assembly by
rotating the green the Head Latch
counter clockwise. The print head is
spring loaded and will raise to the open
position as soon as the latch is released.
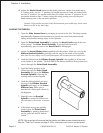
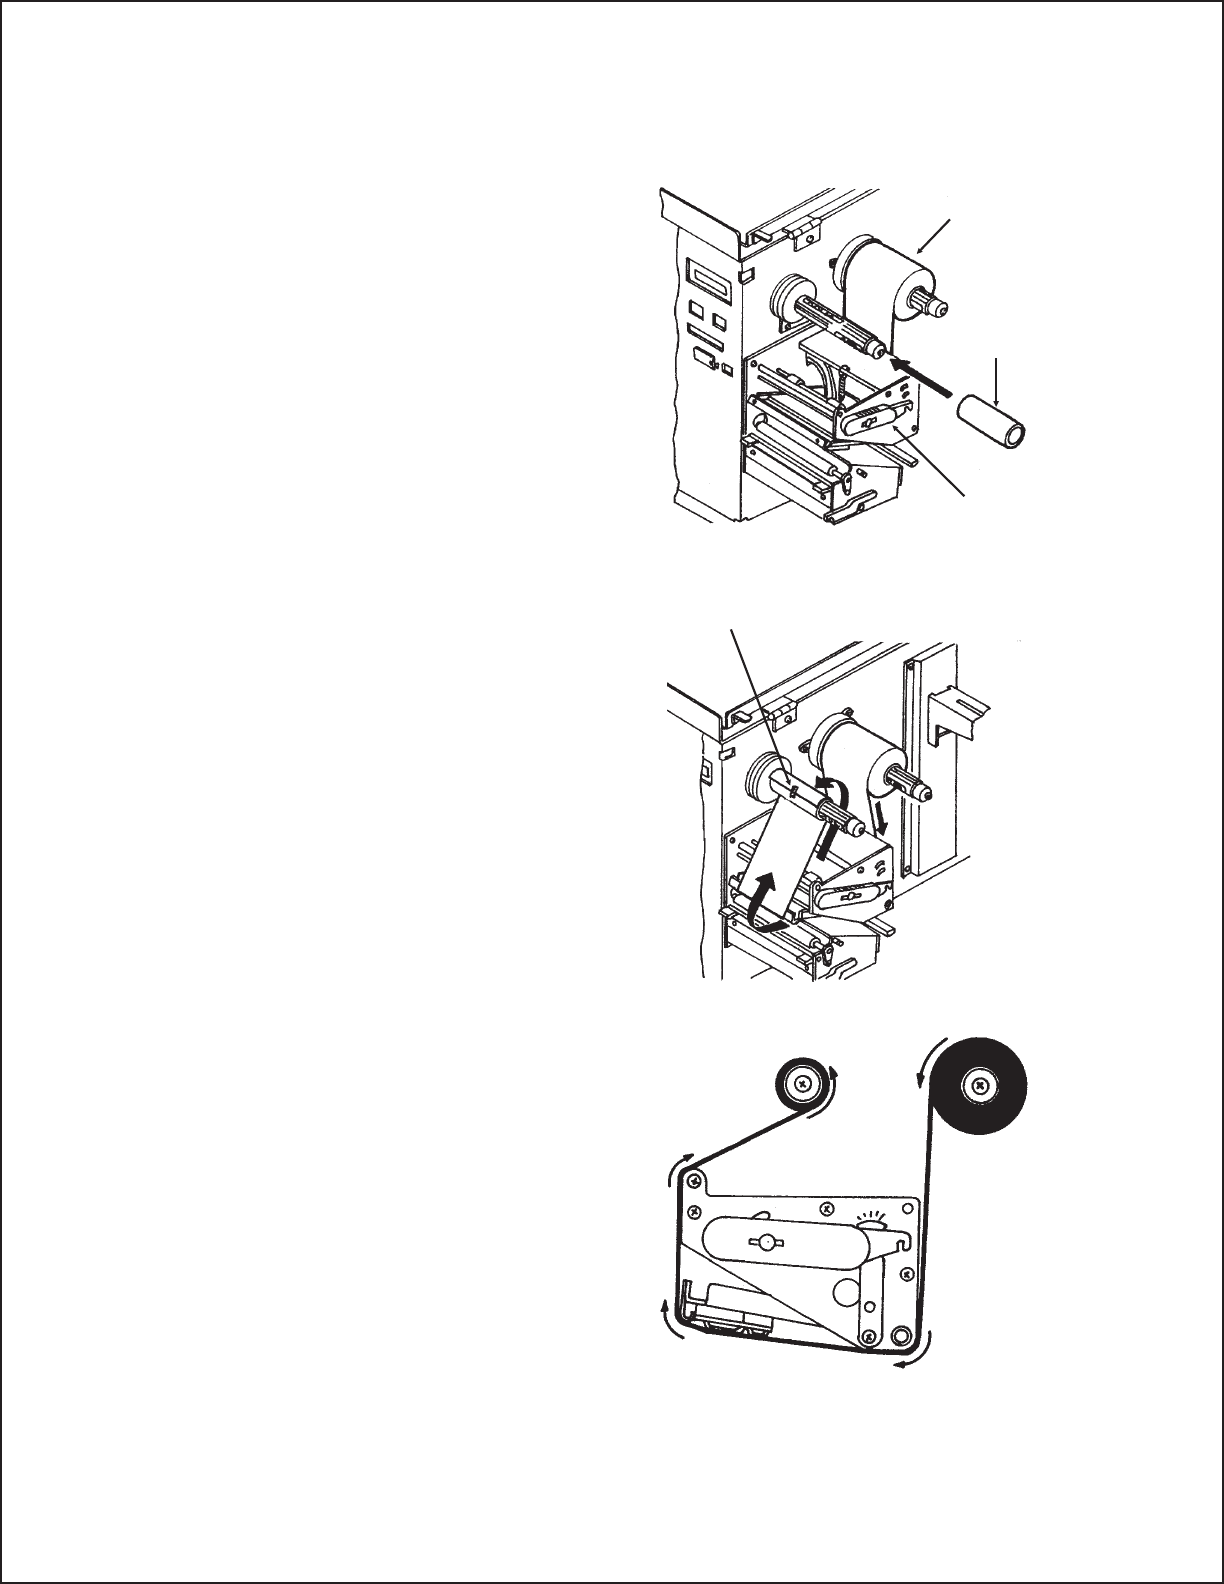
3. Locate the Extra Ribbon Core
supplied with the printer. Place the core
on the Ribbon Rewind Spindle,
pushing it all the way to the inside of
the spindle. Note that the new empty core
of each subsequent roll becomes the next
rewind core.
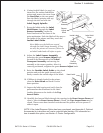
4. Load the ribbon onto the Ribbon
Supply Spindle, pushing it all the
way to the inside of the spindle. The
dull side of the ribbon should be facing
down as it travels through the Print
Head Assembly.
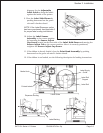
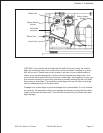
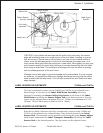
5. Feed the leader portion of the ribbon
through the Print Head Assembly
and up to the Ribbon Rewind
Spindle following the routing shown
in the diagram.
6. Load the ribbon behind and over the
top of the Ribbon Rewind Spindle
and tape it to the Extra Ribbon
Core. Make sure it matches the ribbon
path shown in the diagram.
7. Manually turn the Ribbon Rewind
Spindle to wrap the ribbon onto the
core one to two turns to secure it.
8. If the labels or tags are already loaded,
close the Print Head Assembly by
rotating the green Head Latch
clockwise until it latches closed and
close the Front and Top Access
Doors.
NOTE: Run a test print to ensure that the
labels and ribbons were loaded correctly.
See the “Test Print” section on page 3-22 for instructions on how to run test prints.
Page 2-10 PN 9001074 Rev. B SATO CL Series “e” Printers
Section 2. Installation
Ribbon Supply
Roll
Empty Core
Head Latch
Tape


