


4
INSTALLING THE PRINTER DRIVER
INSTALLATION IN WINDOWS XP (USB/PARALLEL CABLE)
1
The USB or parallel cable must not be
connected to the machine. Make sure
that the cable is not connected before
proceeding.
If the cable is connected, a Plug and Play window
will appear. If this happens, click the "Cancel" button
to close the window and disconnect the cable.
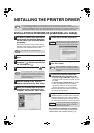
2
Insert the CD-ROM into your CD-ROM
drive.
3
Click the "start" button, click "My
Computer" ( ), and then double-click
the CD-ROM icon ( ).
4
Double-click the "setup" icon ( )
.
5
Read the message in the "Welcome"
window and then click the "Next" button.
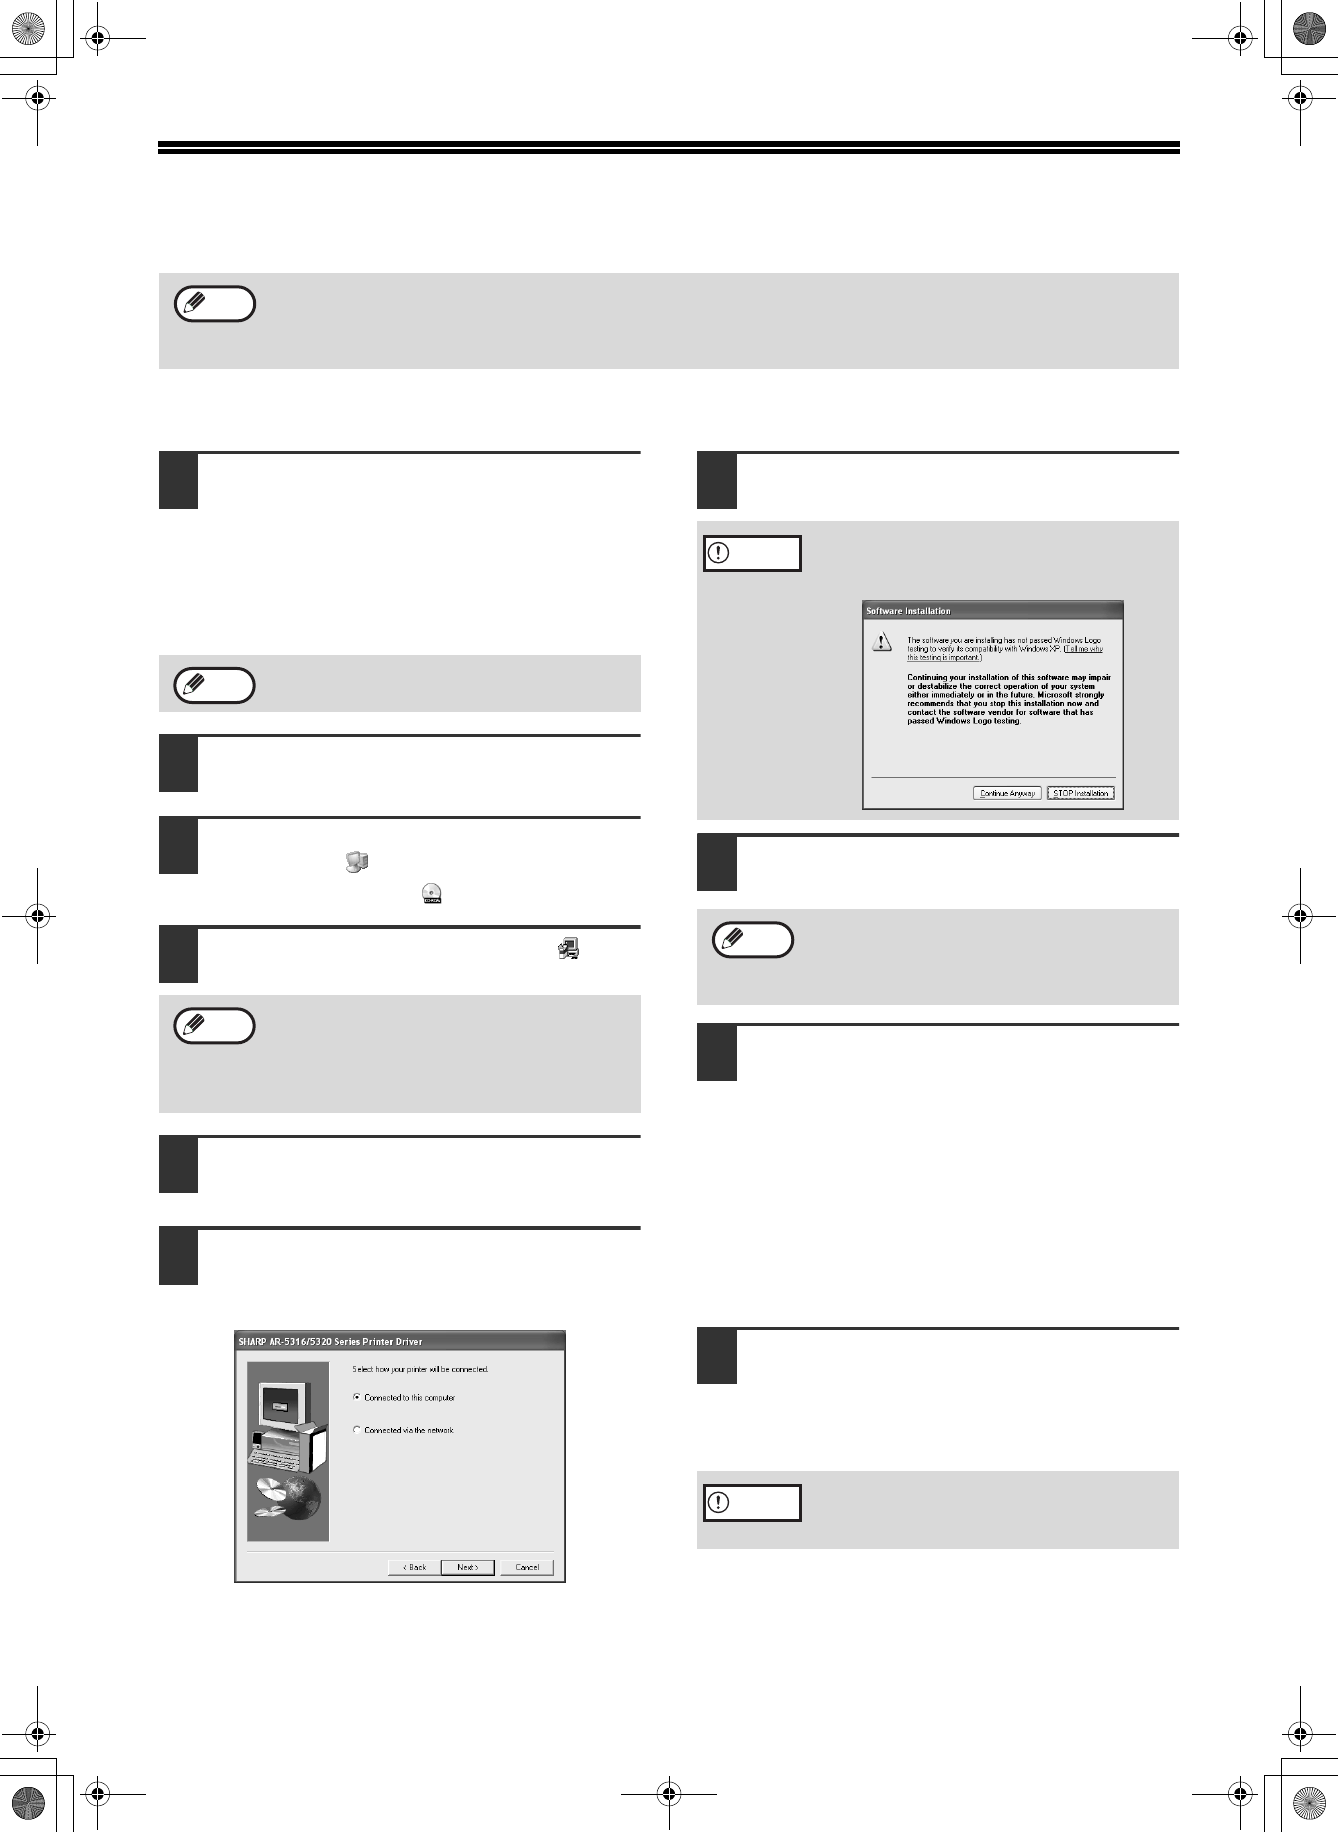
6
When you are asked how the printer is
connected, select "Connected to this
computer" and click the "Next" button.
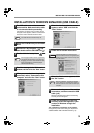
7
Follow the on-screen instructions.
8
When the finish screen appears, click
the "OK" button.
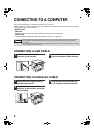
9
Connect the interface cable to the
machine and your computer (p. 8).
• If you are using a USB cable, make sure the
machine's power is turned on and then connect
the cable.
• If you are using a parallel cable, turn off the
power of the machine and your computer,
connect the cable, turn on the power of the
machine, and then turn on your computer.
Windows will detect the machine and the Plug
and Play screen will appear.
10
Begin installation of the printer driver.
"SHARP AR-XXXX" will appear in the "Found New
Hardware Wizard" dialog box. Select "Install the
software automatically (Recommended)" and click
the "Next" button. Follow the on-screen instructions.
This completes the installation of the software.
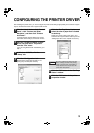
Configure the printer driver settings as explained in
"CONFIGURING THE PRINTER DRIVER" (p. 9).
• In the following explanations it is assumed that the mouse is configured for right hand operation.
• If an error message appears, follow the instructions on the screen to solve the problem. After the problem is
solved, the installation procedure will continue. Depending on the problem, you may have to click the "Cancel"
button to exit the installer. In this case, reinstall the software from the beginning after solving the problem.
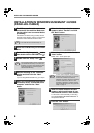
Note
The cable will be connected in step 9.
If the language selection screen appears after
you double click the "setup" icon, select the
language you wish to use and click the "Next"
button. (Normally the correct language is
selected automatically.)
Note
Note
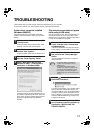
If the following screen appears while the files are
being copied (the message may appear more
than once), click the "Continue Anyway" button.
After the installation, a message prompting
you to restart your computer may appear. In
this case, click the "Yes" button to restart your
computer.
If a warning window appears regarding the
"Windows logo test", be sure to click the
"Continue Anyway" button.
Caution
Note
Caution