6
DIFFERENCES BETWEEN MODELS
This manual covers the following models.
AB series (metric) and inch series references
Both specifications are quoted where applicable.
For example:
Page 15, step 1....................B4 and A3 (8-1/2" x 14" and 11" x 17")
Page 60................................50%, 70%, 81%, 86%, 100%, 115%, 122%, 141%,
200% (50%, 64%, 77%, 95%, 100%, 121%, 129%,
141%, 200%)
Although AB series size indications are shown on the operation panel of this manual, inch series indications are
displayed on the inch series machines.
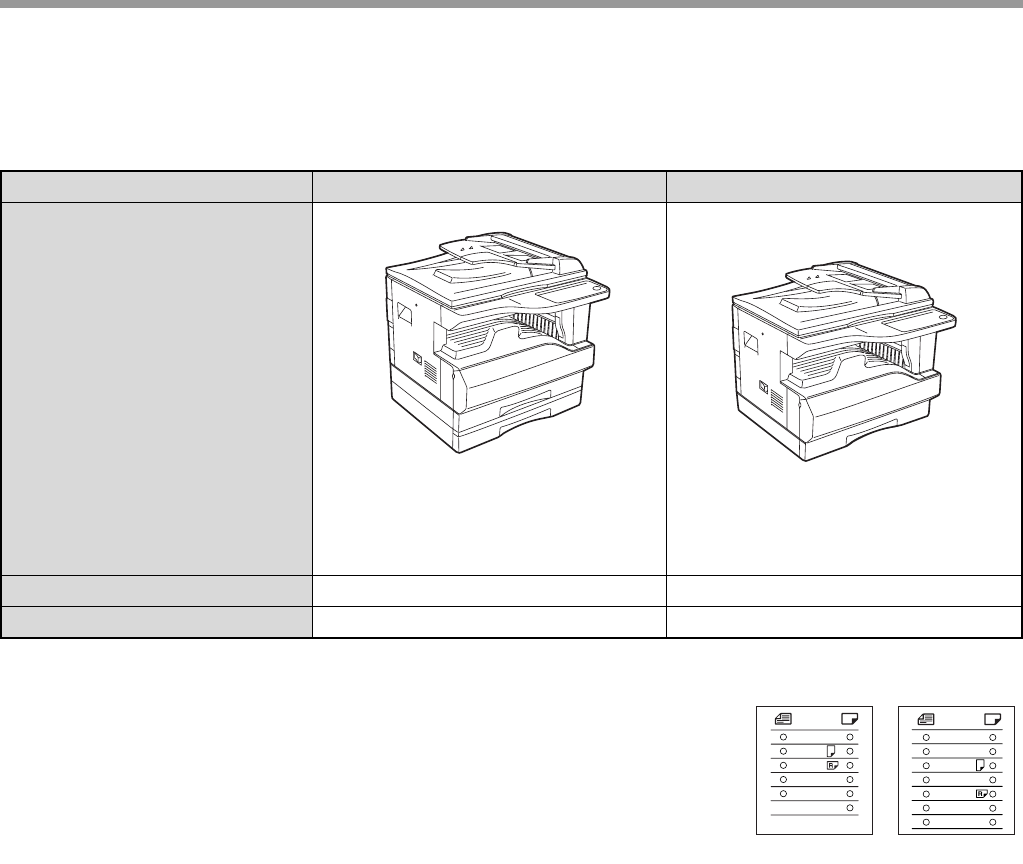
Model AR-5320/AR-5320 X AR-5316/AR-5316 X
Appearance
(With optional SPF installed) (With optional SPF installed)
Copy speed
20CPM 16CPM
Paper trays
Two (250 x 2) One (250 x 1)
The above illustration is used in
instances where a function and/
or the operation of the machine
is the same on both models.
A3
A4
A4
A5
B4
EXTRA
11
X
17
8½
X
14
8½
X
13
8½
X
11
8½
X
11
8½
X
5½
EXTRA
[Inch series][AB series]
AR-5316-5320-EX.book 6 ページ 2003年11月26日 水曜日 午後5時3分


