


4
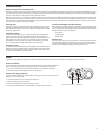
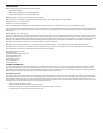
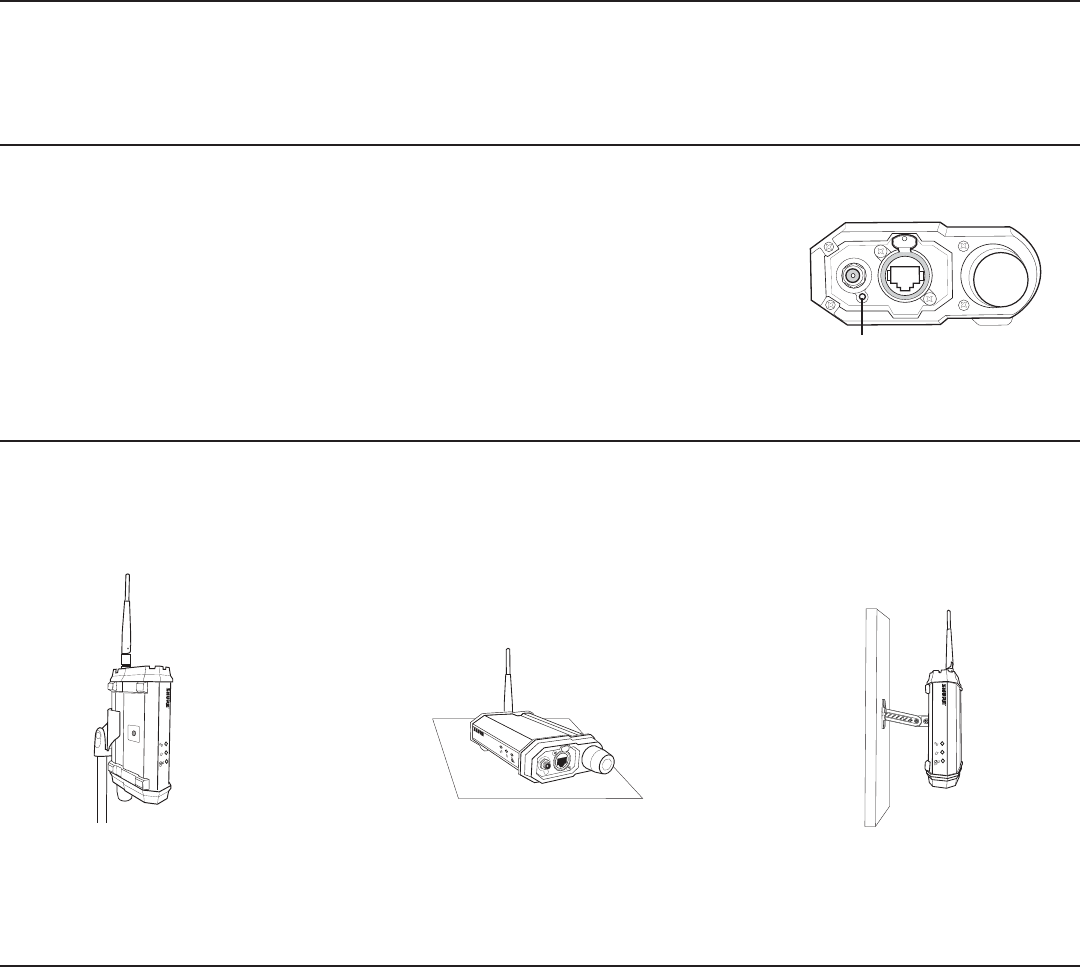
Positioning the Access Point
• Provide a clear line of sight between the access point and transmitters: mount the access point on a microphone stand or wall to elevate above obstructions
• Position the antenna vertically for optimal performance. The swivel joint on the antenna allows a wide range of positioning to maintain a vertical alignment
Microphone Stand Mount Horizontal Mount Wall Mount
Control and Configure the Access Point with Wireless Workbench Software
AXT610
Axient Wireless
Showlink Acces Point
AXT610
Axient Wireless
Showlink Acces Point
AXT610
Axient Wireless
Showlink Acces Point
Using WWB 6 software adds the following configuration and networking options for the access point:
• View connected transmitters
• Edit Device ID
• Set channel exclusion mask: Choose Wi-Fi channels to exclude from use
• IP Address Mode: DHCP or Manual
• IP Address: Edit in Manual Address Mode
• Disable Channel Agility
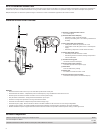
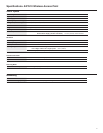
PUSH
Reset Button
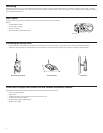
Networking
Networking the access point using a Shure AXT620 Ethernet switch or a DHCP-enabled router automatically assigns an IP address, simplifying network setup. The network
connection allows the access point to share data with networked components and enables wireless control of the transmitters. To manually assign an IP address to the access
point, use Wireless Workbench 6.
Reset Option
Pressing the reset button located on the bottom of the housing restores the access point to the following
settings:
• IP Address Mode = DHCP
• Channel Agility = Enabled
• Device ID = AXT610
• Device Association Tables will be cleared