


20
XTRA
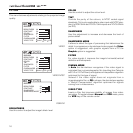
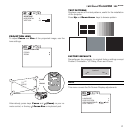
Select Pan (zoom button on the remote control) to choose
the area of image to enlarge, using all four arrow keys.
Via remote control, it is possible to alternate between modes,
by pressing the key.
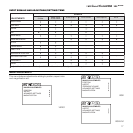
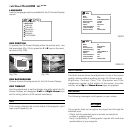
SETUP
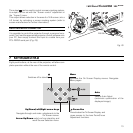
The installation menu gives access to features that will allow
for correct installation of the projector.
ORIENTATION
KEYSTONE
PROJECTION LENS
TEST PATTERNS
FACTORY DEFAULTS
SETUP
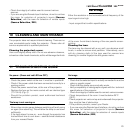
ORIENTATION
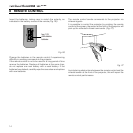
Select the option that best describes the installation i.e. desktop
front, ceiling front, desktop rear and ceiling rear.
FLOOR
CEILING
FLOOR-REAR
CEILING-REAR
ORIENTATION
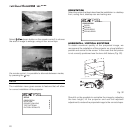
HORIZONTAL / VERTICAL KEYSTONE
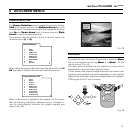
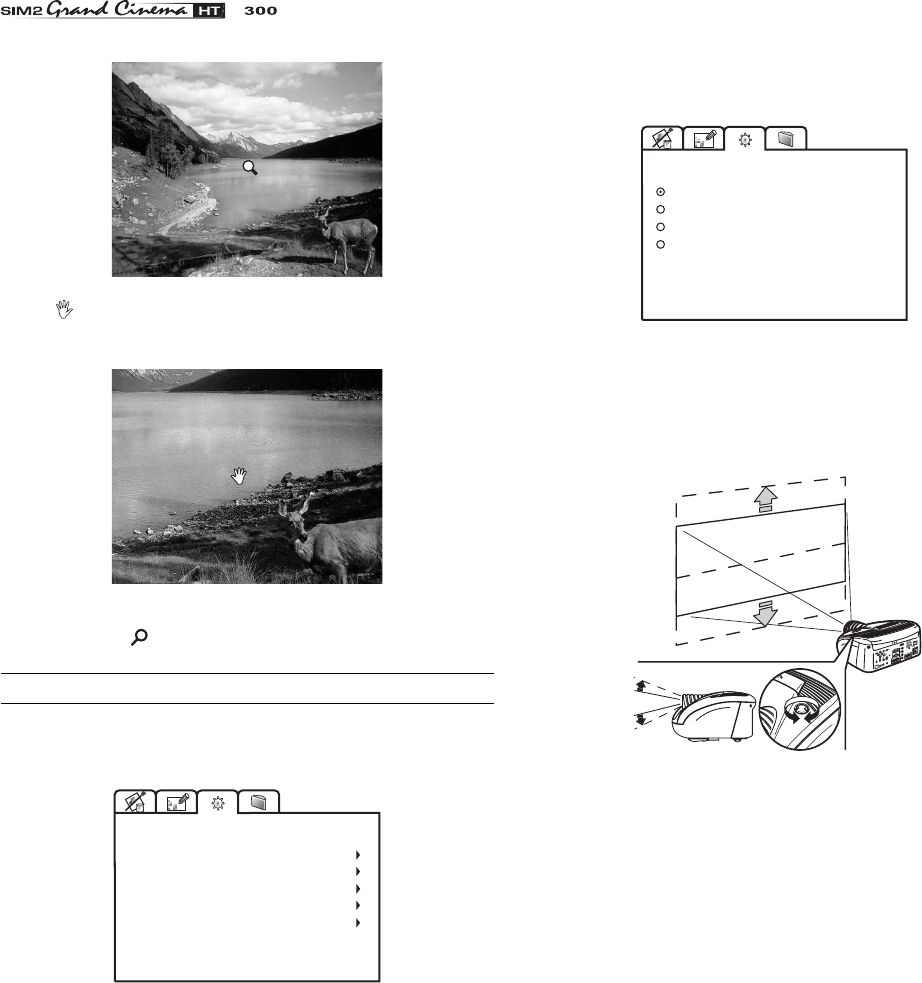
To obtain maximum quality of the projected image, we
recommend the installation of the projector on a level platform
parallel and central to the screen. In the event that the picture
is not correctly positioned use the lens shift feature
(Fig. 30)
.
C
-S
Y
N
C
D
V
I
Fig. 30
Should it not be possible to centralize the image by adjusting
the lens height, tilt the projector and use the keystone
adjustment to restore the projected image to the correct shape.