


12
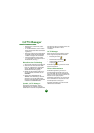
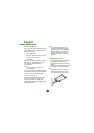
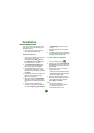
Your GC75 comes in two pieces, the data
card, which you insert into the laptop, and a
detachable antenna.
2. Connect the antenna to the end of the
GC75 next to the SIM Card tray.
Install the software
1. Insert the GC75 CD into your laptop’s CD
drive. If the CD does not start
automatically, select Start Run and
type D:/setup.exe in to the Run dialog
box. (Where D is your CD drive.)
2. The Choose Setup Language dialog
opens. Select your required language
from the drop down list. Click OK.
3. The InstallShield Wizard for the GC75
Manager opens. Follow the on screen
instructions. When installation is complete
click Finish.
4. Fully insert the GC75 Data Card into your
laptop PC. A beep signals that your
laptop has recognised it.
5. After a few seconds the New Hardware
dialog opens and the necessary drivers
for the GC75 are installed from the GC75
CD.
6. The GC75 and the GC75 Manager
software are now installed and ready for
use. Select Programs Sony Ericsson
GC75 Manager to open the GC75
Manager.
7. Enter your SIM Card PIN, if requested.
Click OK.
8. GC75 Manager opens. After a short delay
your signal strength and network operator
are displayed in the Status screen.
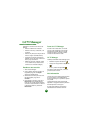
Create a dial-up connection
1. From GC75 Manager select .
2. Check the box next to Create a new dial-
up connection, enter a name for the new
connection, for example ‘My Connection’,
and click Next.
3. Select the type of data connection you
require. Choose from:
• GPRS (General Packet Radio Service)
• CSD/HSCSD (Circuit Switch Data/High
Speed Circuit Switch Data)
4. Select your Network Operator from the
drop down list at the bottom of the screen.
If your Network Operator is not listed
select <Other>. Click Next.
Note:
The correct parameters for
connection to the Network Operator
you select from the list are
automatically entered for you.
Installation