


– 21 –
29
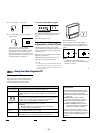
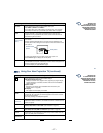
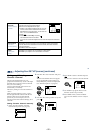
Daylight Savings
Automatically
adjusts the time.
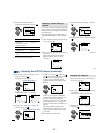
Current Time
Necessary for the
Timer.
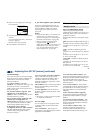
On/Off Timer
Wake up or
scheduled viewing.
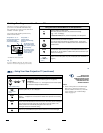
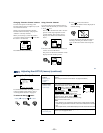
Using the Timer Menu
After setting the clock you can use the timer
to turn the projection TV on and off.
For detailed information on using the remote
control to modify menu settings, refer to
“Learning Menu Selection” on page 25.
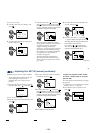
To select the Timer menu:
Display / Highlight / Select
Tip
z
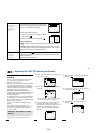
Set daylight saving time before setting the clock. Any
loss of power will cause these settings to be erased.
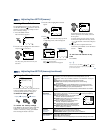
Spring: Select Yes to compensate for Daylight Saving Time.
The current time automatically moves ahead one hour.
Fall: Select No at the end of Daylight Saving Time.
The current time moves back one hour.
1 Press
, then press V or v until the current day
(Sun-Sat) is displayed, and press
.
2 Press V or v until the current hour (1-12) and
AM/PM is displayed, and press
.
3 Press V or v until the current minute (00-59) is
displayed, and press
.
The clock has now started. Press MENU to exit.
1 Press V or v until the desired day or range of days
(Every Sun-Sat, Every Mon-Fri, Sunday, Monday, ...
Saturday, Every Sunday, ... Every Saturday) is
displayed, and press
.
2 Press V or v until the time (hours and minutes) that
you want the projection TV to remain on is displayed,
and then press
.
3 Press V or v to set the time duration (maximum of 6 hours) and press
.
4 Press V or v to select the desired channel and press
.
The timer is now set. The TIMER/STAND BY indicator on your projection TV
will be lit.
Press MENU to exit. To cancel your timer setting, press RESET while in the On/
Off Timer window. Performing Auto Program will erase all Timer settings.
Current Time
–––
––: –AM–
Move Select
Exit
MENU
On/Off Timer
––––––
––: –– AM
–
hch
–––
Sun
12:00AM
Move Select
Exit
MENU
Timer
Daylight Savings: Yes
Current Time
On / Off Timer
----- : -AM-
Move Select
Exit
MENU
ch
MENU
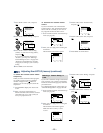
30
Adjusting Your SET UP (menus) (continued)
ch
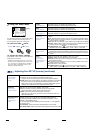
Using the Channel Set Up
Menu
For detailed information on using the remote
control to modify menu settings, refer to
“Learning Menu Selection” on page 25.
To select the Channel Set Up
ch
menu:
Display / Highlight
ch
/ Select
Channel Set Up
Favorite Channel :Auto
Channel Skip/Add
Channel Caption
Auto Program
Cable: On
Move Select
Exit
MENU
ch
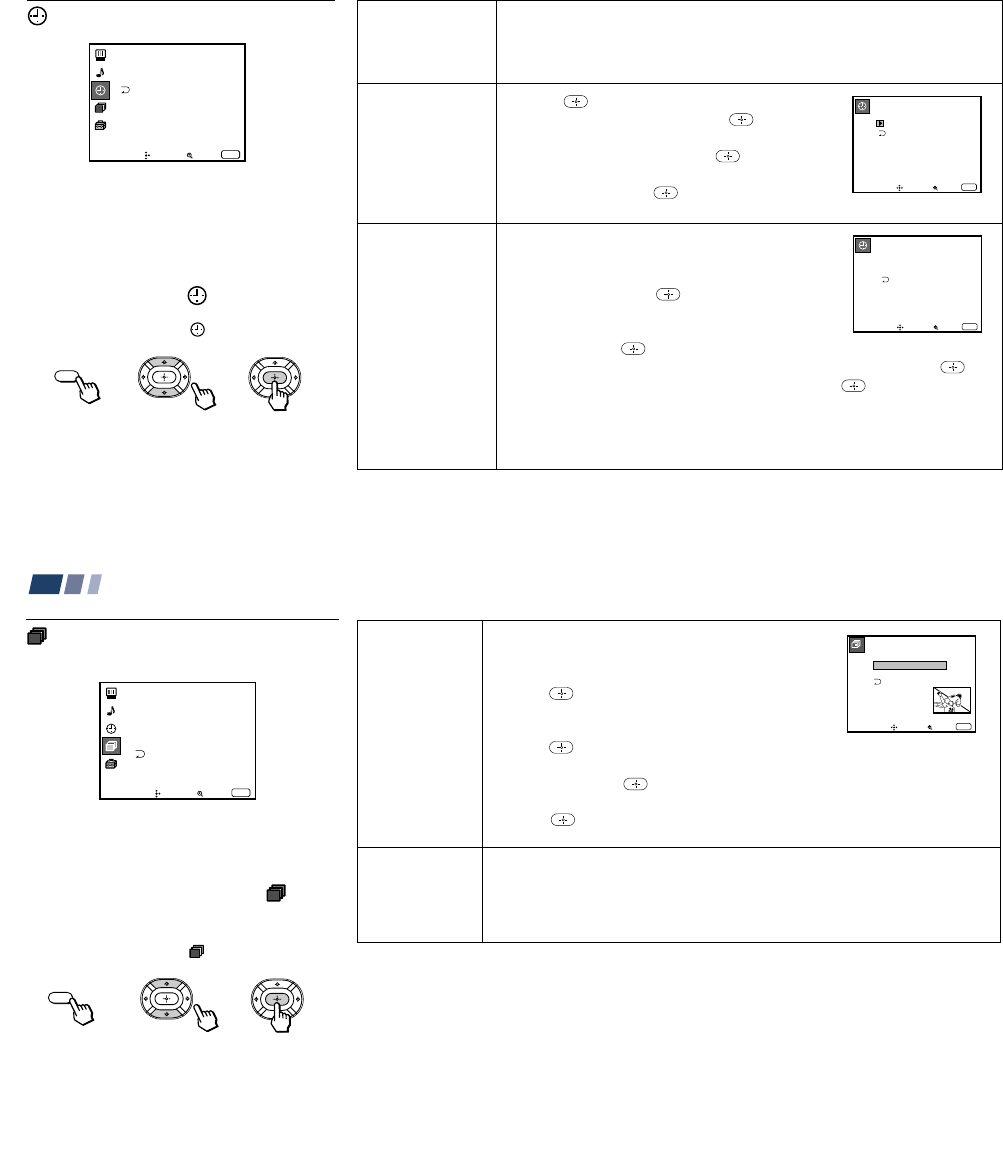
Channel
Caption
Easy recognition
of the channel
you are watching
Favorite
Channel
User’s favorite
channels
You can add a caption for up to 32 channels of VHF/
UHF input.
With the Channel Caption window open:
1 Press
and then press V or v to select the desired
channel. You can view the channel that is selected
with the Channel Caption menu in the sub screen.
2 Press
.
3 Press V or v to display the first letter or number of the
caption and press
to select it.
Repeat until up to five digits are selected.
4 Press
.
To erase a caption, press RESET.
The Favorite Channel feature enables easy access to the eight channels that you
preset (or the last channel that you were watching).
(for details on how to set up this feature, see “Setting and Selecting Favorite
Channel” on page 32)
Channel Caption
Caption: –––––
Channel: –––
Move Select
Exit
MENU
MENU