


PAM-200
Page - 4 - Installation Manual
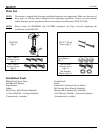
Features
Congratulations on the purchase of your new Sony Electronics PAM-200 Projector Mount. The projector mount
can be configured for ceiling installations. The PAM-200 features MagnaGuide™ Technology which assists the
installer for quicker installation times and peace of mind. The PAM-200 Projector Mount is height adjustable
from 9” to 12” to help achieve the perfect viewing height.
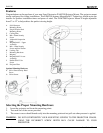
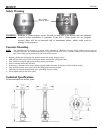
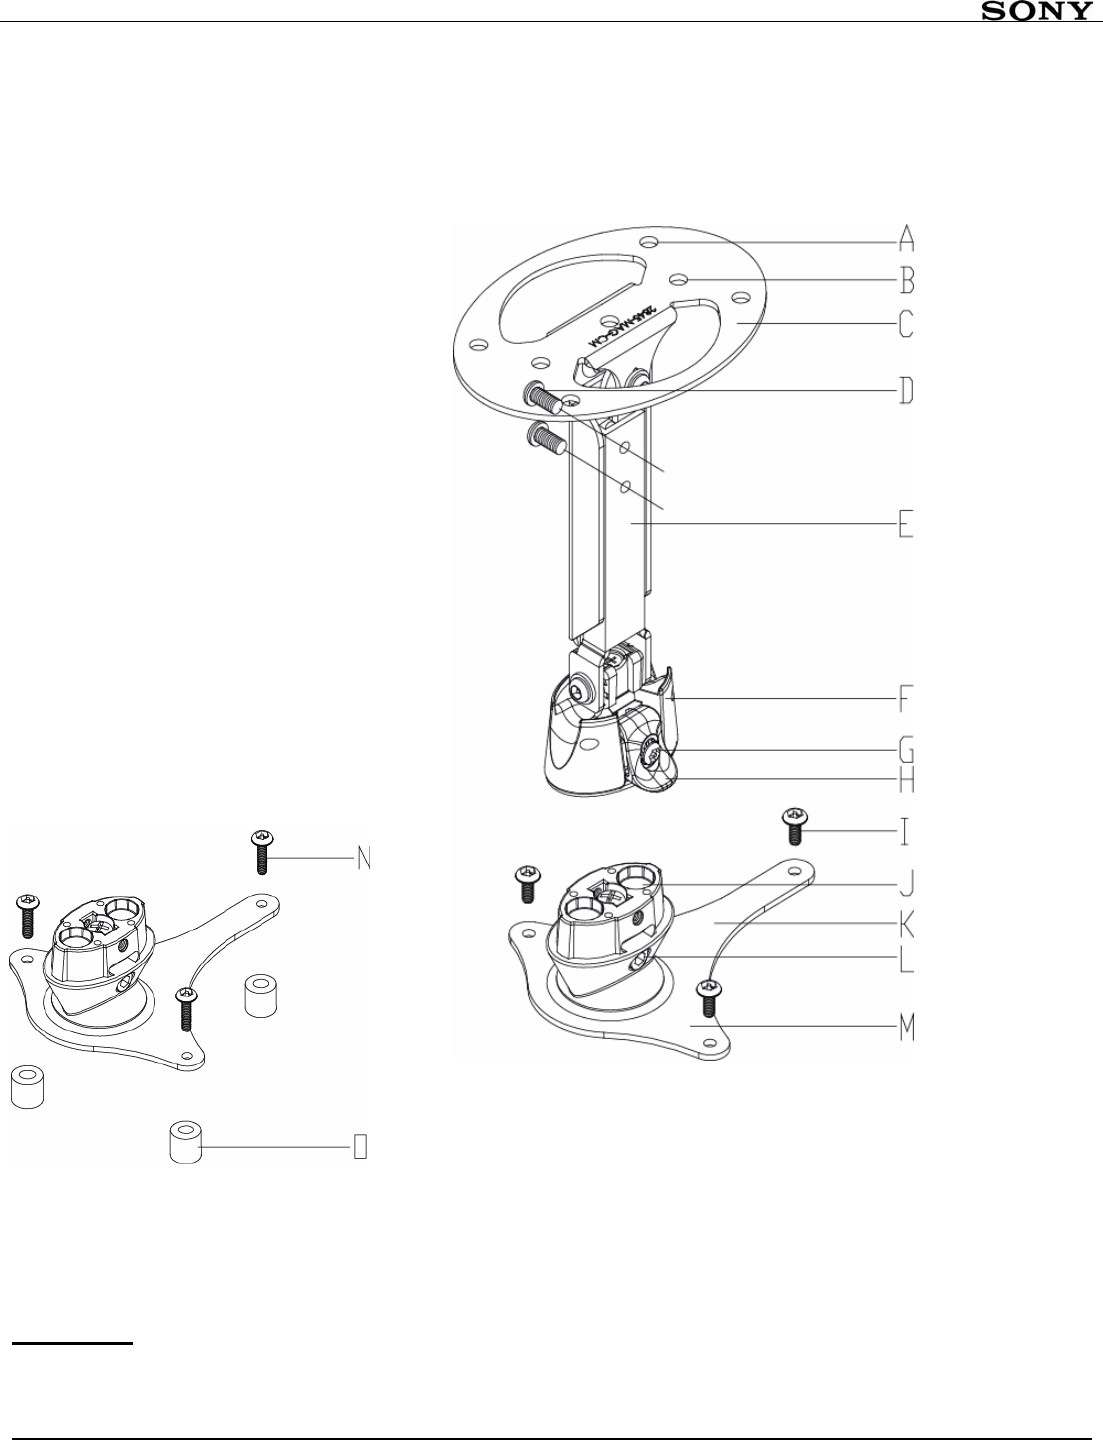
A Solid Structure
Mounting Points
B Single Wooden Stud
Mounting Points
C Ceiling Plate
D M6 x 20mm Security
Screw
E Adjustable Suspension
Neck
F MagnaGuide™ - Upper
Assembly
G M4 x 12mm Security
Screw and Star Washer
H Locking Tab
I Mounting Hardware
J Magnets
K MagnaGuide™-Lower
Assembly
L Radial Glide™ Set
Screw
M Projector Plate
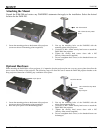
Selecting the Proper Mounting Hardware
1. Invert the projector and locate the mounting points.
2. Test each size of the screws provided.
3. The correct screws should thread easily into the mounting point and not pull out when pressure is applied.
WARNING
: DO NOT OVERTIGHTEN YOUR MOUNTING SCREWS TO THE PROJECTOR CHASIS.
USING THE INCORRECT SCREW DEPTH MAY CAUSE DAMAGE TO YOUR
PROJECTOR.
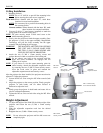
Optional Mounting Hardware
N M4 x 12mm Security Head
Screw
O Nylon Spacer