


PAM-200
Installation Manual Page - 5 -
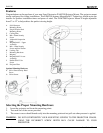
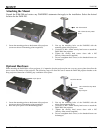
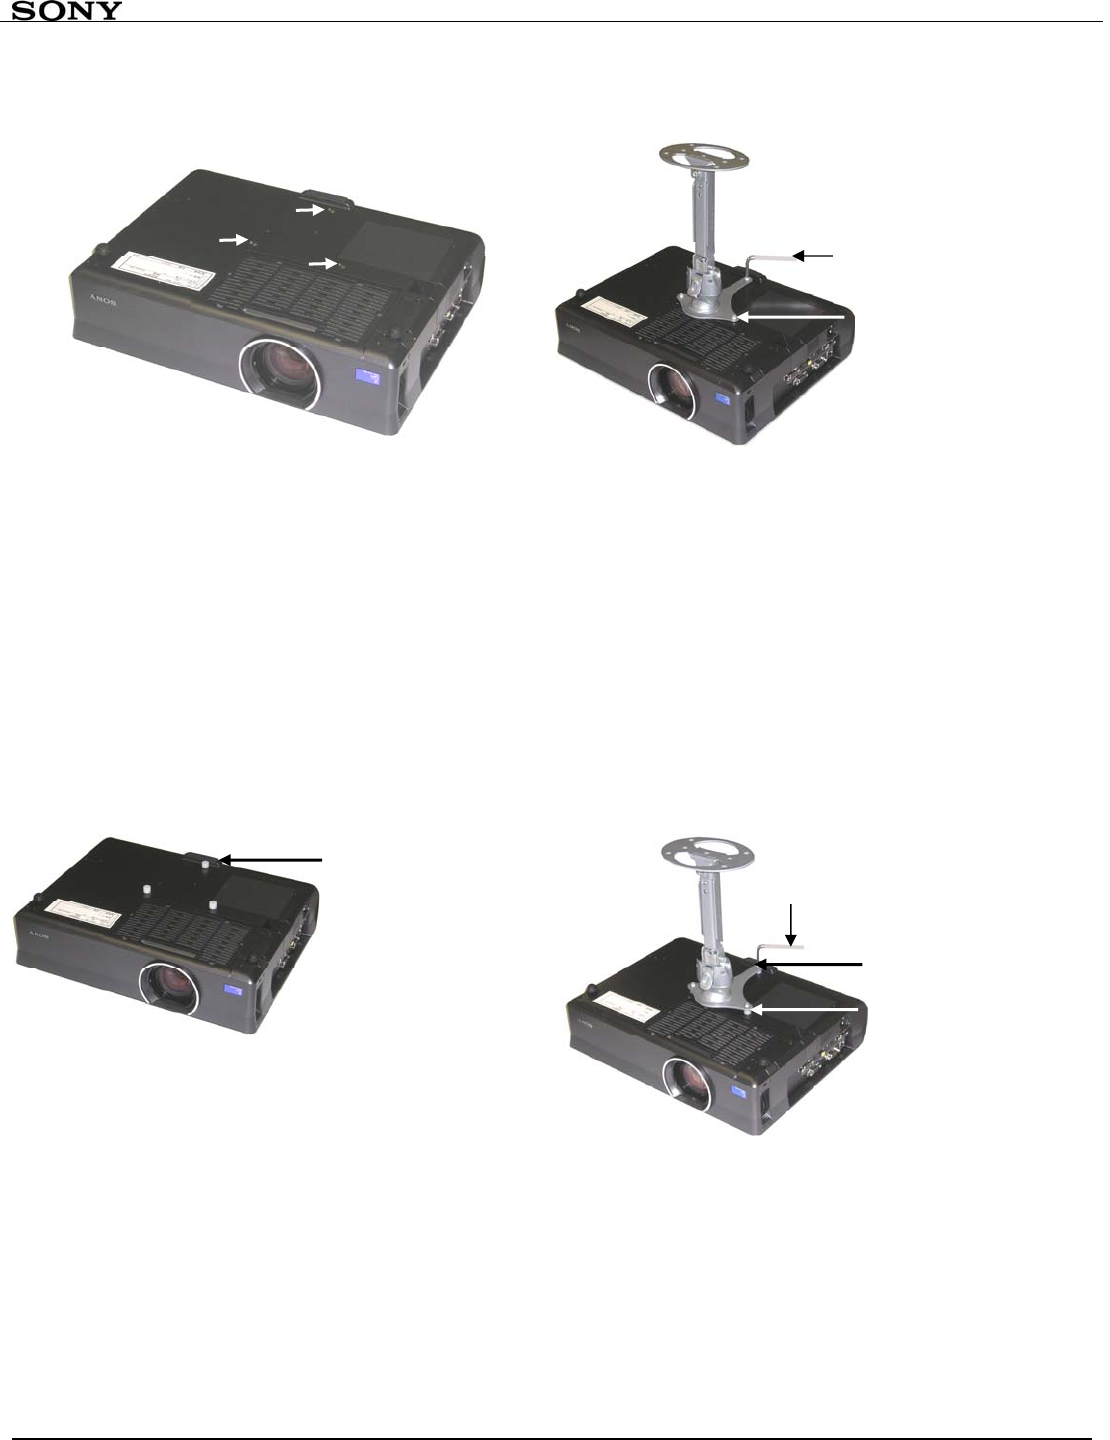
Attaching the Mount
Unpack the PAM-200
and review any WARNING statements that apply to the installation. Select the desired
location for the PAM-200.
1. Locate the mounting points on the bottom of the projector
(see arrows above for mounting point recognition).
2. Line up the mounting holes on the PAM-200 with the
mounting points of the projector.
3. Use three (3) M4 x 10mm security head screws to attach the
PAM-200 to the projector.
4. Tighten the security head screws down with a M5
Security Allen wrench (supplied).
5. Do not overtighten these screws, as the threaded inserts can
be damaged.
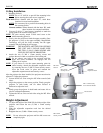
Optional Hardware
When mounting the PAM-200 to a Sony projector, it is imperative that the projector plate not cover any access plates that allow the
user to access the interior of the projector. The following steps will allow the user to mount the PAM-200 projector bracket to the
Sony projector without fear of blocking any ventilation access plates.
1. Locate the mounting points on the bottom of the projector
(see arrows above for mounting point recognition).
2. Place the nylon spacers over the mounting points.
3. Line up the mounting holes of the PAM-200 with the
nylon spacer mounting holes.
4. Use three (3) M4 x 16mm security head screws to attach the
PAM-200 to the projector.
5. Tighten the security head screws down with a M5
Security Allen wrench (supplied).
6. Do not overtighten these screws, as the threaded inserts can
be damaged.
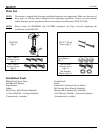
M5 Allen Wrench
M4 x 10mm Security Head
Screw
Nylon Spacer
M4 x 16mm Security Head
Screw
M5 Allen Wrench
Nylon Spacer