


VAIO Notebook User Guide
64
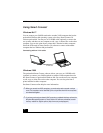
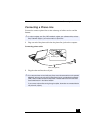
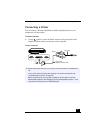
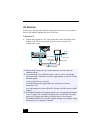
Using Ethernet to Connect to a Network
You can exchange data with other devices on a network by connecting your
notebook to your Local Area Network (LAN).
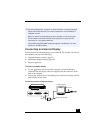
To connect the notebook to a network, you need a network PC card or a port
replicator (PCGA-PRF1A). For more information on using PC cards, see “Using
PC Cards” on page 46 . Consult the network system administrator to find out
about the accessory settings required to access the network.
Setting Up Your Ethernet Connection
Windows Me™ models
1
Right-click Network Neighborhood and select Properties.
2
Click Add to add a client, adapter, protocol, or service.
3
Click File and Print Sharing to enable these functions.
4
Select a Primary Network Logon.
5
Click the Identification tab to set the computer name, workgroup, and
computer description.
6
Click the Access Control tab to set the share level or user level access
control.
Windows 2000 models
To connect to the network
1
Right-click My Network Places and select Properties.
2
Click Advanced and select Network Identification to set the computer name,
domain, workgroup, and DNS suffix. You can also use the Network
Identification Wizard.
To set the connections, bindings, and provider order
1
Right-click My Network Places and select Properties
2
Click Advanced and select Advanced Settings. This will give you access to
Adapters and Protocol Bindings and Provider Order.