


8 (GB)
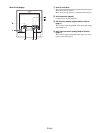
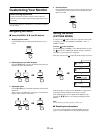
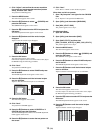
Step 3:Connect the power cord
With the monitor and computer switched off, first connect the
power cord to the monitor, then connect it to a power outlet.
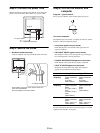
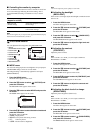
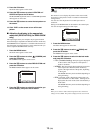
Step 4:Secure the cords
1 Bundle the cables and cords.
Using the supplied cord strap, bundle the cables and cords.
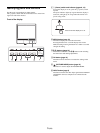
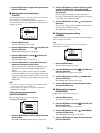
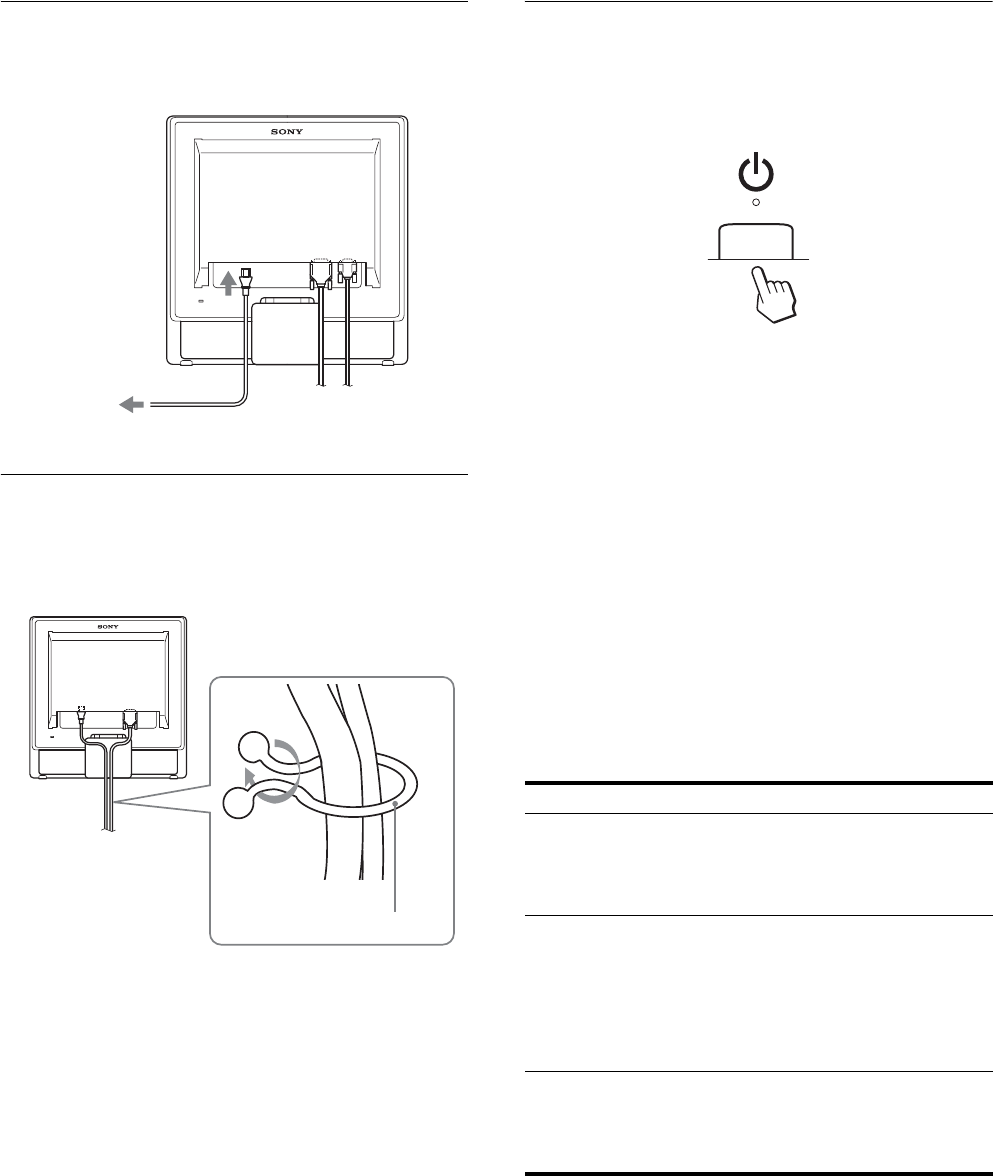
Step 5:Turn on the monitor and
computer
Press the 1 (power) switch.
The 1 (power) indicator of the monitor lights up in green.
Turn on the computer.
The installation of your monitor is complete. If necessary, use the
monitor’s controls to adjust the picture.
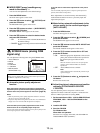
• If no picture appears on your screen
Check that the power cord and the video signal cable are
properly connected.
• If NO INPUT SIGNAL appears on the screen:
The computer is in the power saving mode. Try pressing any
key on the keyboard or moving the mouse.
• If CABLE DISCONNECTED appears on the screen:
Check that the video signal cable is properly connected.
• If OUT OF RANGE appears on the screen:
Reconnect the old monitor. Then adjust the computer’s
graphics board within the following ranges.
For more information about the on-screen messages, see “Trouble
symptoms and remedies” on page 20.
to AC IN
to a power outlet
power cord (supplied)
Cord strap (supplied)
The illustration of the back of the monitor shown here
is that of the SDM-G76D.
The same applies for the other models.
Analog RGB Digital RGB
Horizontal
frequency
28–80 kHz
(SDM-G76D/SDM-
G96D)
28–81 kHz
(SDM-G206W)
28–64 kHz
(SDM-G76D/SDM-
G96D)
28–66 kHz
(SDM-G206W)
Vertical
frequency
56–75 Hz
(SDM-G76D/SDM-
G96D)
56–75 Hz (<1680 ×
1050)
56–60 Hz (=1680 ×
1050)
(SDM-G206W)
60 Hz
(SDM-G76D/SDM-
G96D)
60 Hz
(SDM-G206W)
Resolution 1280 × 1024 or less
(SDM-G76D/SDM-
G96D)
1680 × 1050 or less
(SDM-G206W)
1280 × 1024 or less
(SDM-G76D/SDM-
G96D)
1680 × 1050 or less
(SDM-G206W)