


4.Operation
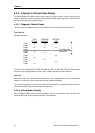
4-8 SONY AIT-5 drive SDX-1100V series Ver.1.0
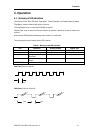
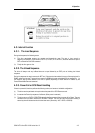
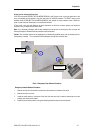
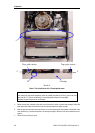
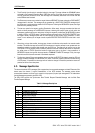
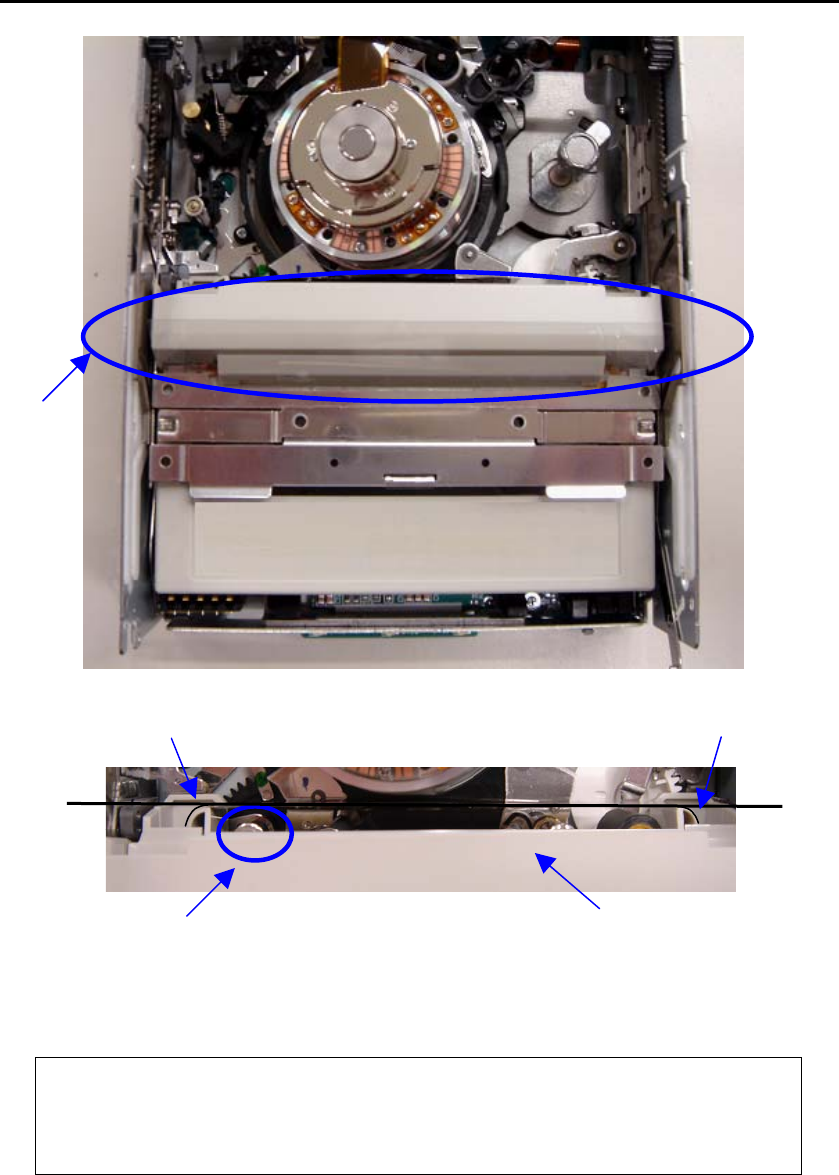
Detail A
Photo 2: The Initial Position of the Threading Mechanism
Caution:
Stop rotating the motor shaft immediately, when the guide B (see detail A of Photo 2) gets to the area
below the line C-C (This line is defined by 2 circular tape guide surfaces of the cartridge).
Otherwise the gear of the drive can be damaged.
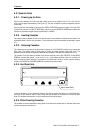
5. Before manual eject procedure, tape slack must be removed in order to prevent tape damage. Rotate the
gear mechanism located on the bottom of the drive counterclockwise to tighten the tape.
6. After the tape slack has been removed, continue to turn the Loading moter shaft located on the bottom of the
drive clockwise by a precision screwdriver until the tape cartridge is lifted out of the drive mechanism and is
ejected.
7. Return the drive to Sony for repair.
B
Cartridge
Tape guide surface
Tape guide surface
A
C
C