


70
GB
Using your printer with Windows computers
Installing the printer driver and reader software
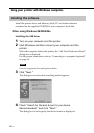
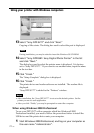
1 Insert the supplied CD-ROM into your CD-ROM drive and click
“Start,” and then click “Run.”
The “Run” dialog box is displayed.
2 Input “D:\Setup.exe” (When your CD-ROM drive is the D: drive)
then click “OK.”
If your CD-ROM drive is not the D: drive, input the appropriate drive name.
You can also input the location of the installer by clicking the “Browse” button.
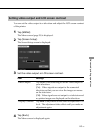
The installer automatically starts, and the language selection dialog box appears.
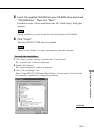
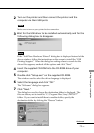
3 Select the language for the application, then click “OK.”
The “Welcome” dialog box appears.
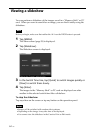
4 Click “Next.”
The “Choose Destination Location” dialog box is displayed. The files are
factory-set to install the “C:\Program Files\Sony\DPPSV77” folder. If
you want to install them to another folder, input the destination folder or
specify the destination folder by clicking the “Browse” button.
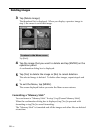
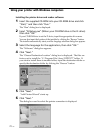
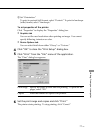
5 Click “Next.”
“Add Printer Wizard” starts up.
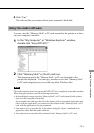
6 Click “Next.”
The dialog box used to select the printer connection is displayed.