17
Printing
Operation
Printing
Before printing
• Is the printer connected to a computer? (page 10)
• Has the printer driver been installed? (page 11)
• Has the media tray been properly loaded? (page 13)
1
Press the printer 1 ON/STANDBY switch to turn on
the power of the printer.
The 1 ON/STANDBY indicator lights and
initialization of the printer begins.
The PRINT, ALARM, RIBBON/PAPER, and
CLEANING indicators light simultaneously during
initialization of the printer, and go out when
initialization is complete.
2
Turn the computer on.
3
Using the computer, initiate a printing operation.
The PRINT indicator flashes while the image data is
being received, and then remains steadily lit while
printing is in progress.
Notes
• Do not place objects on the paper cover that will
obstruct printing. Doing so may result in damage.
• Although the paper being printed may come into
view in the paper outlet while printing is in
progress, do not touch the paper until printing is
completed. Doing so could result in misoperation.
• Do not allow more than 10 printouts to accumulate
on the paper cover. Leaving too many printouts on
the paper cover could cause a paper jam.
• Do not press the 1 ON/STANDBY switch to enter
the standby state while printing is in progress.
Doing so may cause a paper jam or the ink ribbon to
break.
• Do not open the media tray while printing is in
progress.
If the media tray is opened, printing stops and the
PRINT, ALARM, RIBBON/PAPER, and
CLEANING indicators all light simultaneously. In
such an event, press the 1 ON/STANDBY switch
once to enter the standby state and then press the
switch again to turn the printer ON, and check that
there is no paper jam or the ink ribbon is not broken.
Also, if printing was partway through, cut off the
used part of the paper roll with a pair of scissors or
the like before using the printer.
Notes
Storing printed images
• Avoid storing printouts in a location subject to high
temperatures, high humidity, excessive dust or direct
sunlight. Such conditions could result in fading.
• Do not stick tape on a printout. Also, do not let printouts
come into contact with materials which contain
plasticizers, such as erasers or desk mats.
• Do not allow volatile organic solvents, such as alcohol,
to come into contact with printouts.
Cancelling continuous printing
Press the STOP button. Printing of the current item
finishes, and then the printer enters the ready state once the
printout is ejected.
When printing is disabled
The printer will not operate if the ALARM, RIBBON/
PAPER or CLEANING indicator is on. For details, see
“Explanation of Indicators” on page 23.
If the ink ribbon runs out while continuous
printing
The printer terminates the printing operation. Once the
new ink ribbon is loaded, the printing operation
automatically resumes and the remaining images are
printed.
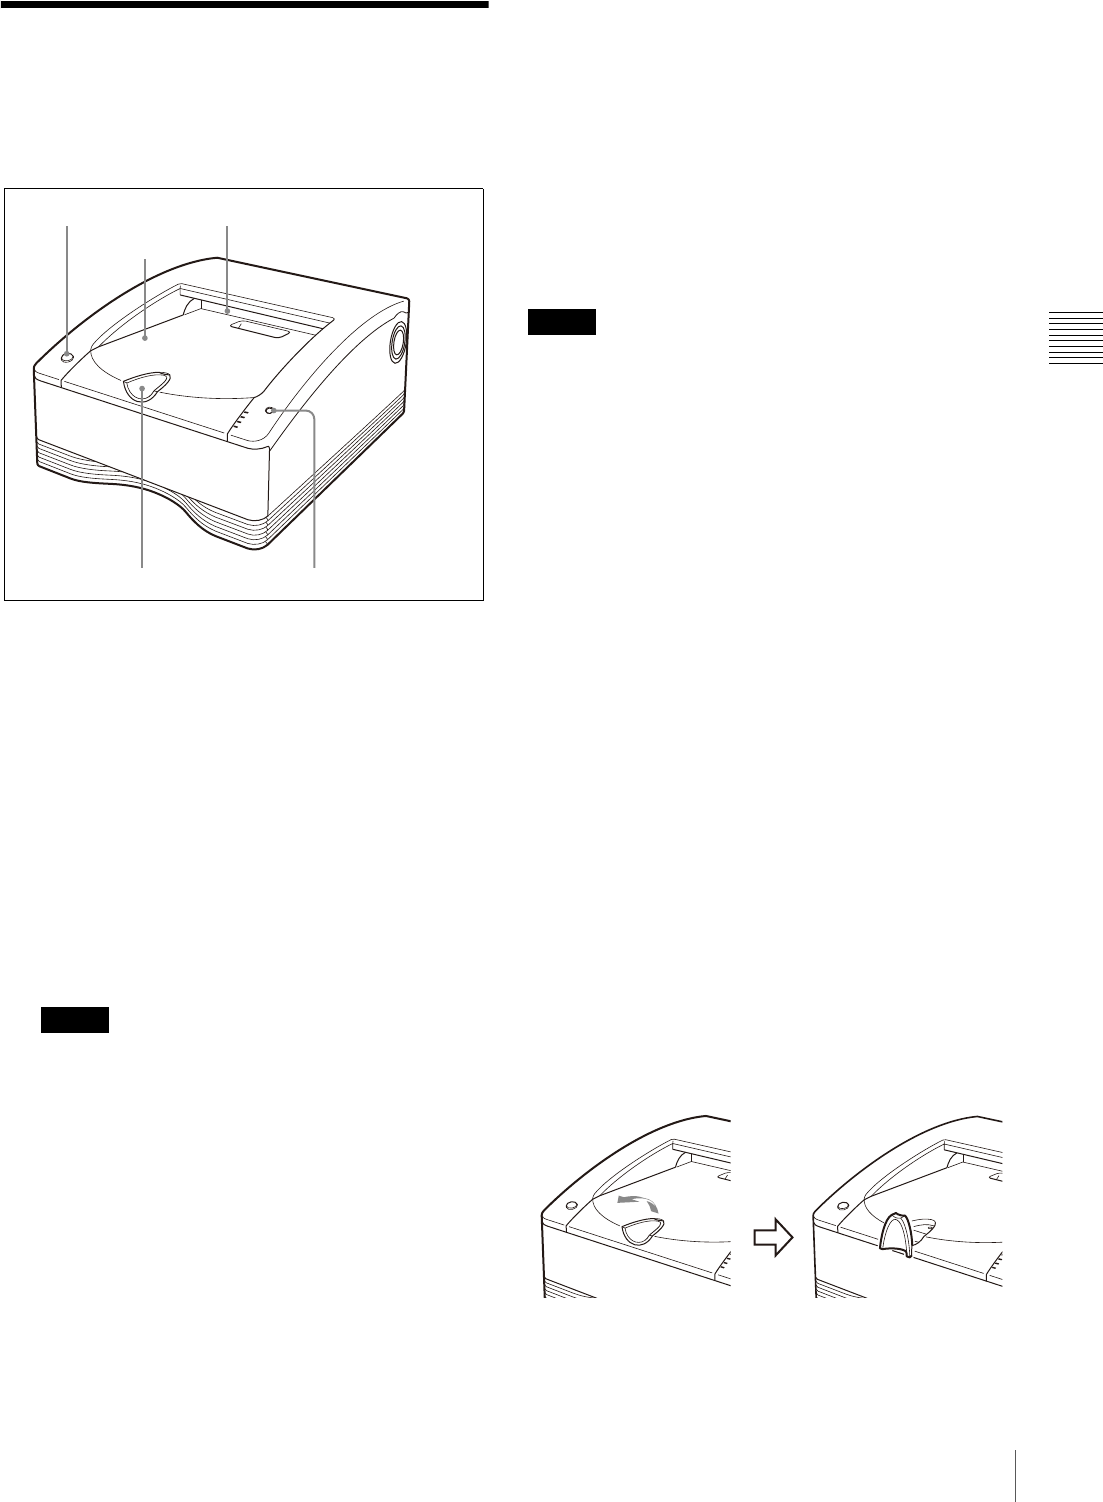
Using the stopper
To prevent ejected printouts from falling off of the paper
cover, insert your finger in the depression on the edge of
the stopper and then flip the stopper up in the direction
indicated by the arrow in the diagram below.
Paper outlet
STOP buttonStopper
1 ON/STANDBY switch
Paper cover


